If you’re anything like me, you’ve probably picked up wood here and there, from art supply shops, local lumberyards, maybe even scraps from a friend’s garage, and thought, “Perfect, I’ll burn on this someday.”
I think it’s okay to hoard wood if you can stay organized…. 😅
However, if you don’t store it properly, that perfect piece might warp, crack, or soak up moisture before you ever get to touch your burner to it…
Wood is alive in a way, even long after it’s been cut. It expands, contracts, and breathes with the environment around it. Storing it with a bit of intention will save you from a lot of frustration (and wasted surfaces).
By the way, this post came out of a great question that popped up in The Burn Club. We’ve been chatting about it in the Burning Questions channel, so if you’re curious to see how people are storing their wood, or what they use to help keep humidity at bay, join the conversation here (this link will take you directly to that convo! Sign up to The Burn Club to get access).
Flat Storage versus Upright
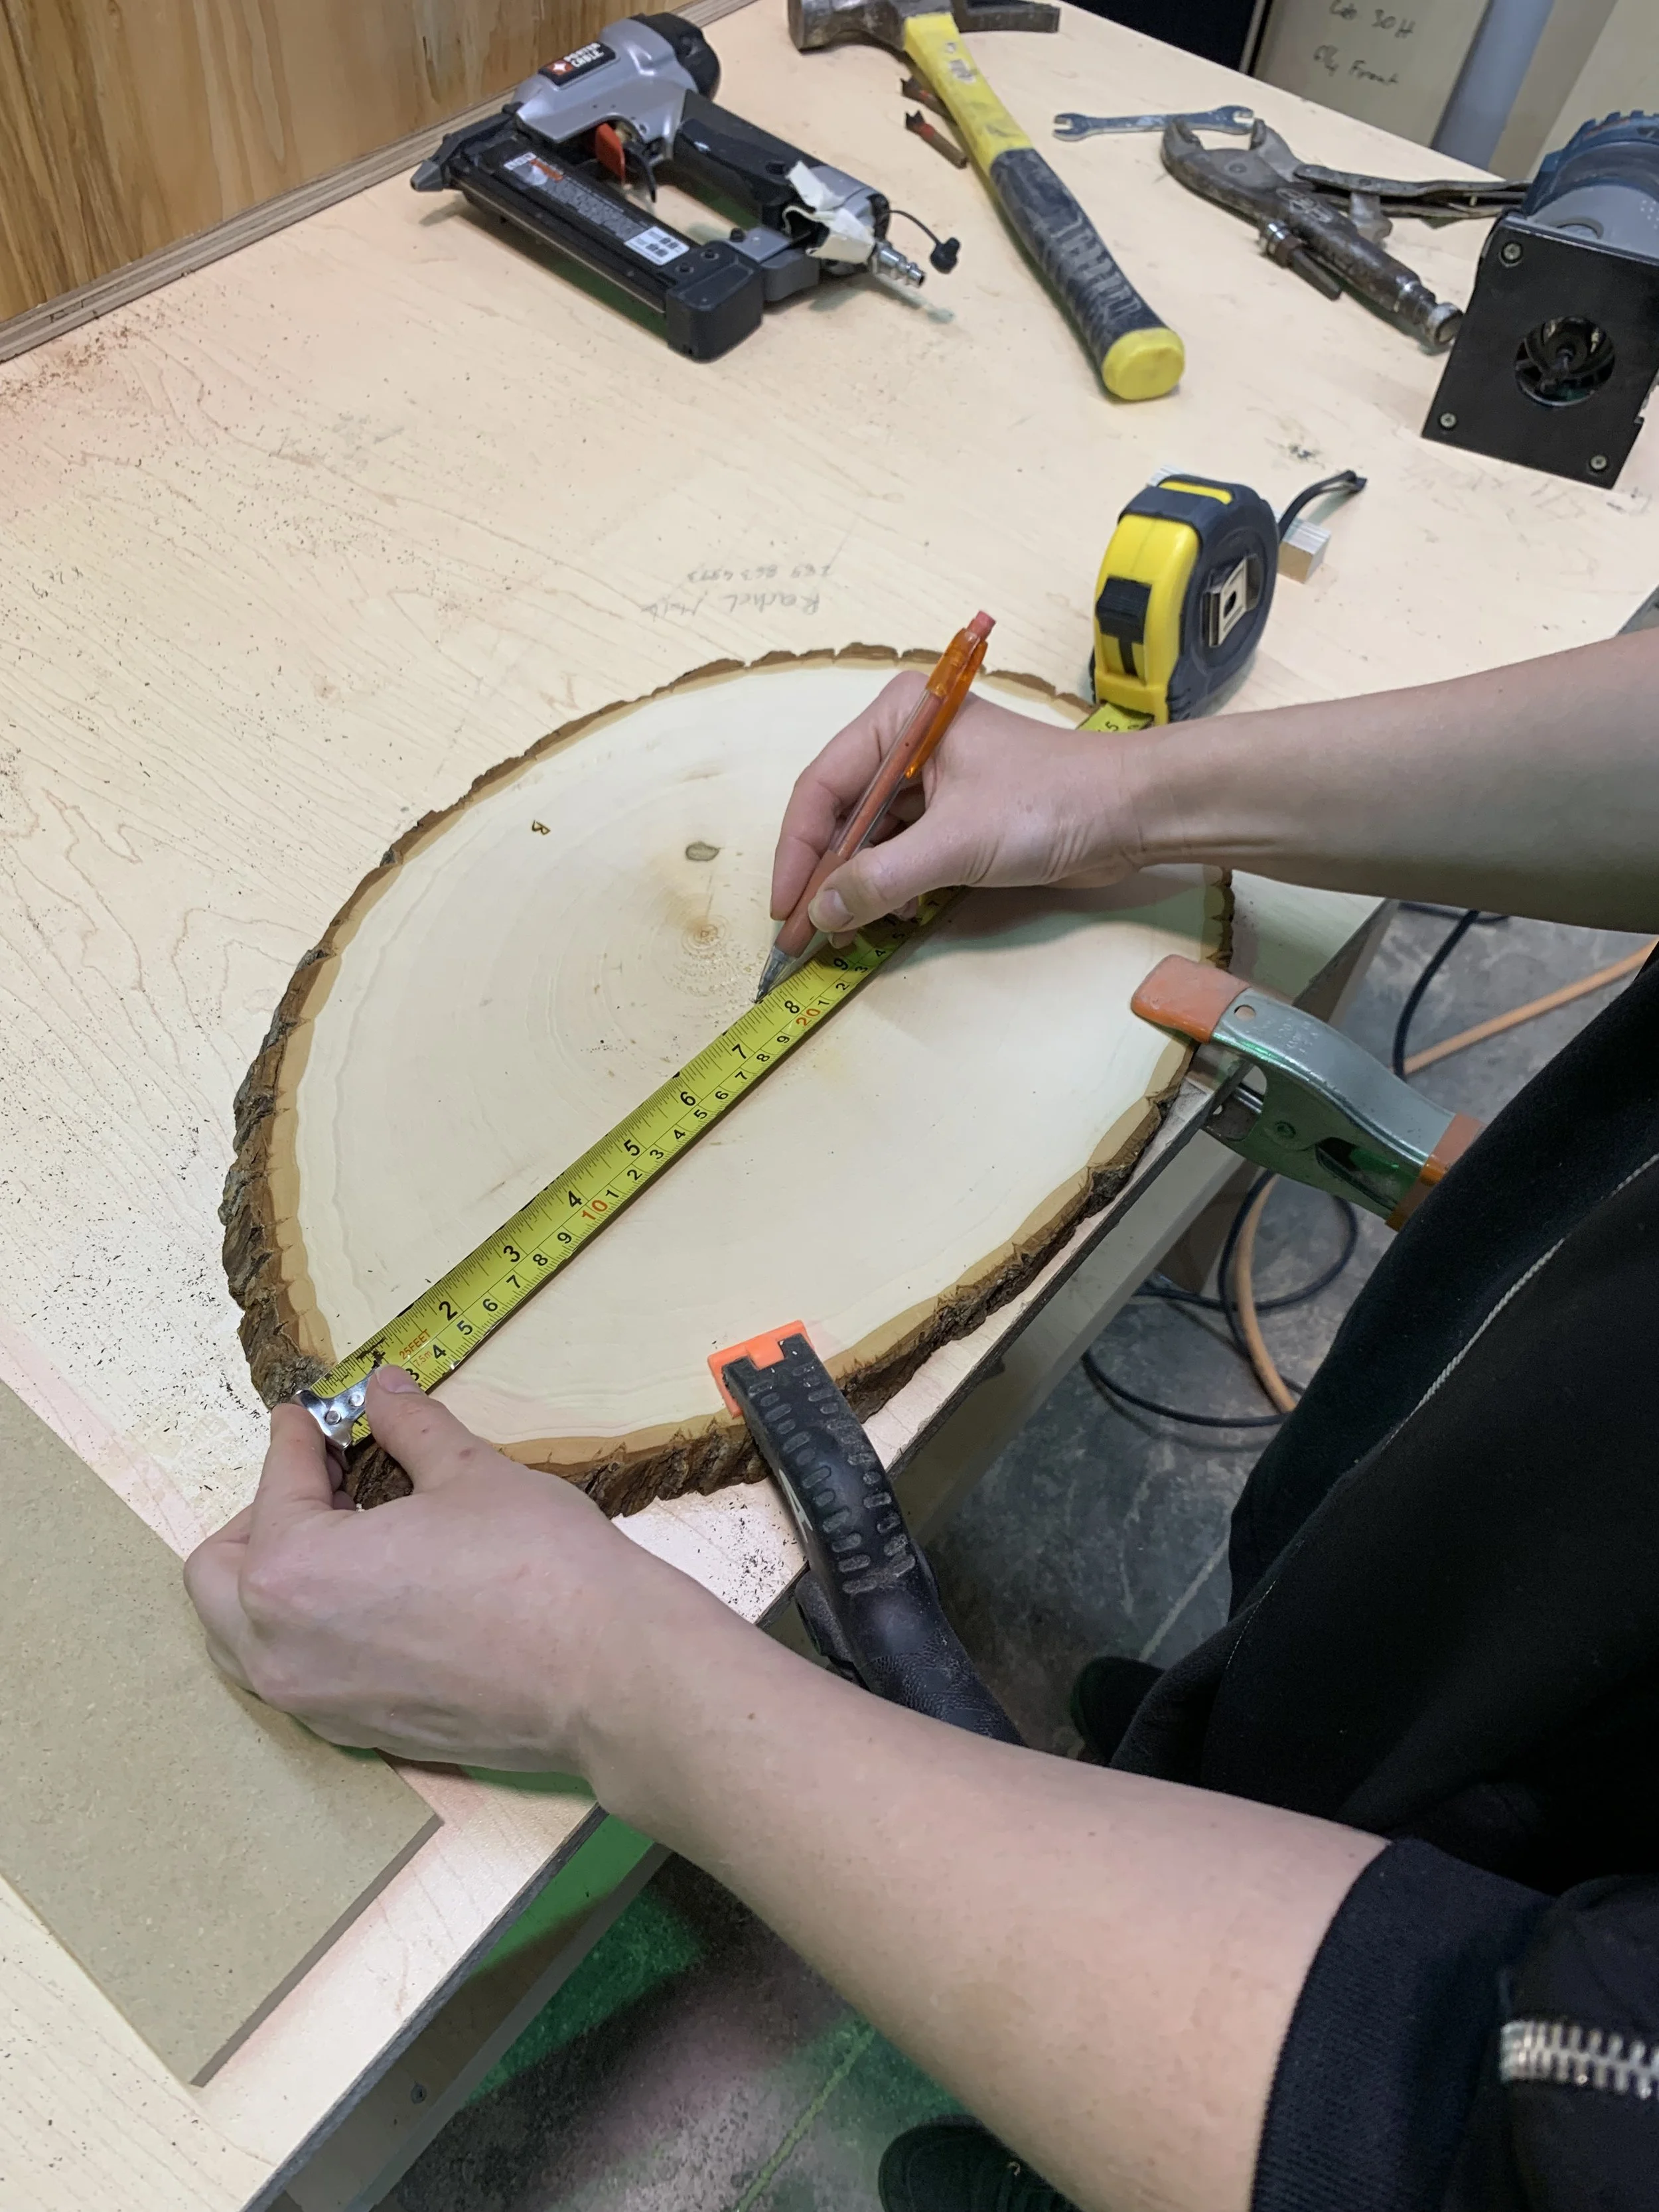
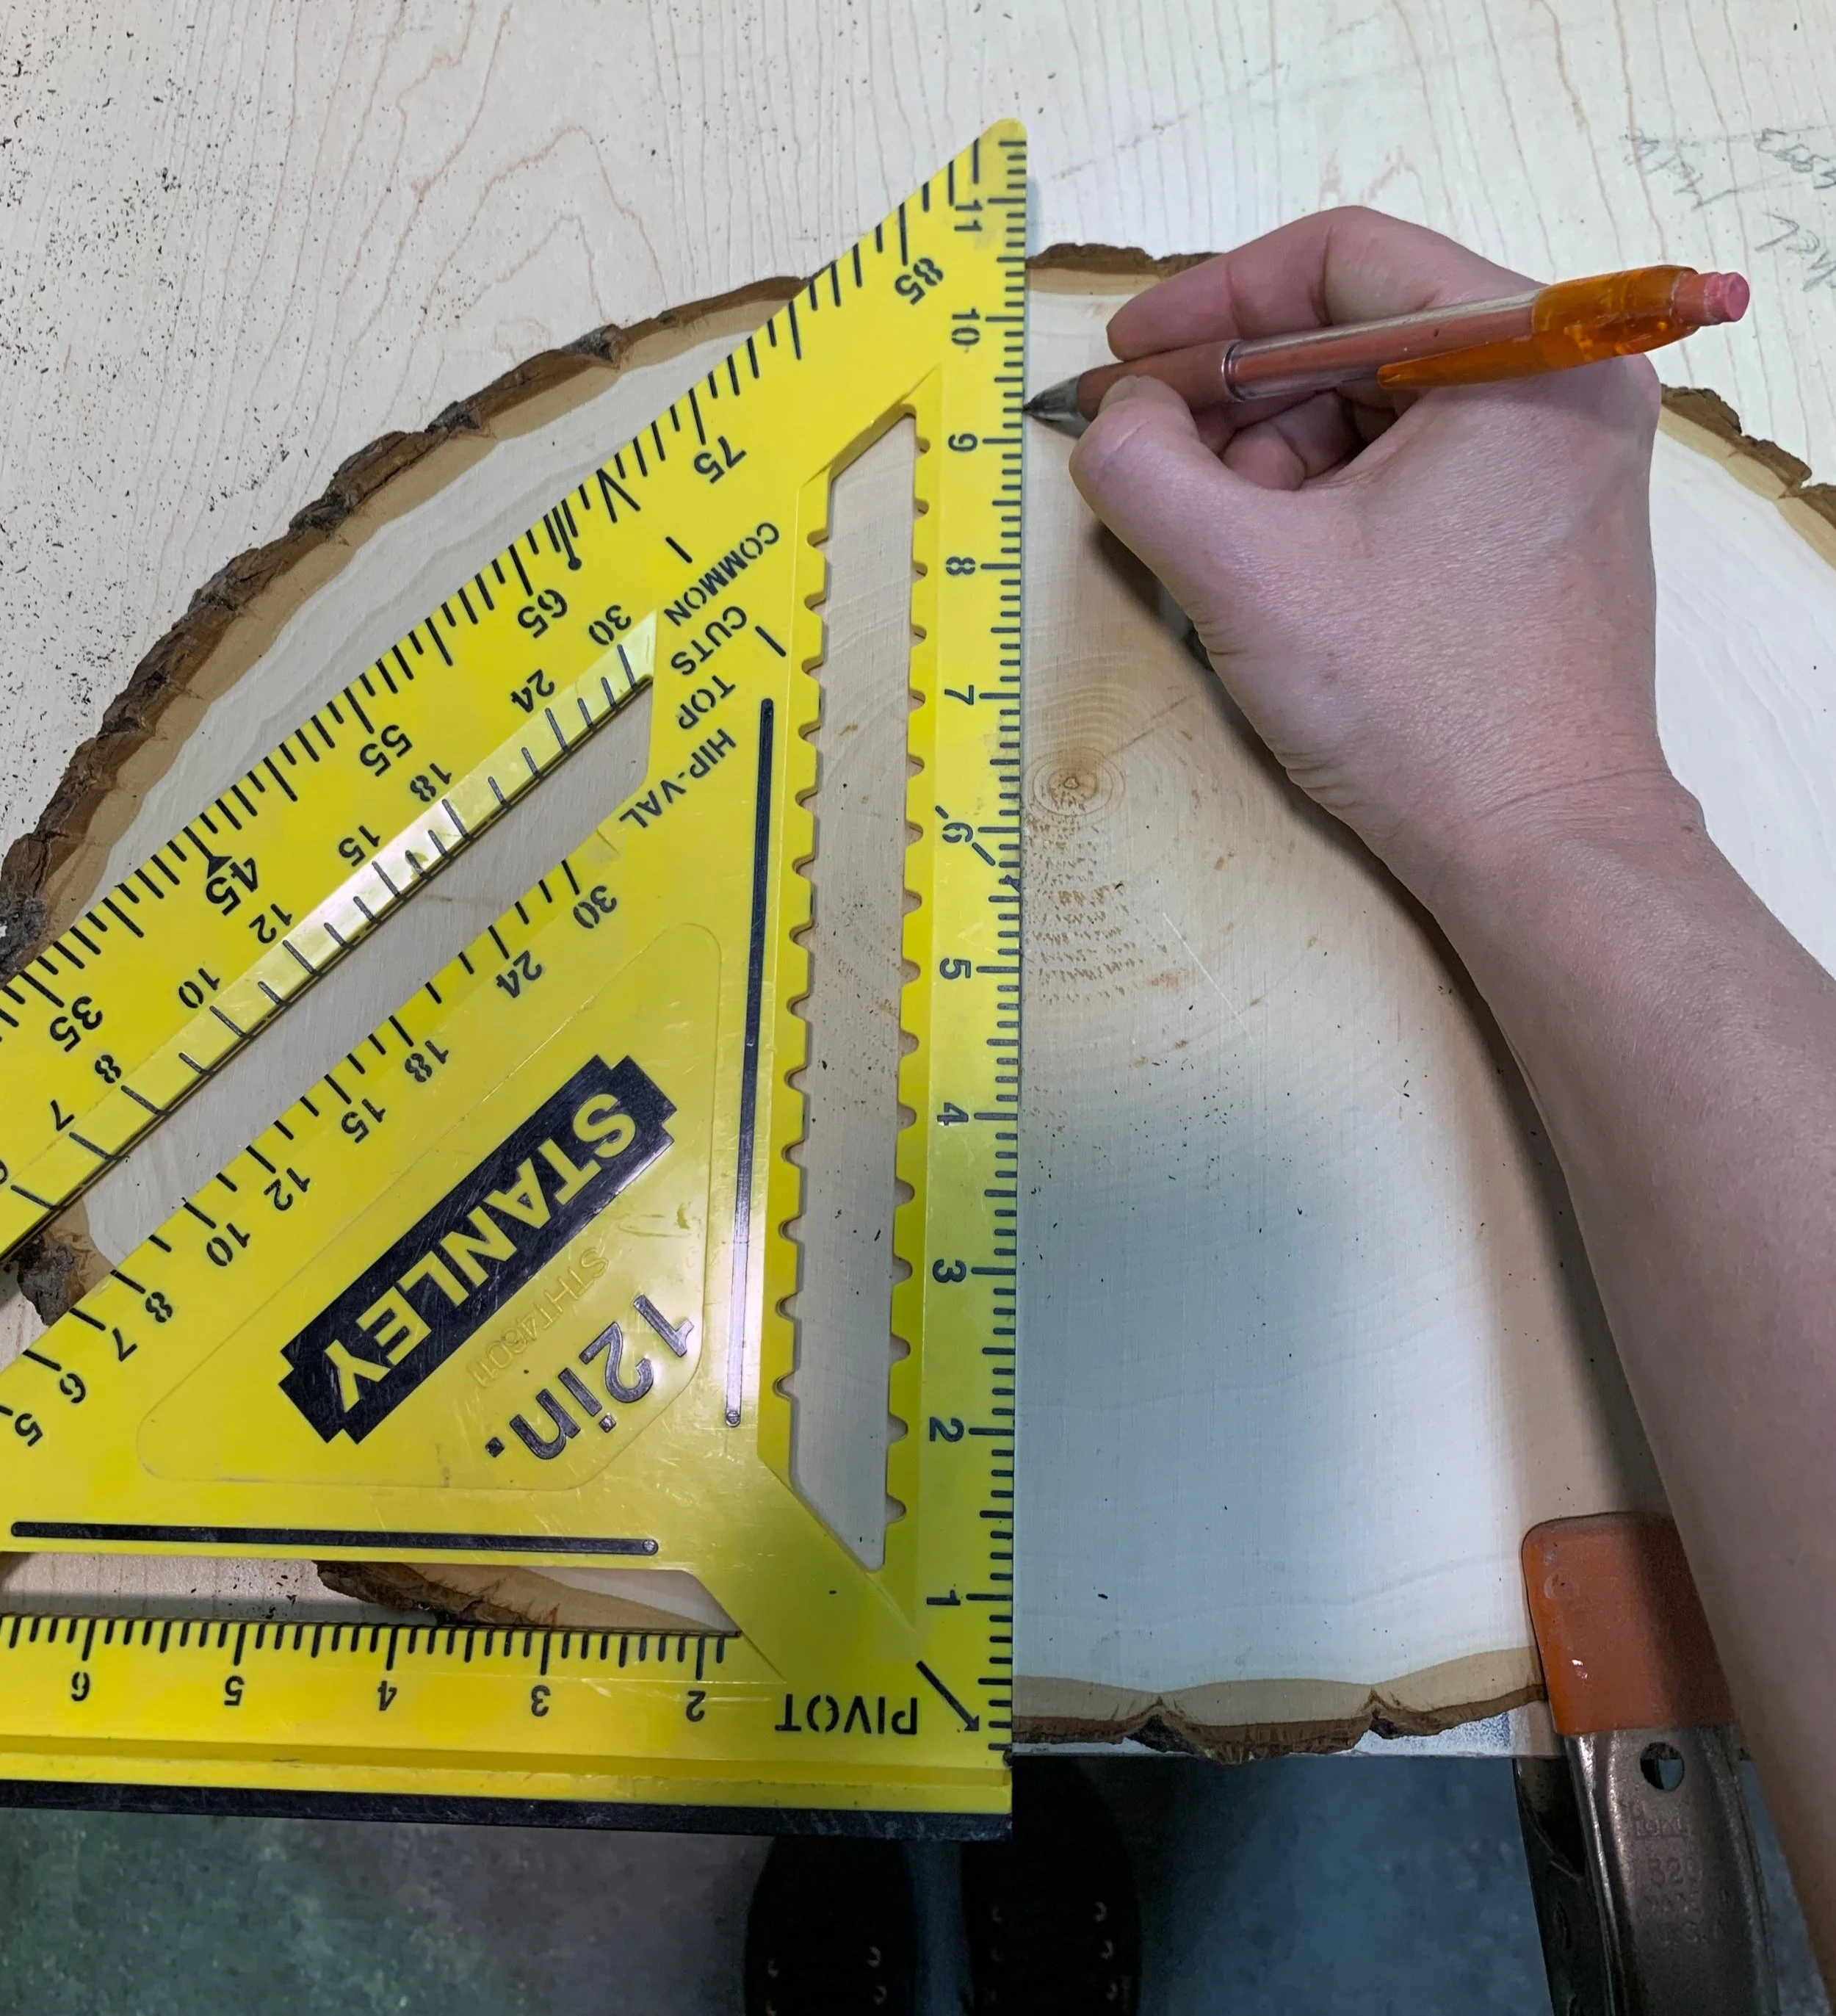
You may hear advice to always store wood flat, especially when it comes to longer pieces, but there is more to it than that. For pyrography surfaces which are generally smaller, especially thinner rounds or panels, bowing can happen whether they’re flat or standing upright.
What really matters is that the wood is supported and exposed to air evenly. If you’re short on space, it’s completely fine to store pieces upright as long as they’re not leaning at a sharp angle or pressed too tightly together.
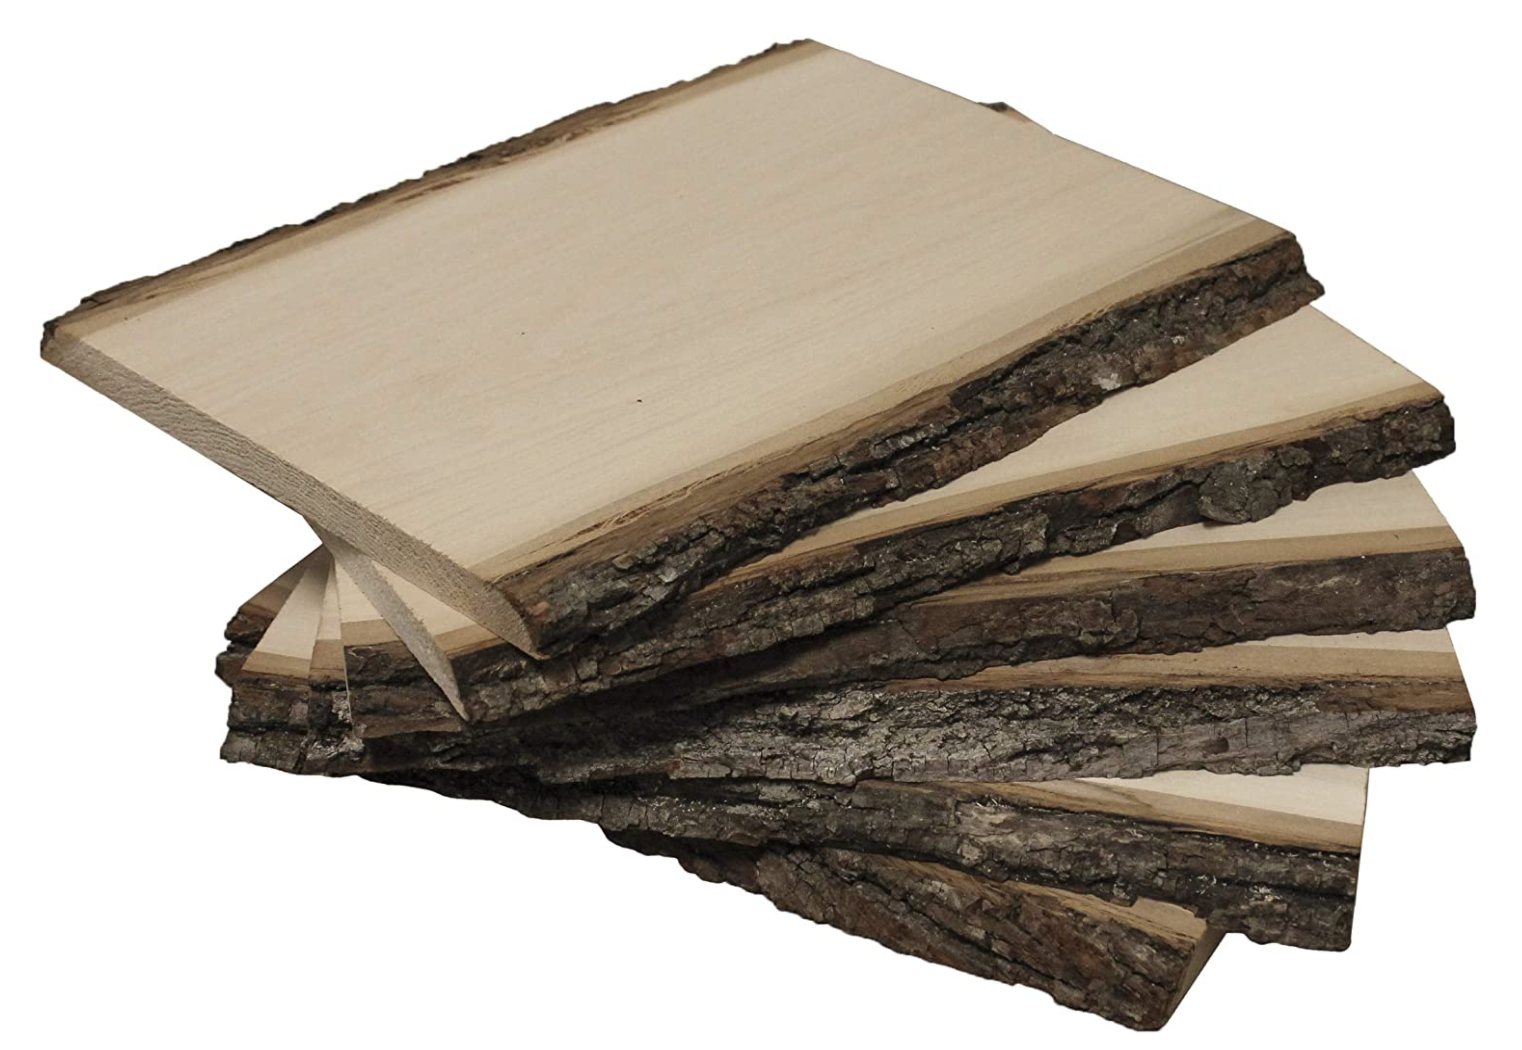
Below I have wood slices in an old shoe rack. They are not fully upright but enough to save space without them bowing. They are on a slight angle which makes it easy to look through and take them out. In this case, I do not have spacers here (and there are little cookies at the bottom stacked on top of each other) because these are in constant rotation.
Also, the ones in this picture that are wrapped in plastic have been professionally kiln dried from a well known company which I have used many times so I know there is no moisture in there!

Flat stacks can work too, but always give them breathing room (using stickers or spacers, see air circulation below) so moisture doesn’t get trapped. And if a piece does pick up a bit of a bow, don’t panic: light warping often flattens out once you tape or clamp it down for a period of time (faster if there is more humidity or heat in the air. In the end, it’s less about position and more about airflow.
Some ideas for storage can include:
Magazine racks or file organizers – perfect for upright storage of panels and slices, and easy to flip through like papers.
Dish drying racks – they already have built-in slots that keep pieces separated with airflow.
Wire baskets or milk crates – stackable, breathable, and easy to move around.
Pegboard with hooks – hang lightweight rounds or thin slabs like art in progress.
PVC pipe sections – cut into lengths and stacked like cubbies to slide wood slices into.
Air Circulation is Key
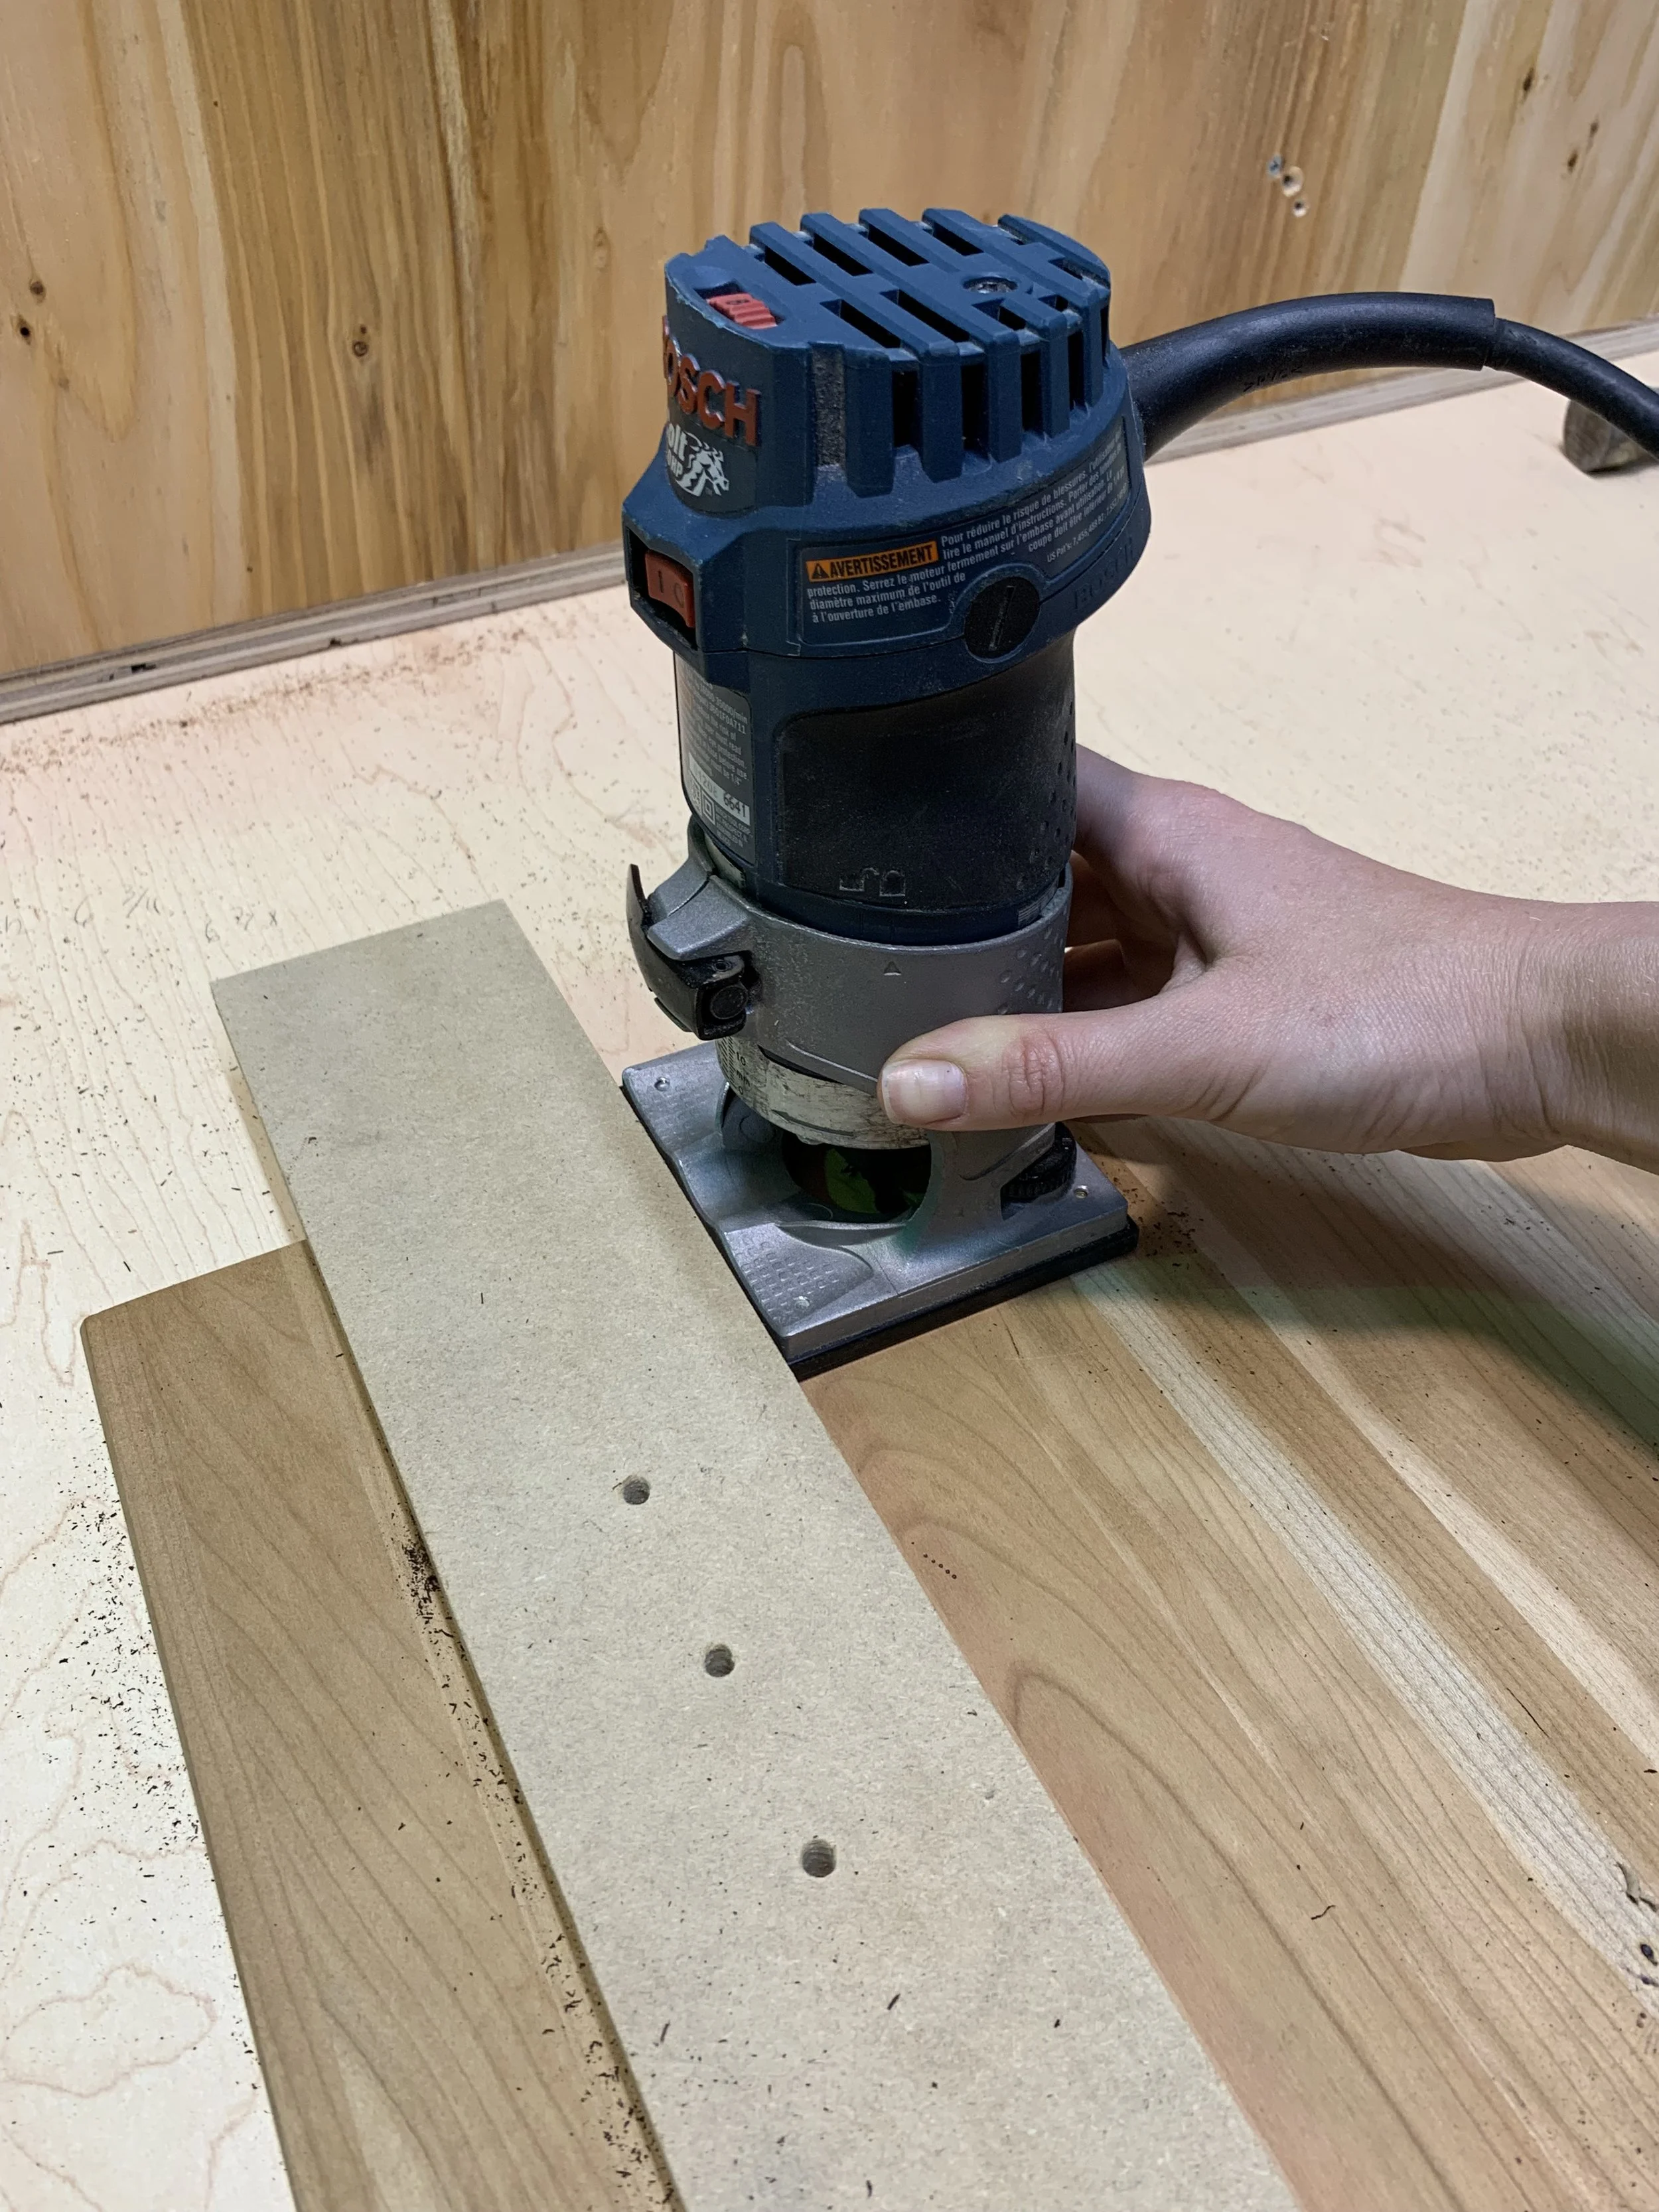
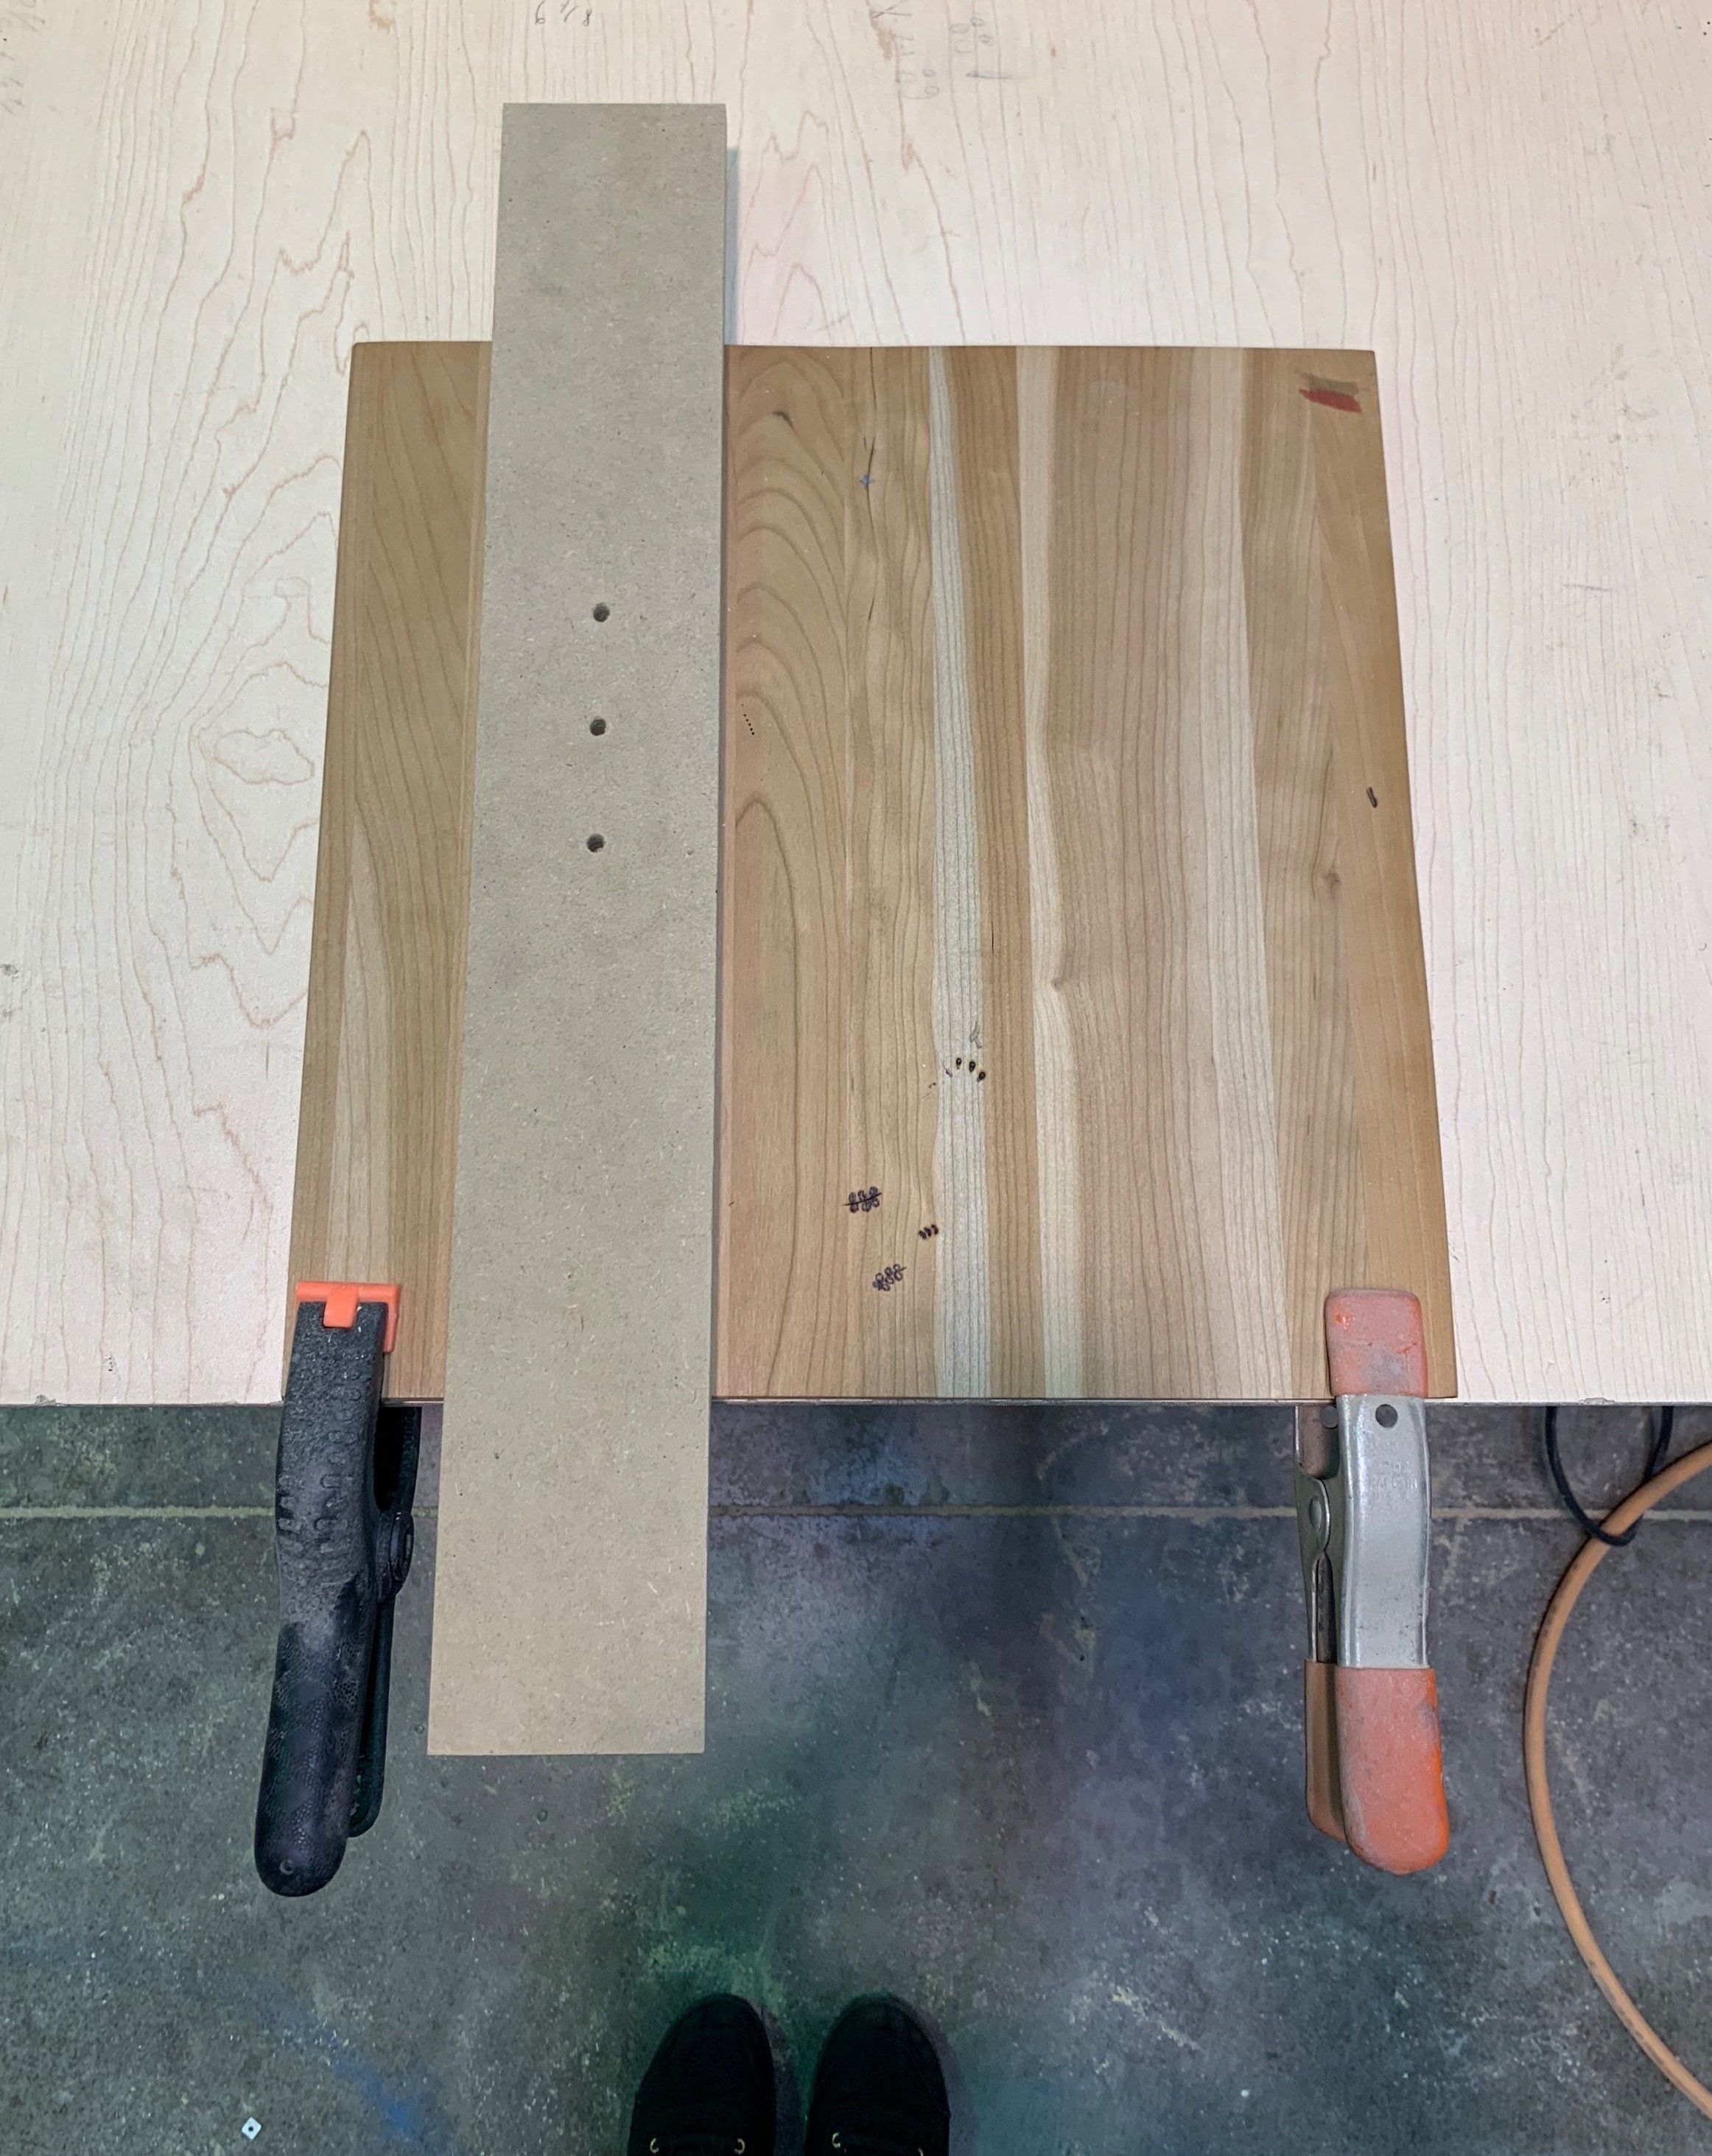
Wood needs to breathe. If you stack your pieces, don’t press them tightly together like pancakes. Place thin strips of wood (called stickers in woodworking) between each layer so air can circulate. This keeps moisture levels balanced and reduces the risk of mold or mildew.
If you’re working with smaller pyrography surfaces (rounds, plaques, offcuts), you can improvise stickers from:
popsicle sticks
thin offcuts
even cardboard strips (not ideal long term, but works in a pinch)
Avoid Direct Sunlight and Heat
Too much direct heat or UV exposure will dry out wood unevenly. Cracks, splits, and discolouration are all risks. Instead, aim for a cool, dry, shaded spot — a closet, basement shelf, or dedicated storage bin.
Watch the Humidity
If you live somewhere humid, or with fluctuating temperatures, like I have in Canada, you’ll want to keep an eye on moisture. A dehumidifier in your storage area can work wonders for super humid spaces. On the flip side, if your air is bone-dry, consider adding a little humidity so your wood doesn’t get brittle. The goal is balance.
For smaller pieces, if you’re storing wood in a bin:
Skip airtight plastic bins. They trap humidity inside like a greenhouse. Any moisture that’s in the wood (or the air the day you closed the lid) will stay there, which can lead to mold.
Go breathable if you can. Cardboard boxes, wooden crates, or cloth bags allow air exchange. If you do use plastic bins (because hey, sometimes it’s the easiest option), keep the lid cracked or drill a few small holes for airflow.
Add a moisture buffer. Toss in a handful of silica gel packets (like these or make your own) or a small dehumidifier pouch that will absorb excess moisture (I use these Charcoal Air Purifying Bags. What’s awesome about these are that they last for 2 years! All you need to do is dry them out in the sun once in a while; I do that about once every 2 months and there really is a difference - I have a sensitive nose and any smells that were present all disappear).
Don’t stack tight. Just like before, use stickers or at least avoid pressing pieces flat against each other. Even inside a bin, you want air circulation.
Keep Surfaces Clean and Protected
Dust, oils, or chemicals can seep into wood and make burning unpredictable and even toxic. Store your surfaces in a clean space, and if you’re keeping them long-term, wrap them in brown kraft paper or cotton cloth (breathable, but protective). Avoid plastic wrap, which traps moisture.
Label Your Stockpile
This one might sound a little extra, but the future-you may thank present-you. If you’ve got different species of wood, you may want to consider labelling them. They all burn differently and recognizing them after you’ve ripped off the labels might be tricky. Having them organized means less guessing when inspiration strikes.
Besides airflow, at the end of the day there isn’t just one right way to store wood. What matters is that your surfaces stay stable, dry, and easy to grab when inspiration strikes.