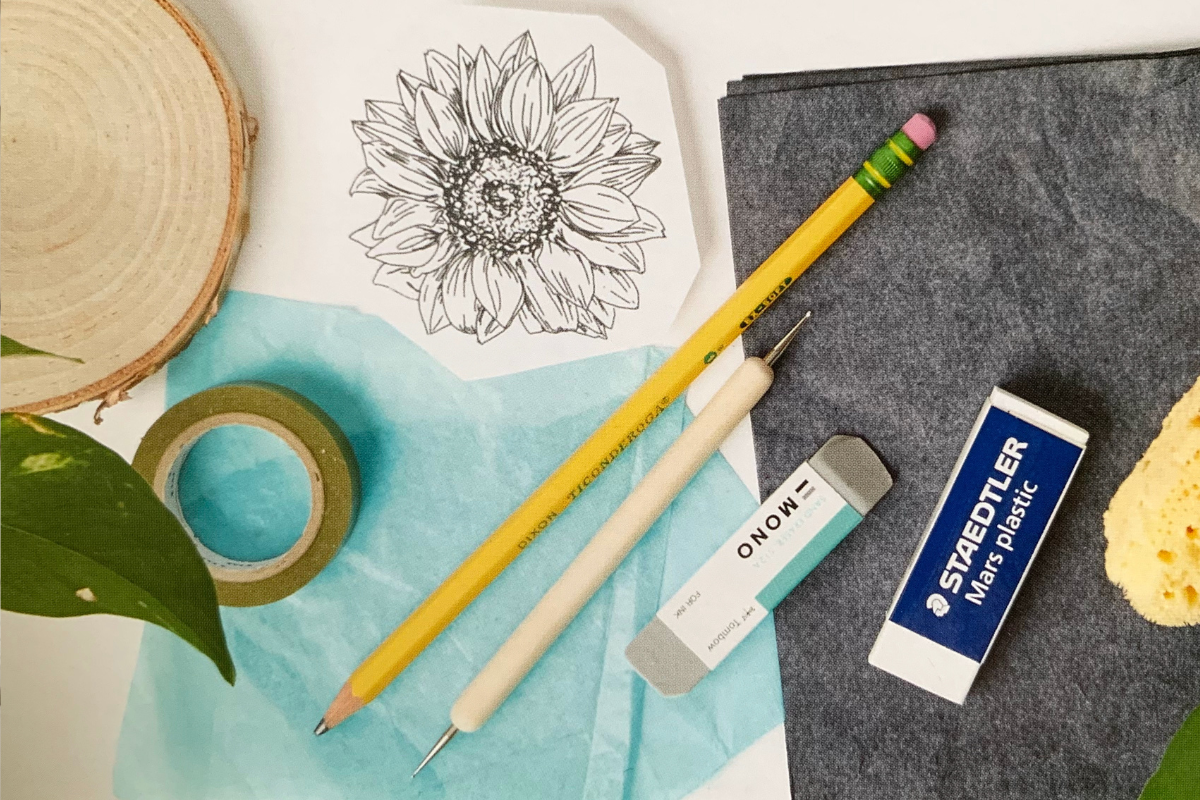
Do you have an image or design on paper that you want to transfer onto wood, but not sure where to start??
The following three transfer methods are super simple ways to do just that.
They are all cheap (or free) and give you a great way to start wood burning without having to draw directly on the wood!
I have gathered a lot of designs to get you started and to get you hooked on wood burning. Because it’s more fun when you practice burning with design you actually like to look at! And, for most people, it’s usually easier to trace and follow a line, compared to freehand burning. If you are looking to try the craft and not sure what to burn, grab one of our free templates, check out our template books or visit the templates store!
If you run into any snags along the way, or want to know what to do after you put the burner down, make sure to check out: how to get rid of mistakes and graphite/pencil lines.
Also, Click Here to see the instructions on how to transfer your image using heat if you want to save time on larger projects or ones that might be a little more complex.
top 3 ways to easily transfer an image onto wood
This first method is the most common one, and one I enjoy using myself most of the time!
1.GRAPHITE
Trasnferring tool: Pen or pencil or an Embossing tool
***Note: you may come across carbon paper which looks the same and transfers the same. Carbon is much harder to get off of the wood after the transfer so stick to graphite when you can!
You can also get White Graphite
Use the same technique for darker woods, like walnut. The darker the wood is, the better this method shows up!
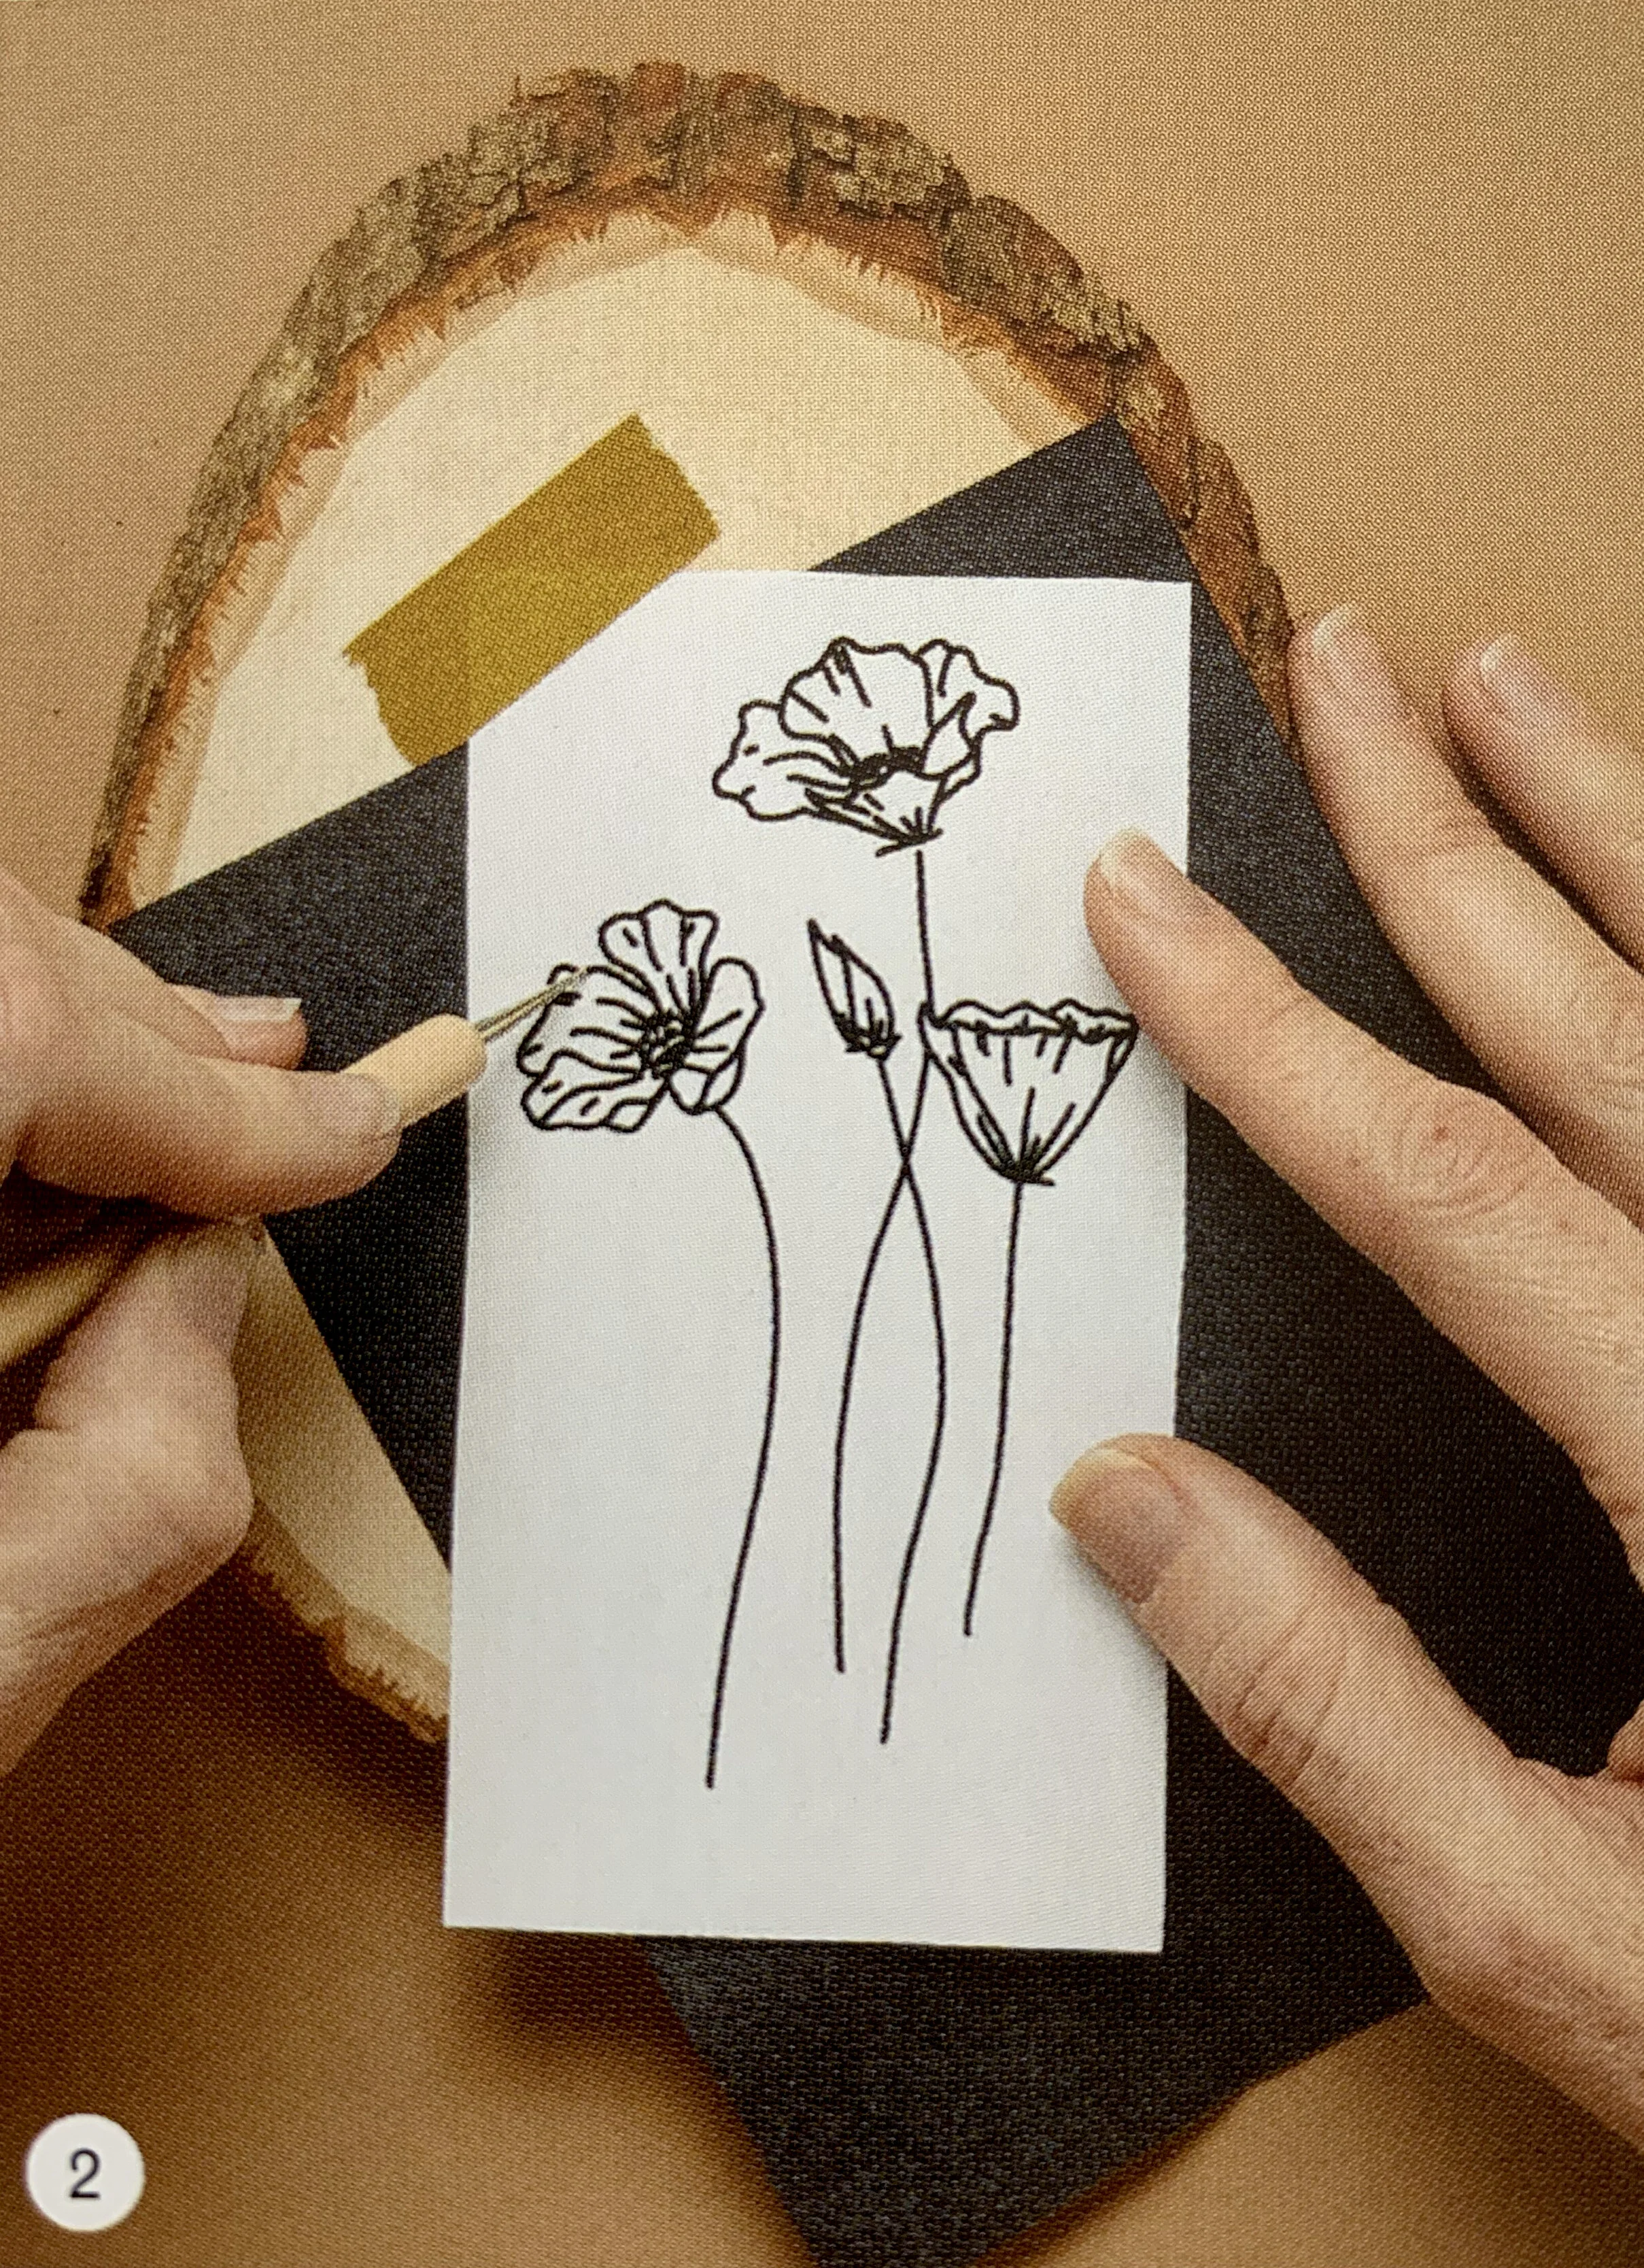
PRO’s: You only need graphite paper, a design, tape and a pencil. Low cost, easy to use and does a great job transferring even detailed designs. Graphite paper can be reused numerous times, and your designs can be used again as well.
CON’s: Graphite doesn’t remove easily on wood, so you have to be really careful with the transferring (don’t press too hard). Accidental smudges can happen easily. Store graphite separately from wood to make sure they don’t rub together. If you do get any smudges or leftover graphite, there is a chance you can save it by giving it a gentle sand with a 180 to 220 grit sandpaper (a finer grit sandpaper). Here are some other ways to remove leftover lines from transferring or drawing your design.
How to transfer using graphite:
After you’ve chosen a design and sized it to your sanded down wood slice; line it up and secure it using tape.
Slide the graphite paper, dark side facing the wood, underneath the design.
Take your pencil/pen/embossing tool and follow your design lines using light-medium pressure. Ensure you follow the design lines as closely as possible.
Check on the progress of your design, but do not move around or remove the design until you check to make sure it has completely transferred.
This video below features a Woodland Snail Template by Maria Johnson maple & Fern Co. from The Community Book of Templates, Volume 2. I used transfer paper to omit having to cut up the book or print anything and just traced it right off of the page!
2. BLUE CHACO PAPER
Blue Chaco (there are many different colors to choose from, blue is the darkest)
Trasnferring tool: Pen or pencil or an Embossing tool
PRO’s: Transfers easily like graphite paper, easily removes with damp cloth. Doesn’t stain/scar wood. Can be removed entirely.
CON’s: Be careful not to use too much water. It rubs off really easily, so it is not great for long-term use or too much detail as it can rub off with your hand. Also, since it blue in colour, it’s little harder to see on the wood if your wood is light.
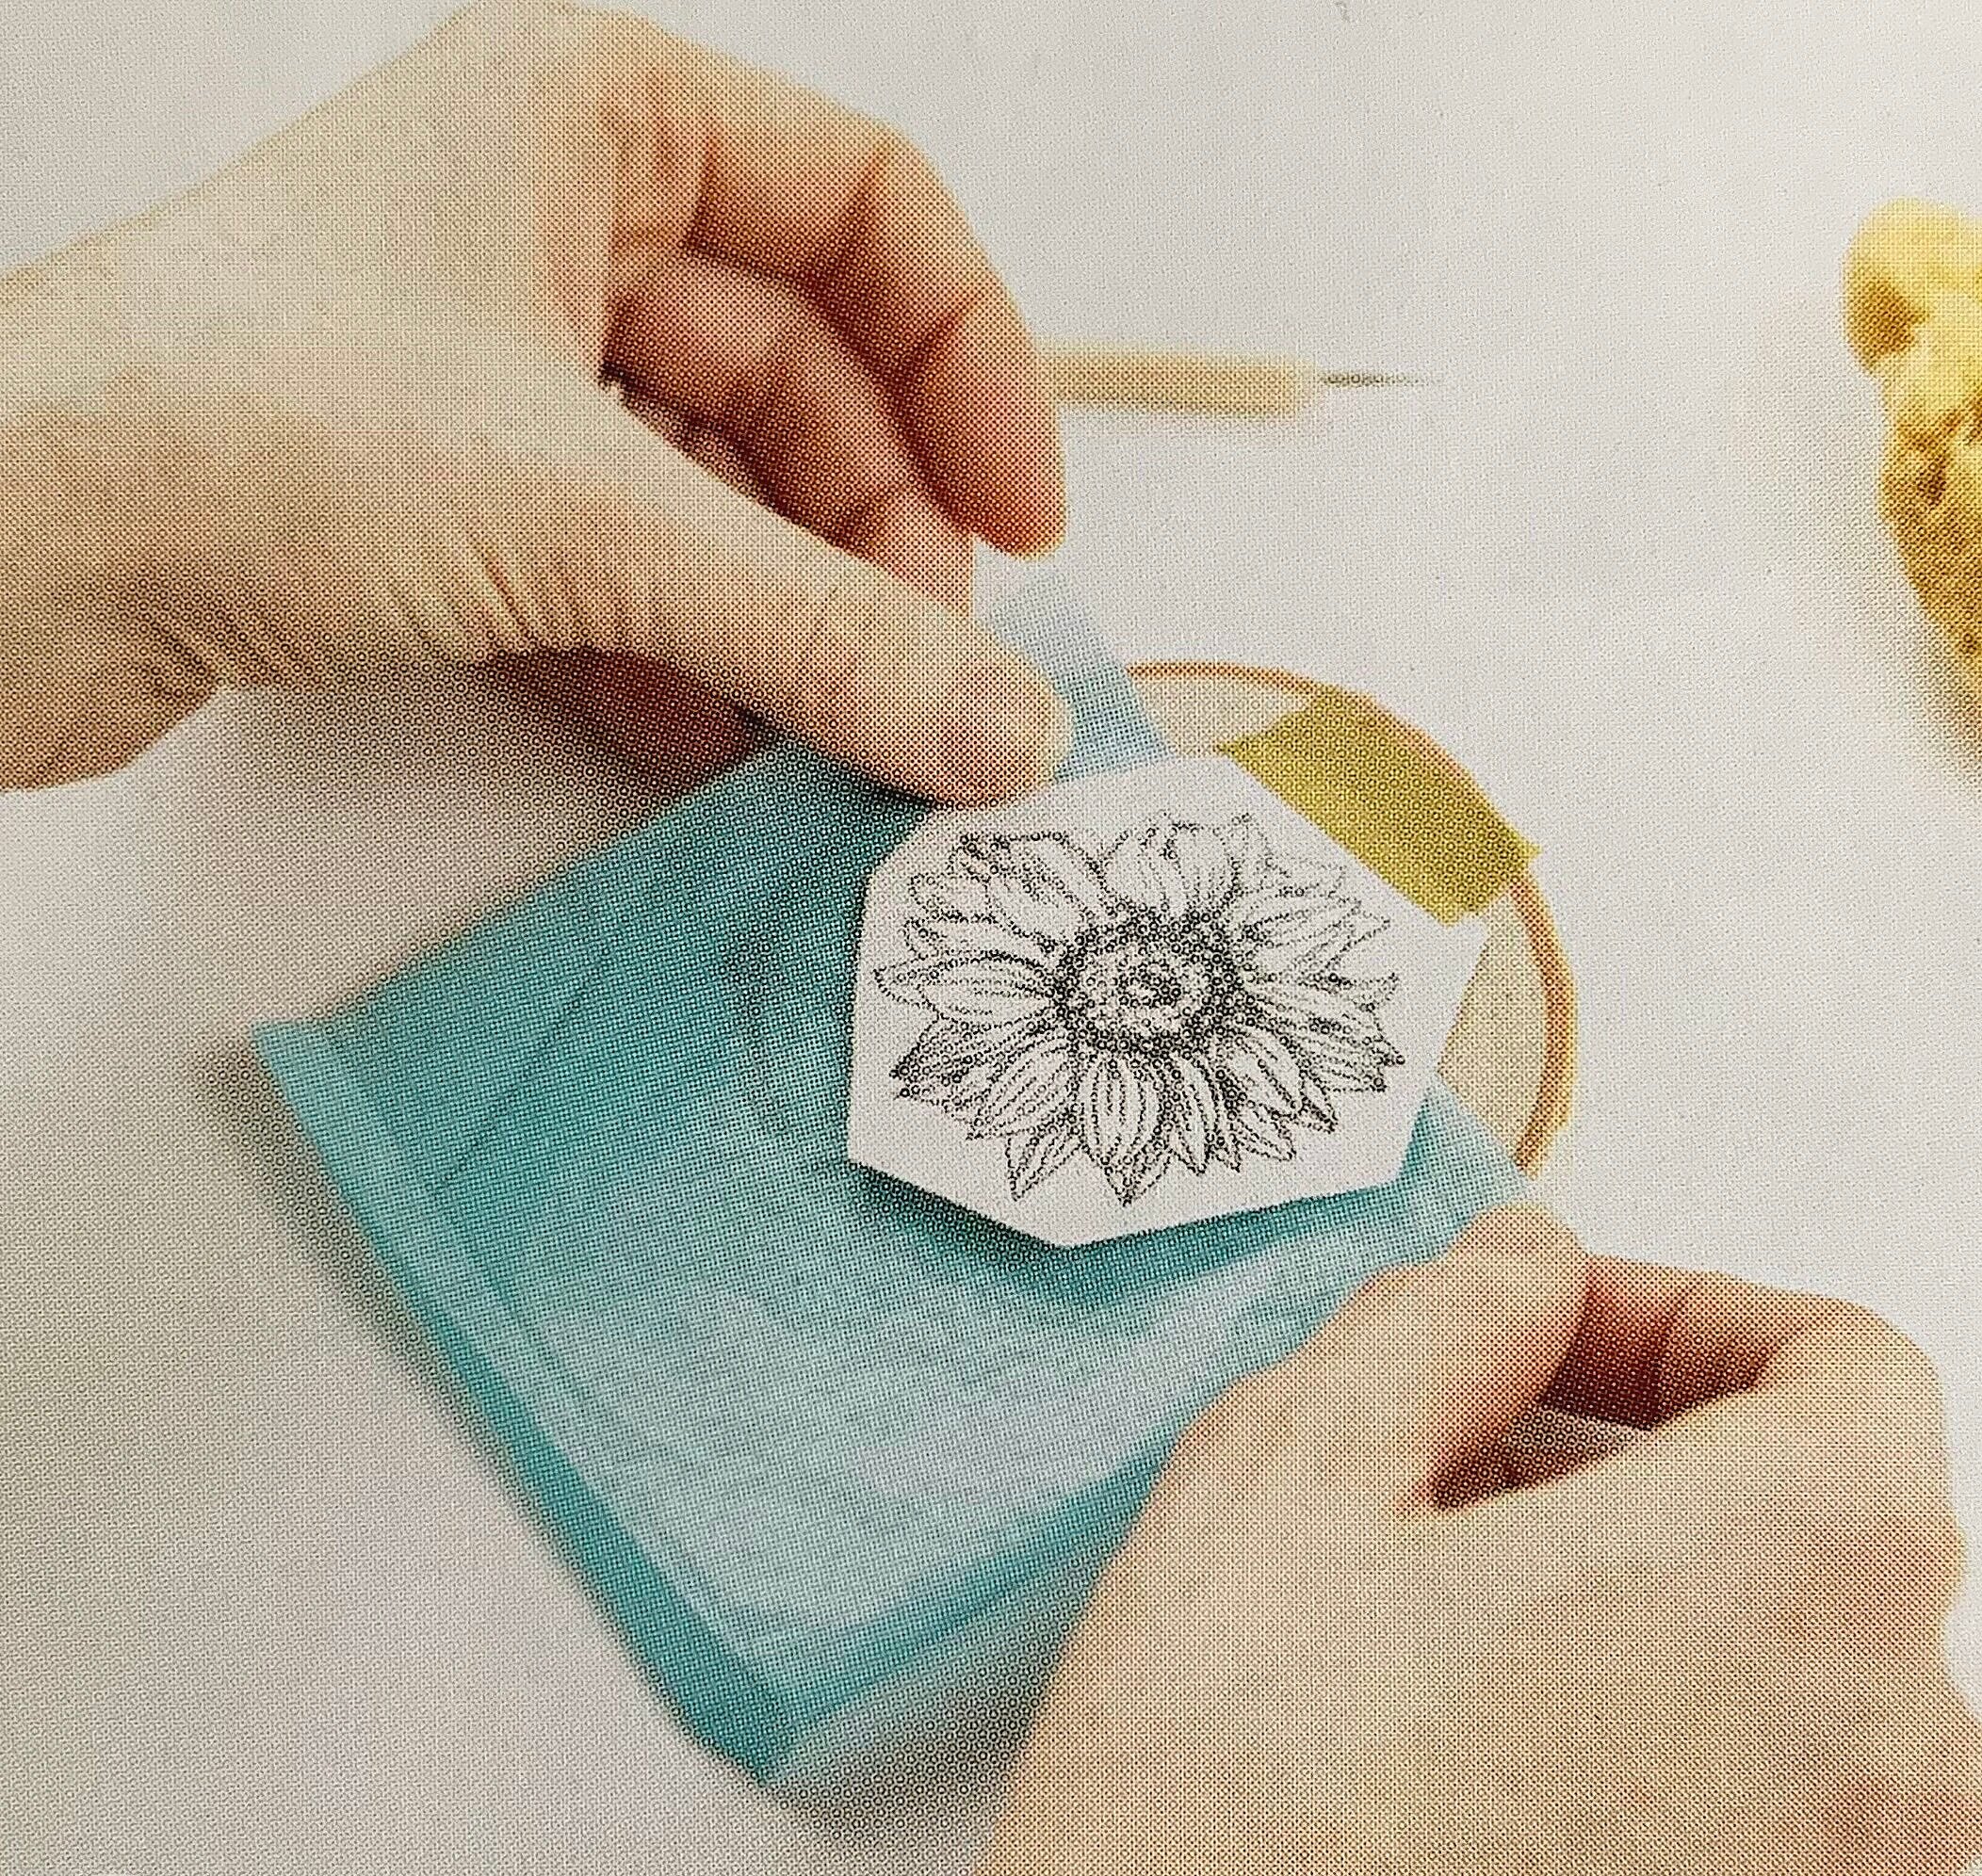
This is a special paper with blue chalk on it. It transfers much like graphite paper, but erases with just a damp cloth.
How to transfer using ChACO paper:
Tape your design onto your wood, face up.
Slide the blue Chaco paper underneath with the blue side facing the wood.
Follow your design lines using an embossing tool or a ballpoint pen.
Check on progress of transfer, and remove design and chaco paper when everything has transferred Can be used for woodburning.
After wood burning is complete, you can remove the excess chaco markings with a damp cloth.
This next one is the easiest!! I have definitely used this one when I didn’t have any other options and although it might not come out as dark as the above methods, it is really easy to remove and gives me enough information to complete the burn!
3. Pencil on Paper
We like to use the Tombow Pencils $9 (6 pack) or Ticonderoga Pencils $5 (12 pack) but any pencil will do; the softer the lead, the better (ie. 10B is better to use versus a 2B or any H’s)
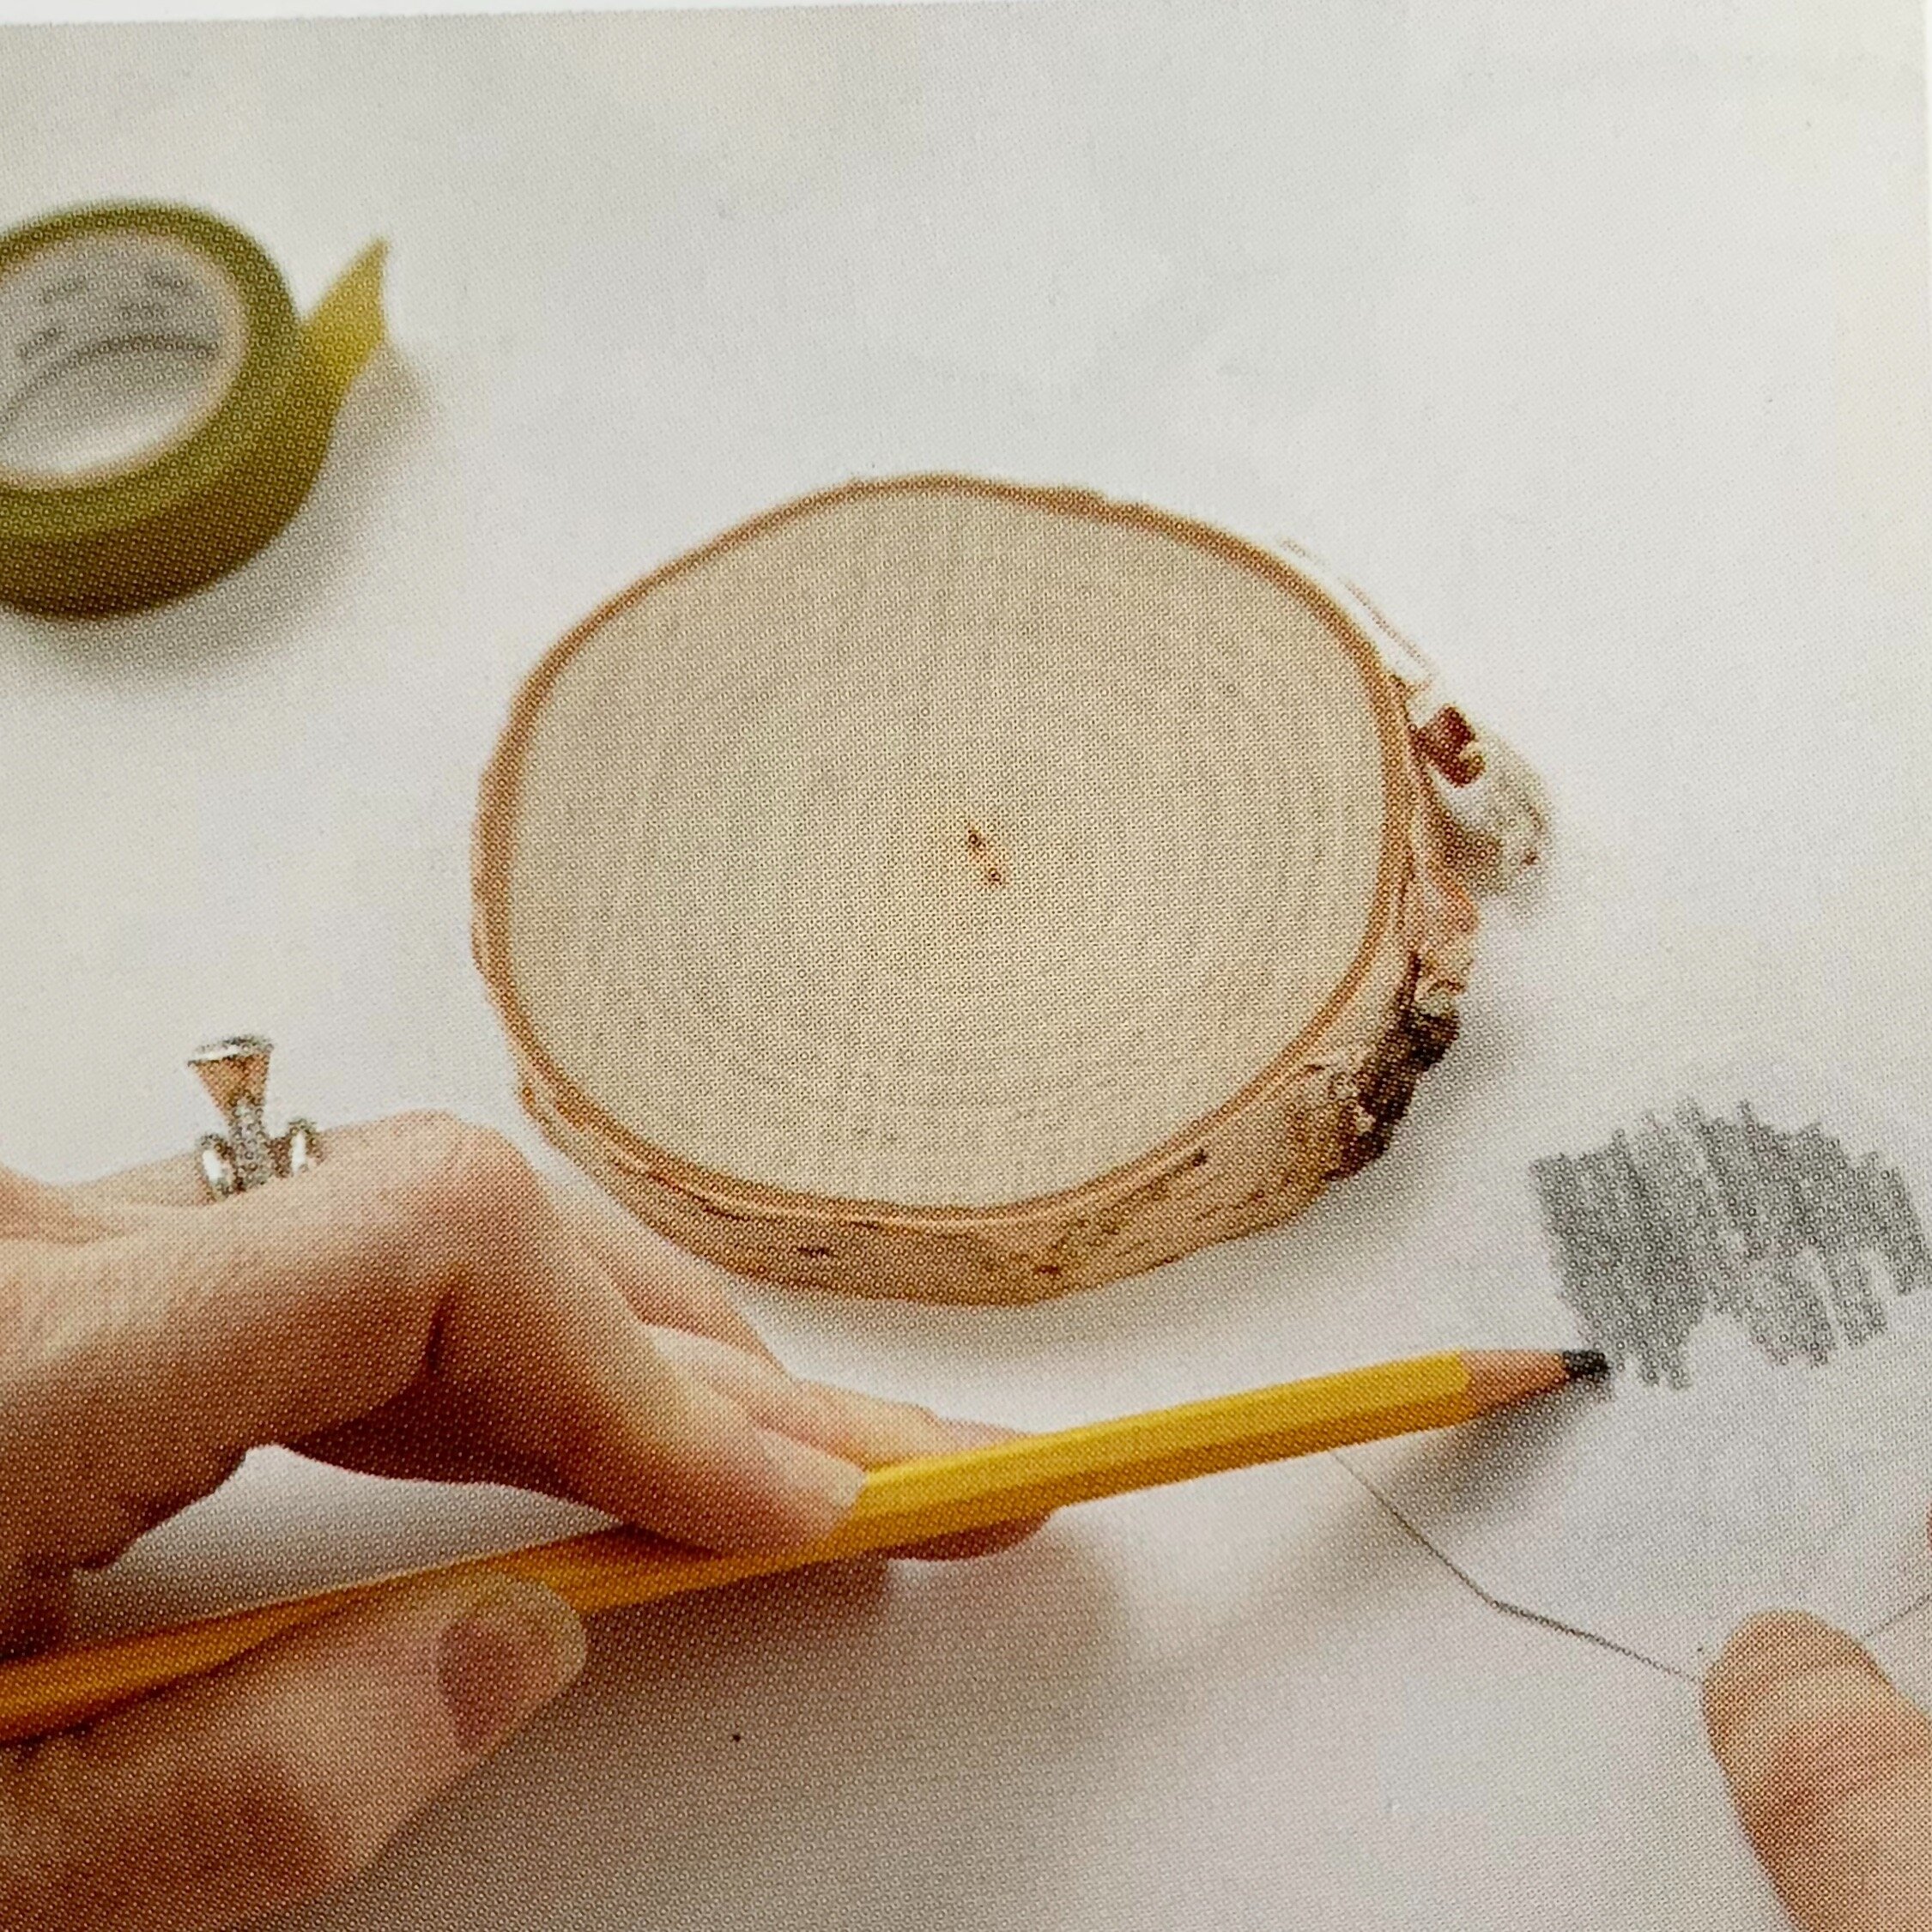
PRO’s: It doesn’t require any fancy tools. It works well, and makes for a nice transfer. Works well for fonts and most designs.
CON’s: Time consuming, messy and can have some missing spots. Not great for really fine detailed pieces.
Take your design and flip it over
Blacken/shade the entire backside of your design with an extra-soft pencil, or any line that you will want transferred. Go past the lines on either side, to give yourself some wiggle room when you do the actual transfer.
Flip it back over, with the blackened side down, and carefully place and secure it to the wood slice. You don’t want to rub or move it around too much, because it will rub onto the wood.
Take your pen/pencil/embossing tool and go over the design with a light to medium pressure. Follow your lines as closely as possible. The more precise your transfer, the better your design will look.
Ensure you have completed the transfer before removing the design.
These methods above are simple and accessible. They do require you to re-draw your design, however, some people have said they enjoy getting to know the piece when they are tracing it.
Others just want to skip the trace and get to burning. Also, some designs can be intricate and detailed, so a quicker method could be more efficient. One of my other favourite transfer method uses heat and although it does require a few extra tools and steps, is much faster to complete: