"Royalty-free" in the context of art design refers to a licensing method where the purchaser pays a one-time fee to use the artwork without paying additional royalties or license fees for each use or volume sold. This contrasts with other licensing models, like rights-managed or editorial use, which may require ongoing payments based on usage parameters.
Here are some key aspects of royalty-free licenses:
Unlimited Use: Once purchased, the buyer can use the royalty-free artwork multiple times for multiple projects without incurring additional costs.
Flexible Application: The artwork can be used in a variety of applications, including marketing materials, websites, product packaging, and more, depending on the specifics of the license.
Non-Exclusive: Royalty-free licenses are typically non-exclusive, meaning the same artwork can be sold to multiple customers and used by them concurrently.
Upfront Cost: The initial cost tends to be higher than that of some other licensing models because it often covers broad usage rights.
** It's important for buyers to read the specific terms of a royalty-free license because restrictions may still apply, such as limitations on resale, modifications, or geographic use.
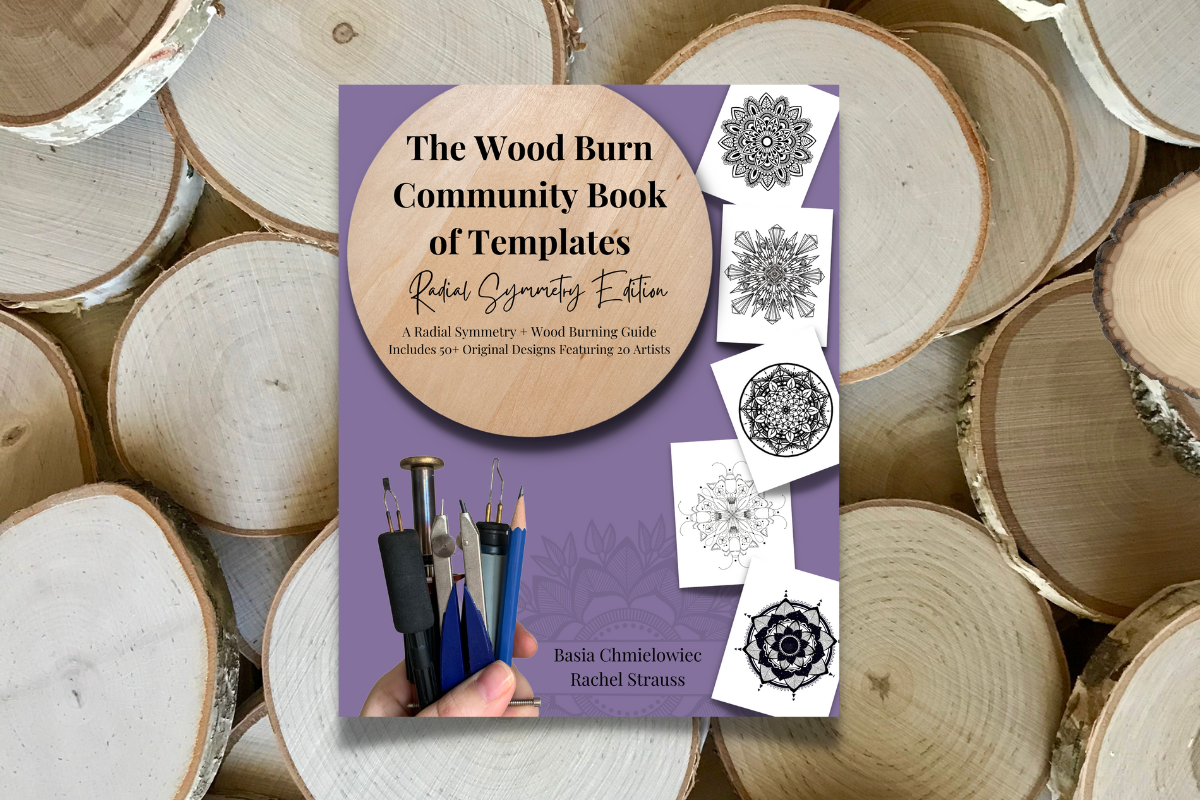
You're welcome to use our royalty-free templates to create and monetize your own content, but please remember: reselling the template as is, is not allowed. This helps keep it exclusive and valuable for all creators. All our royalty-free templates include a .Jpg, .Png, .Svg, and a .Pdf so users can easily transfer them to any medium.
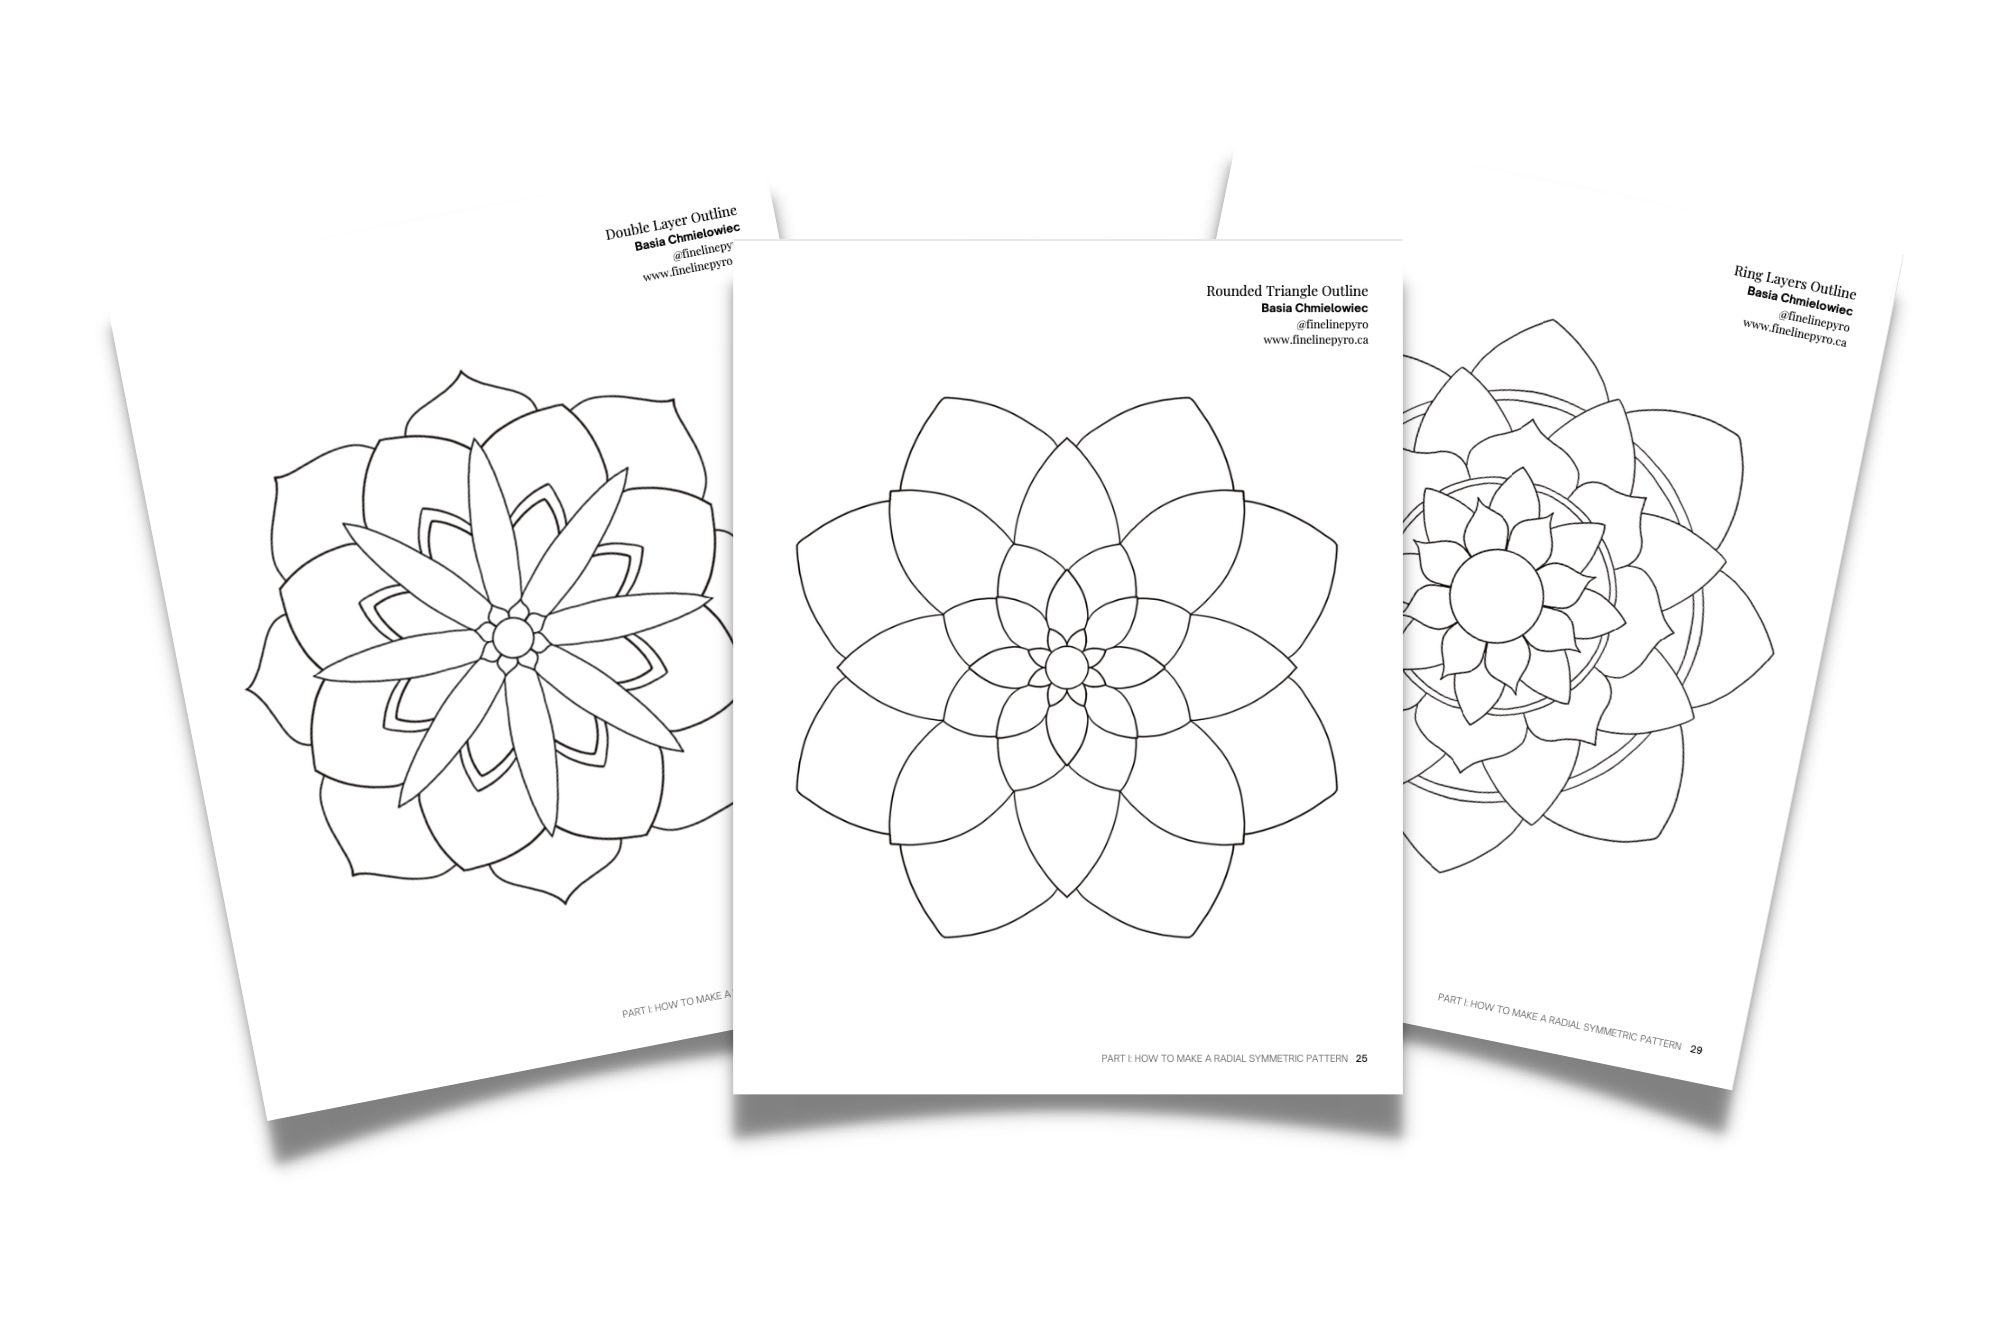
Check out what templates we have that are free for you to use however you like:
Did you know?
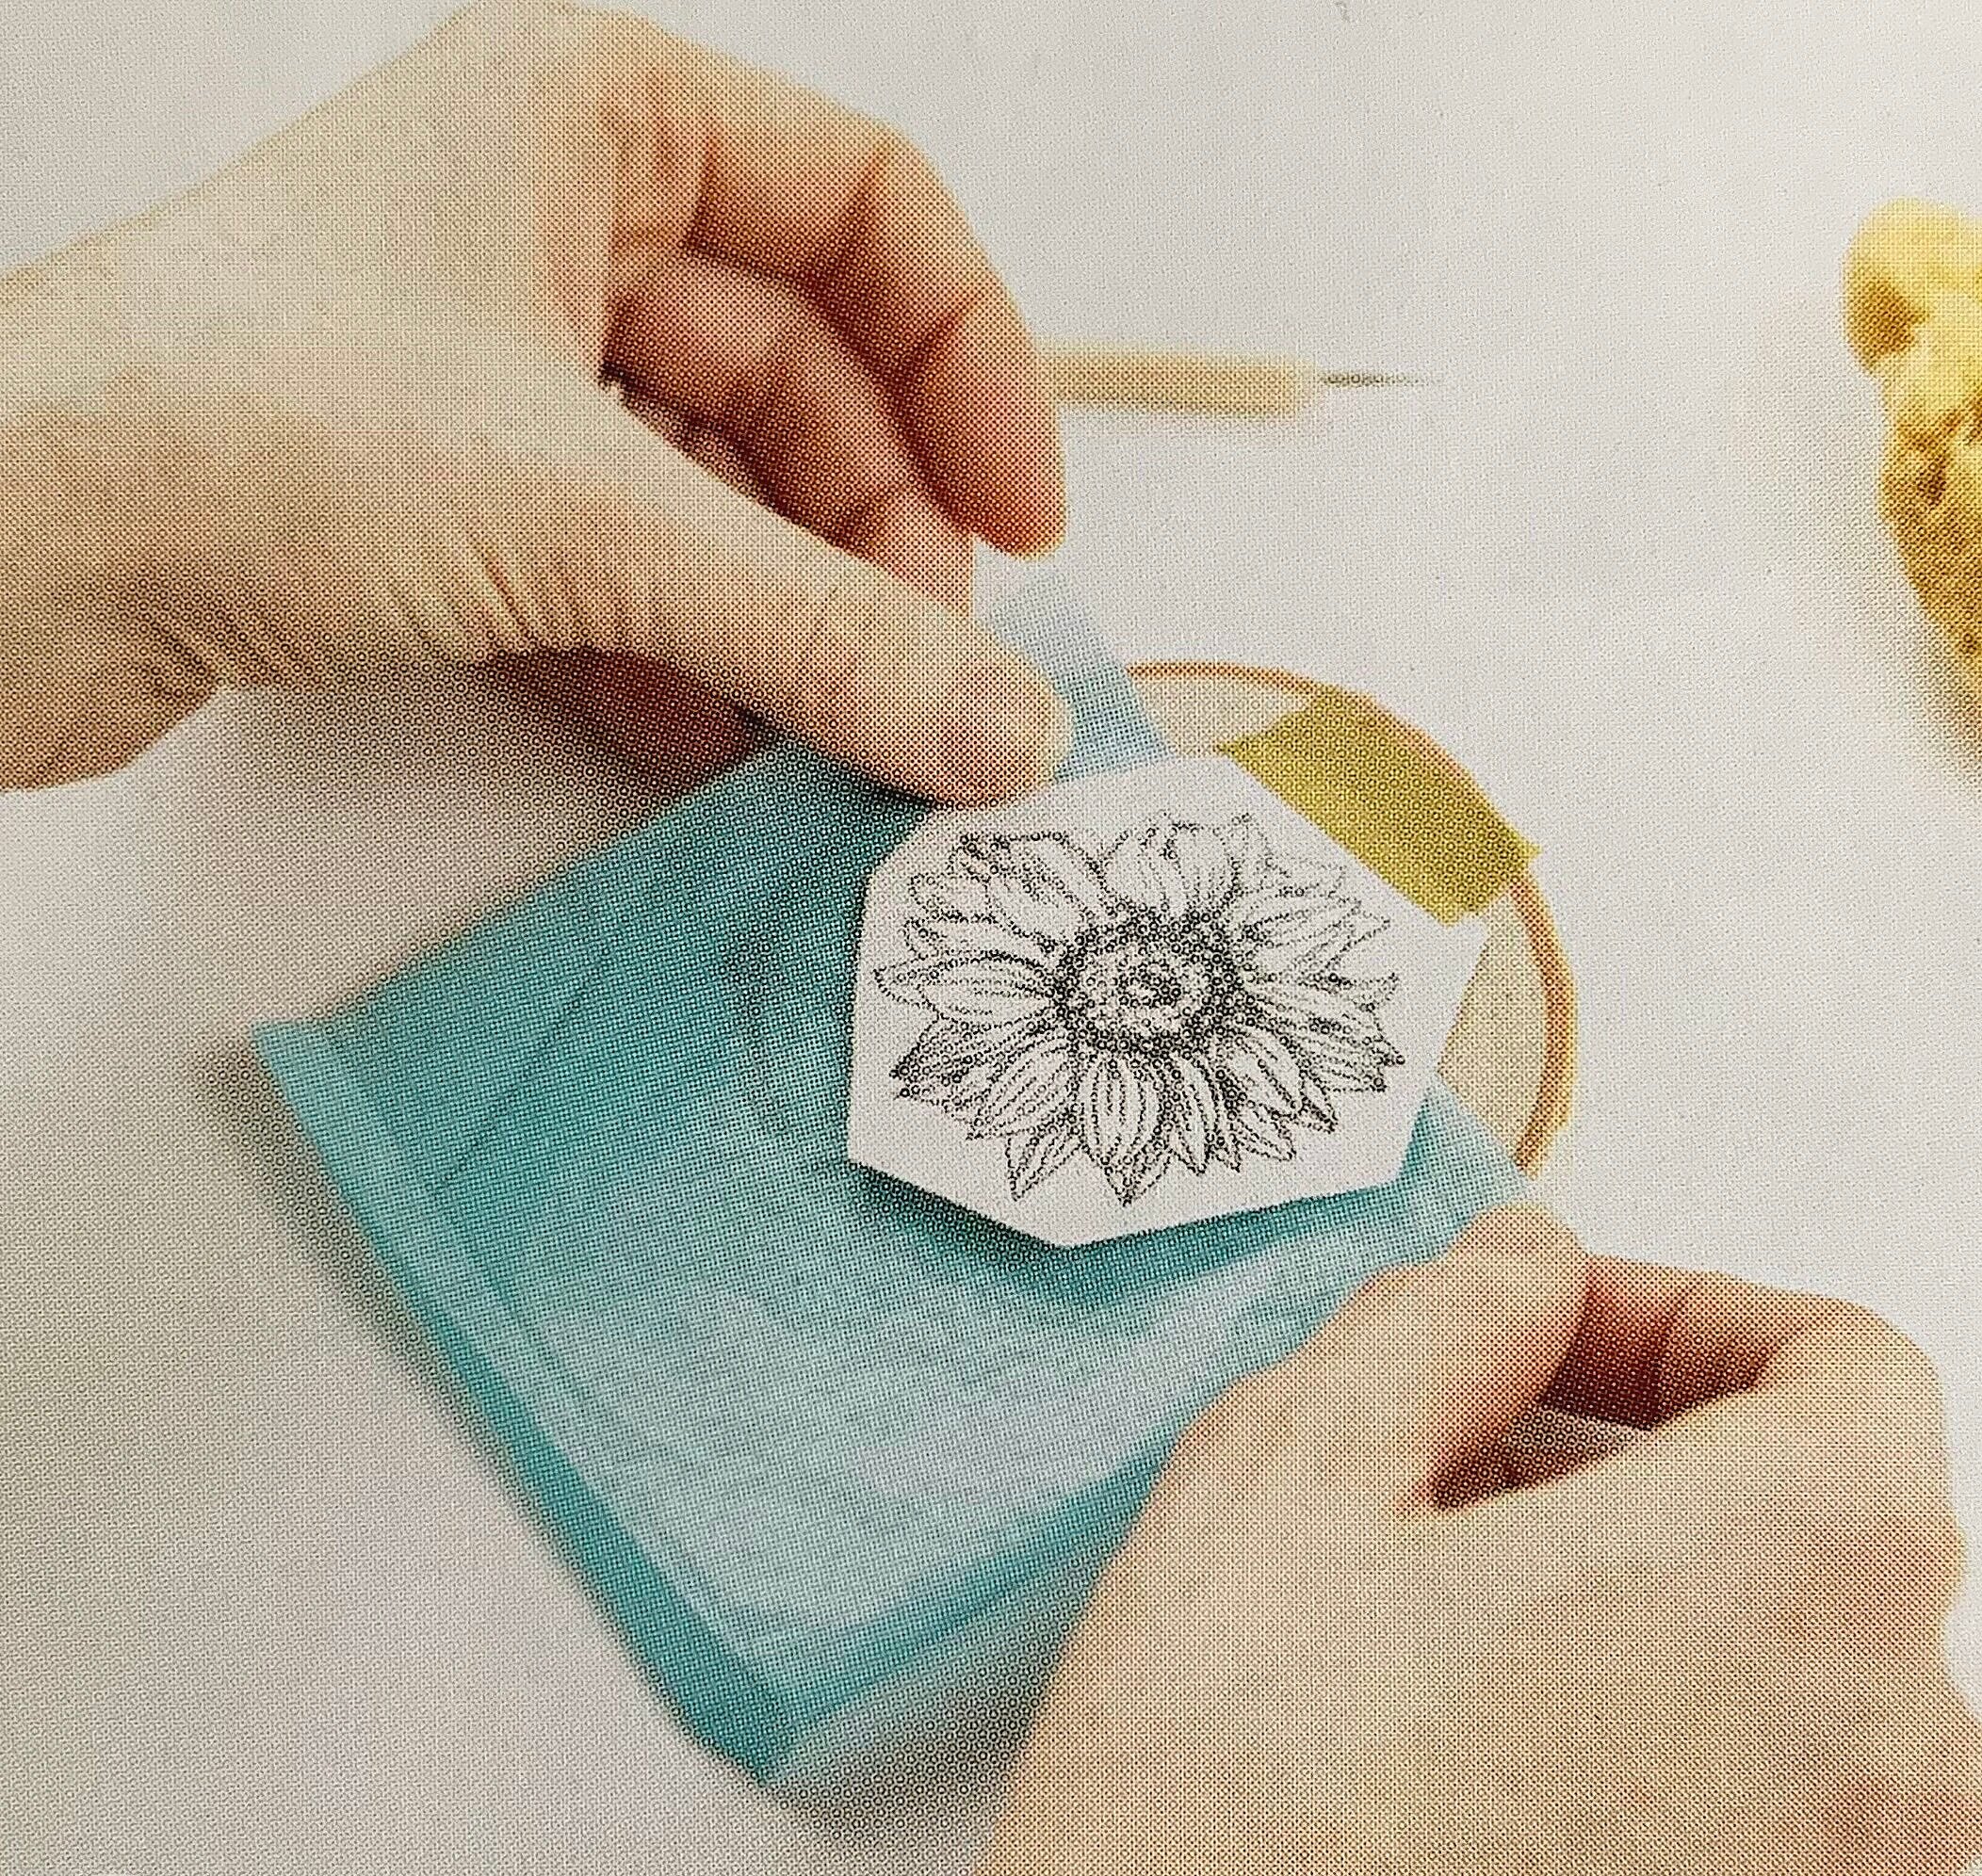
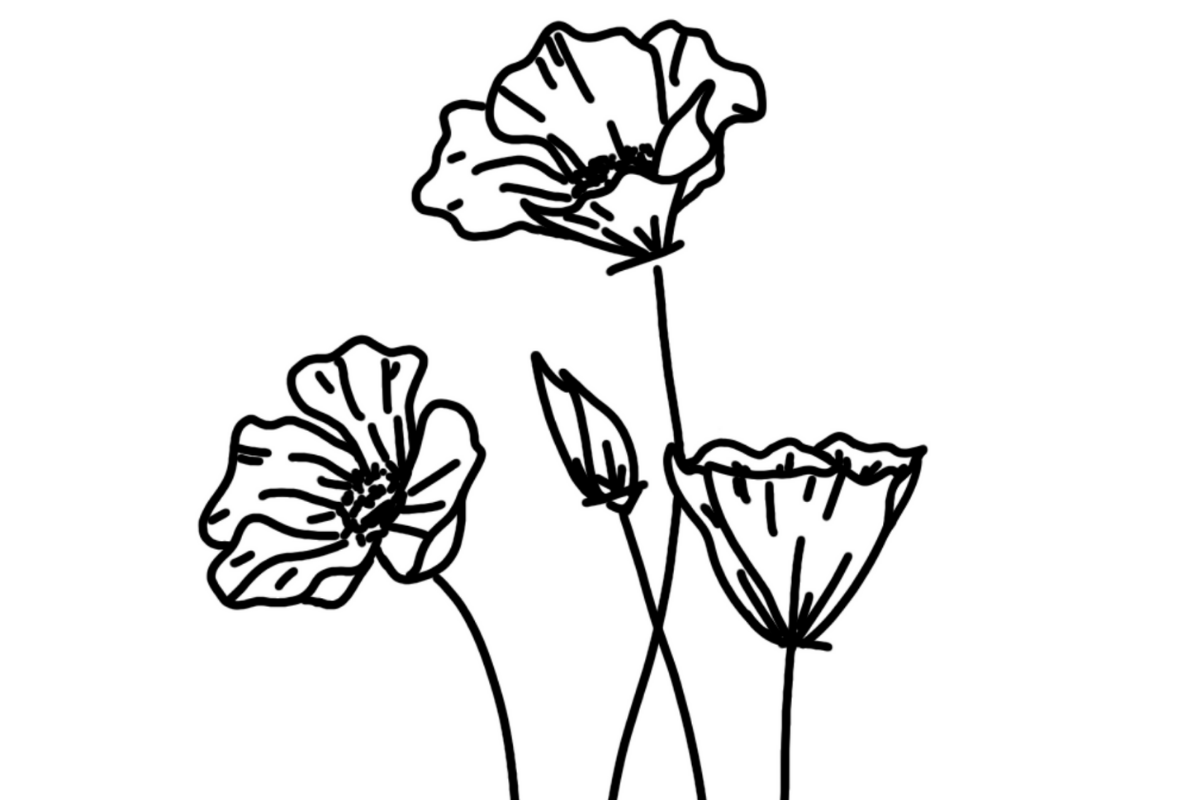
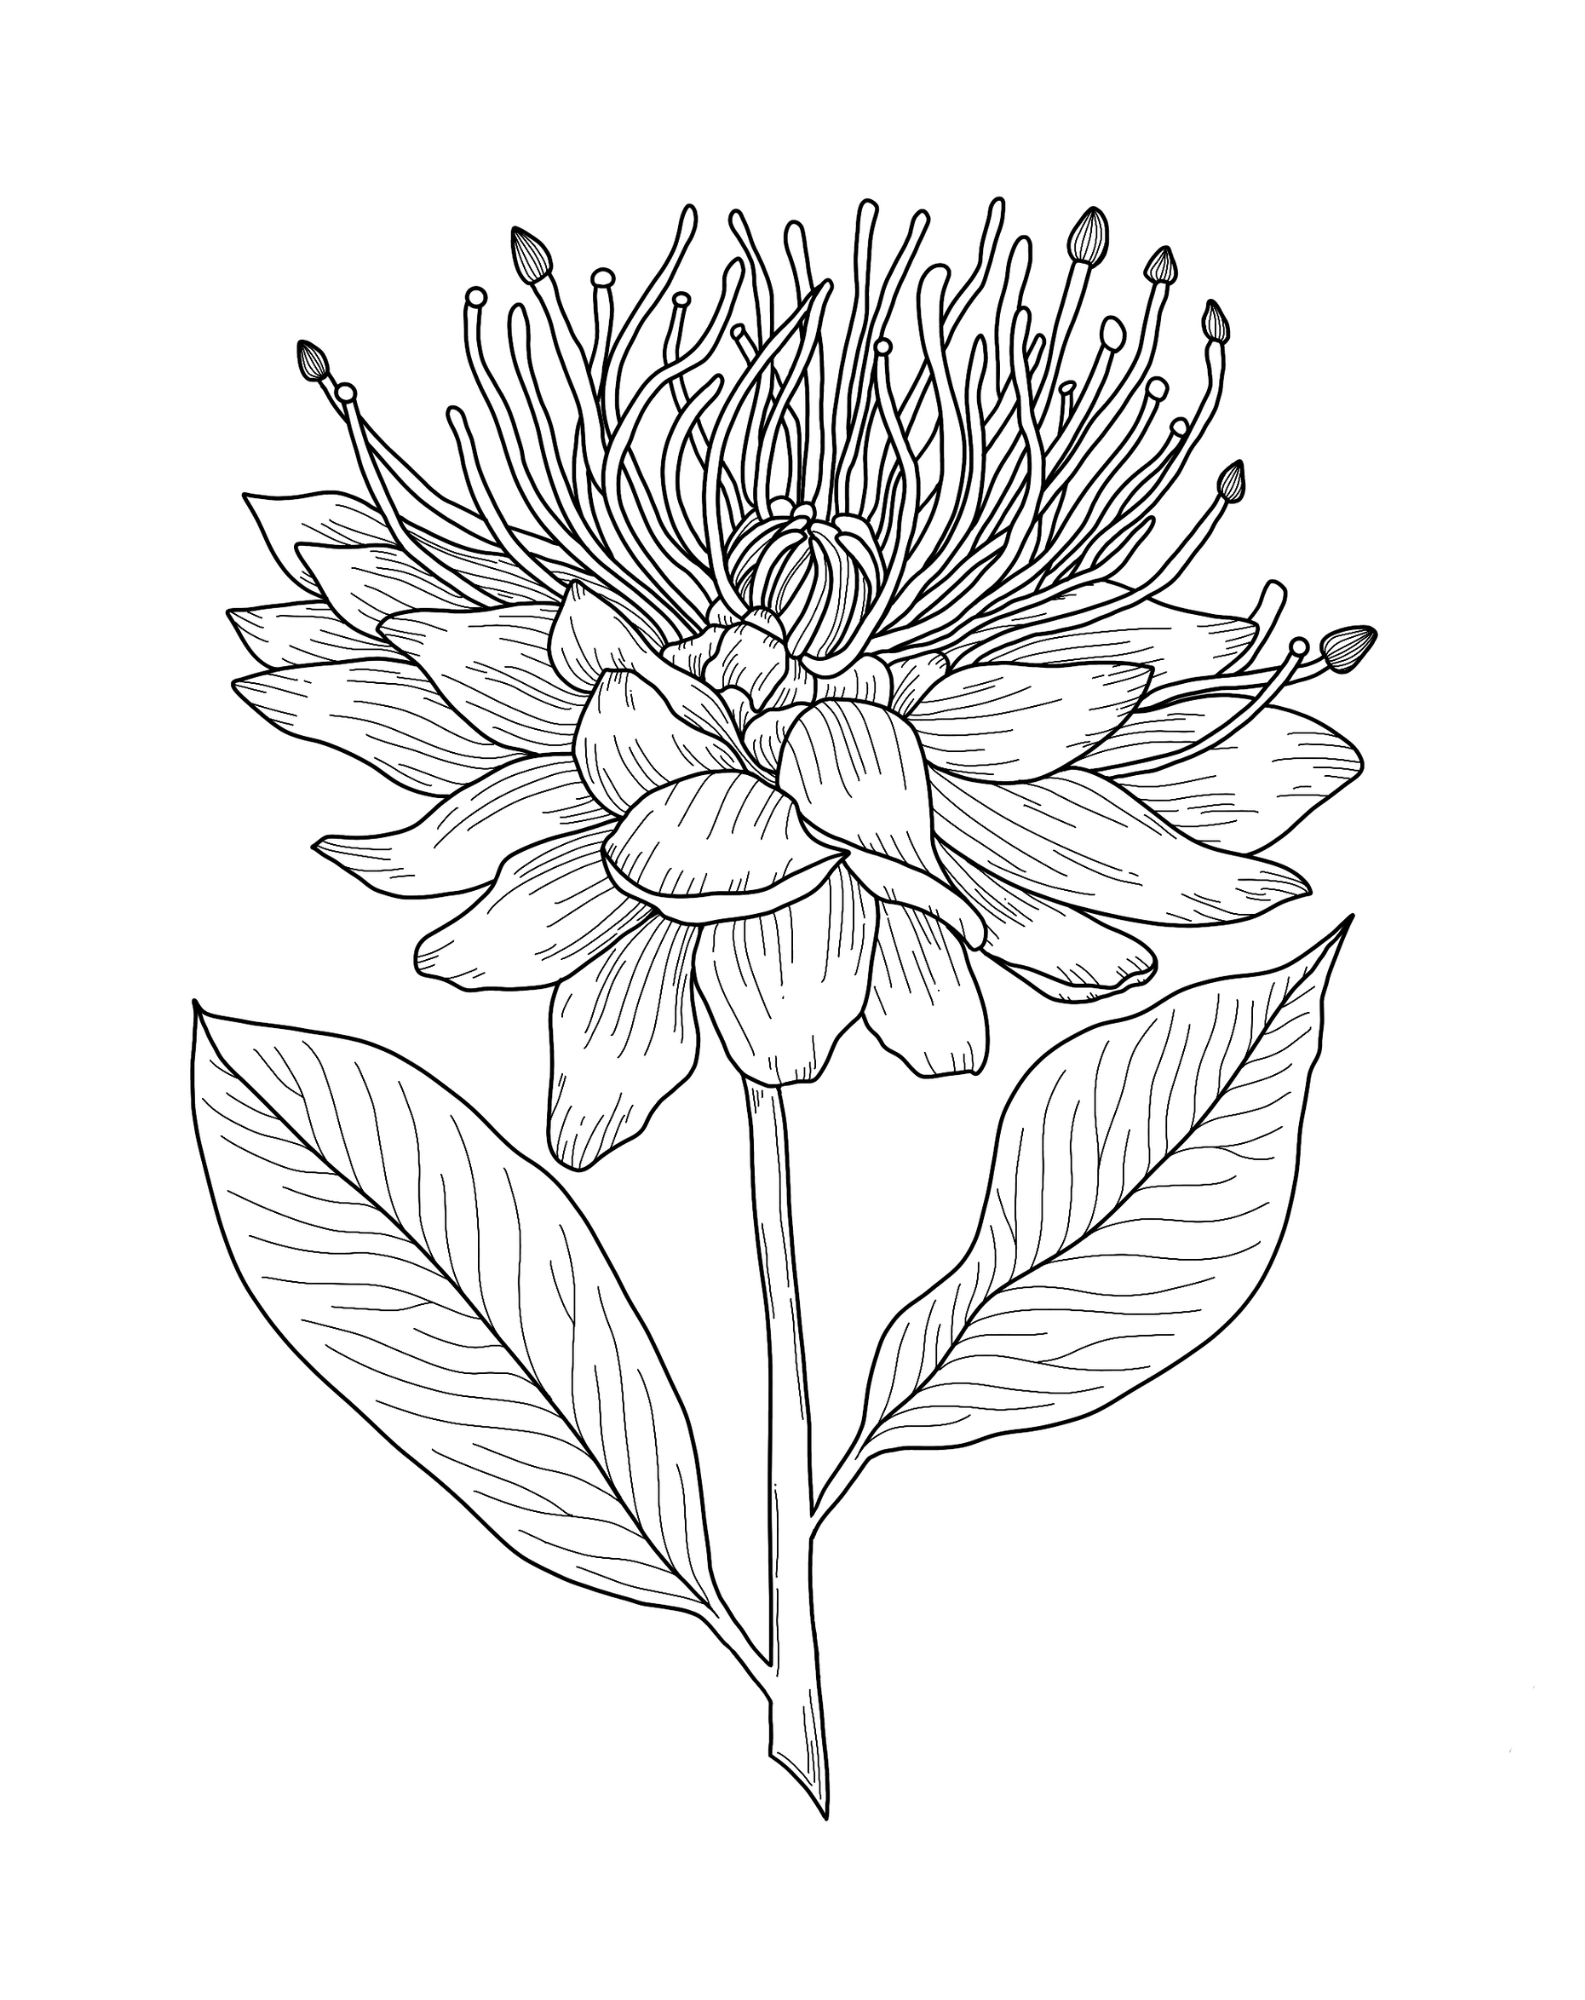
Join the burn club to receive a FREE royalty-free template each month! Last month we gave away this bergamot flower pattern. You can now find it up for sale here.
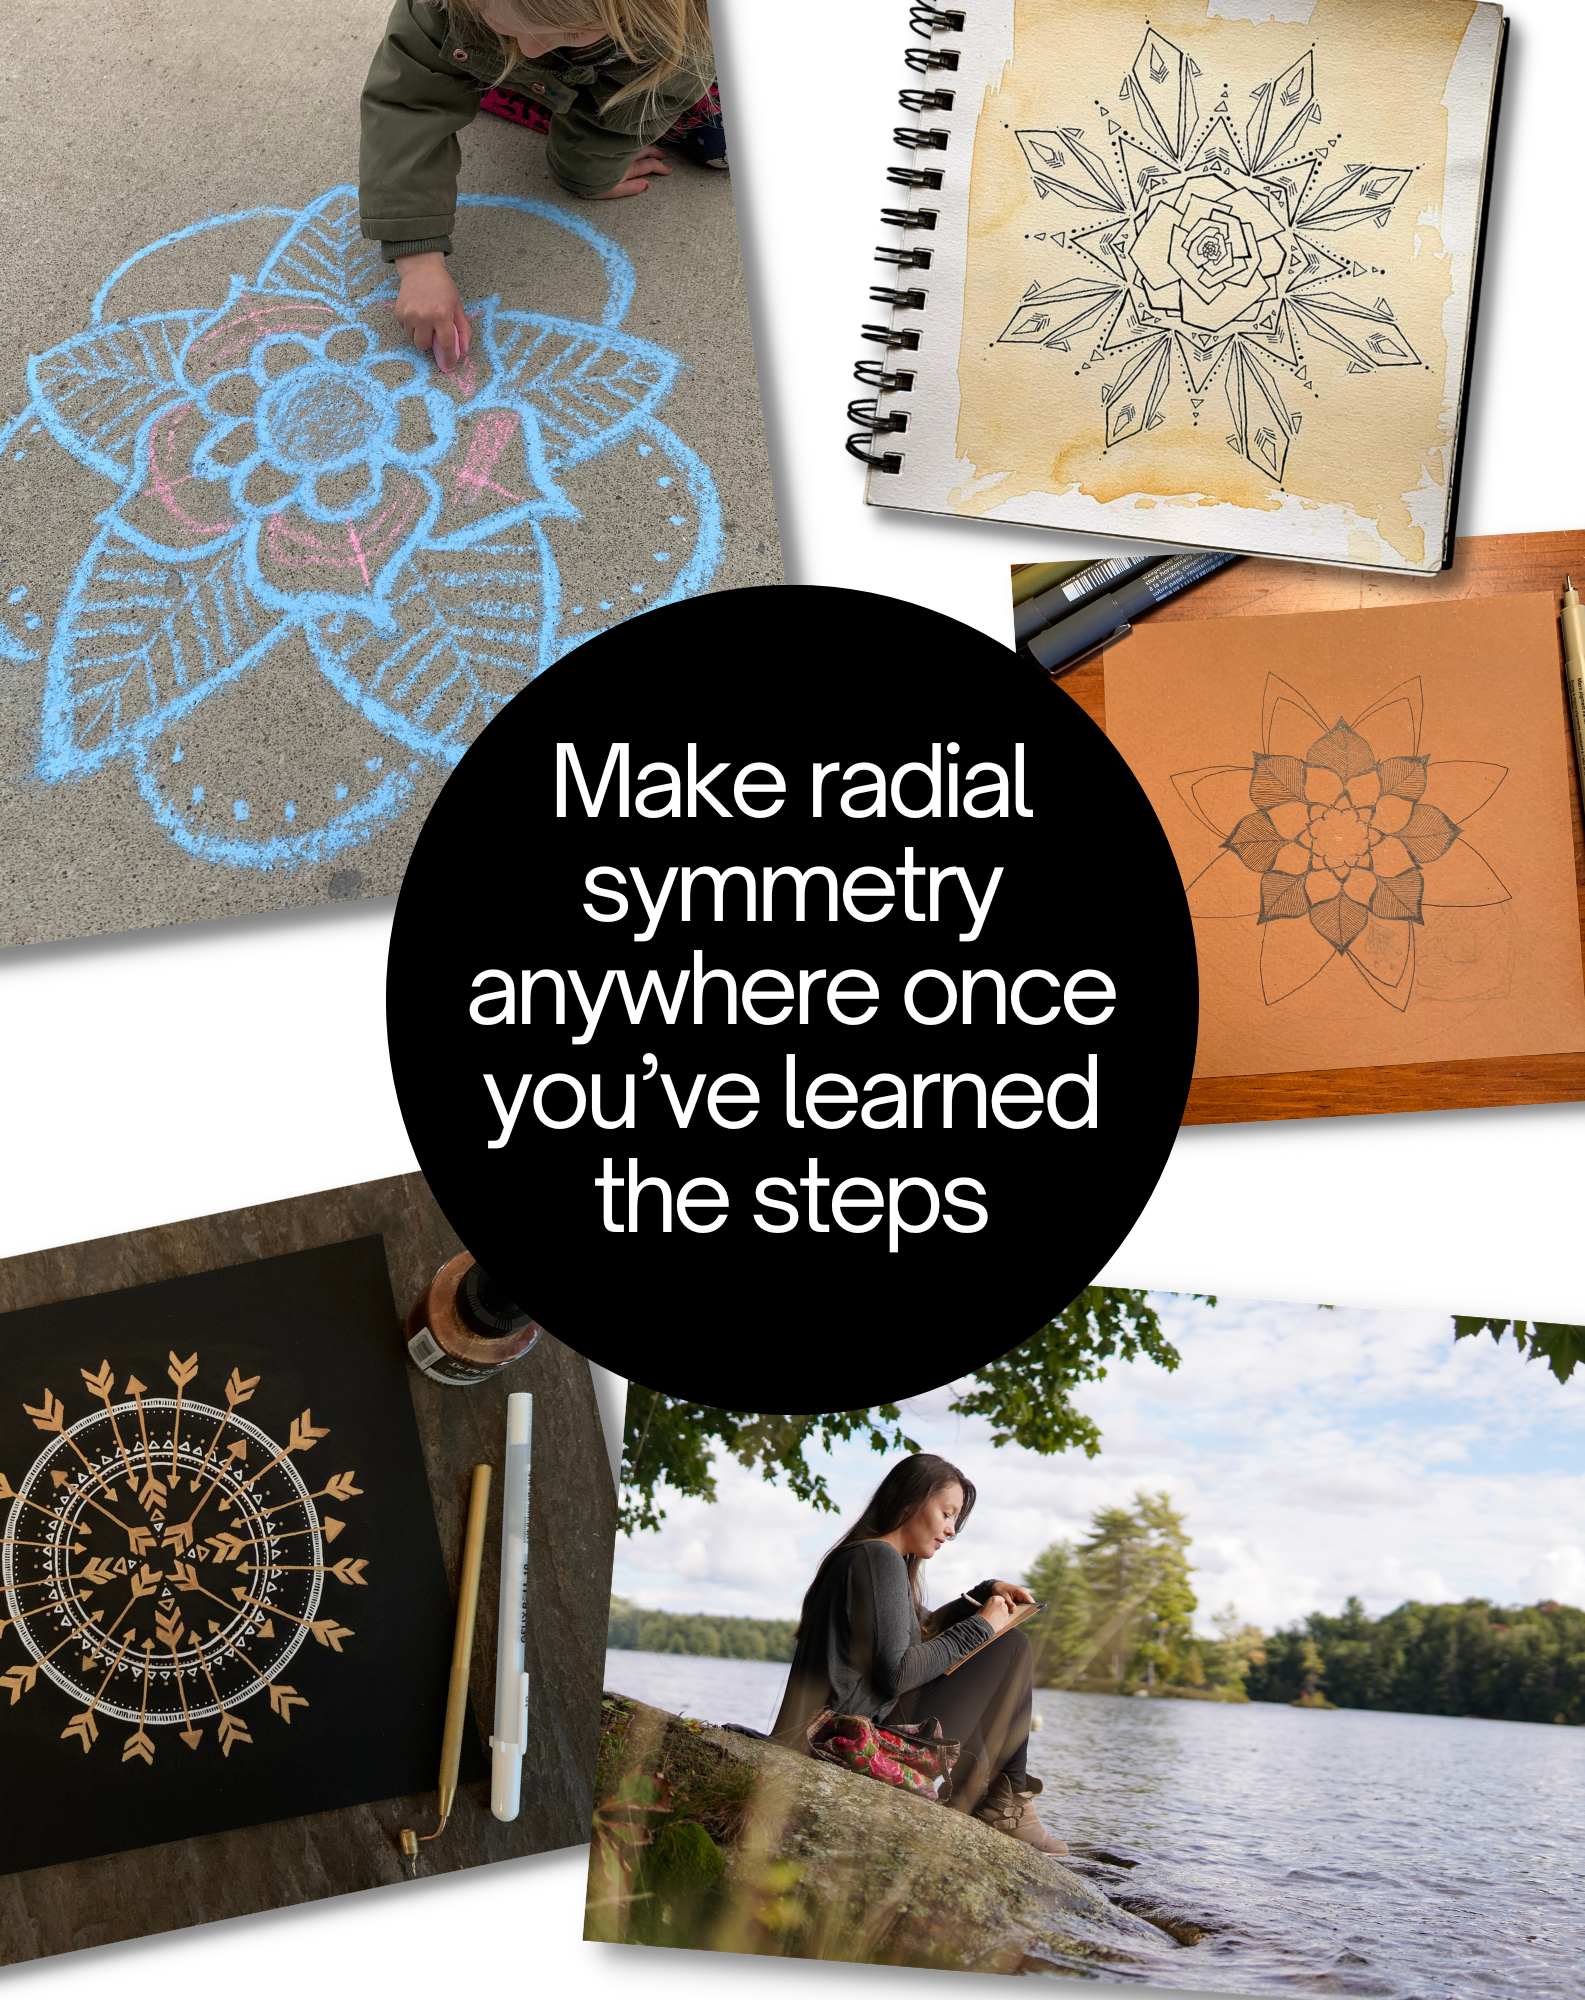
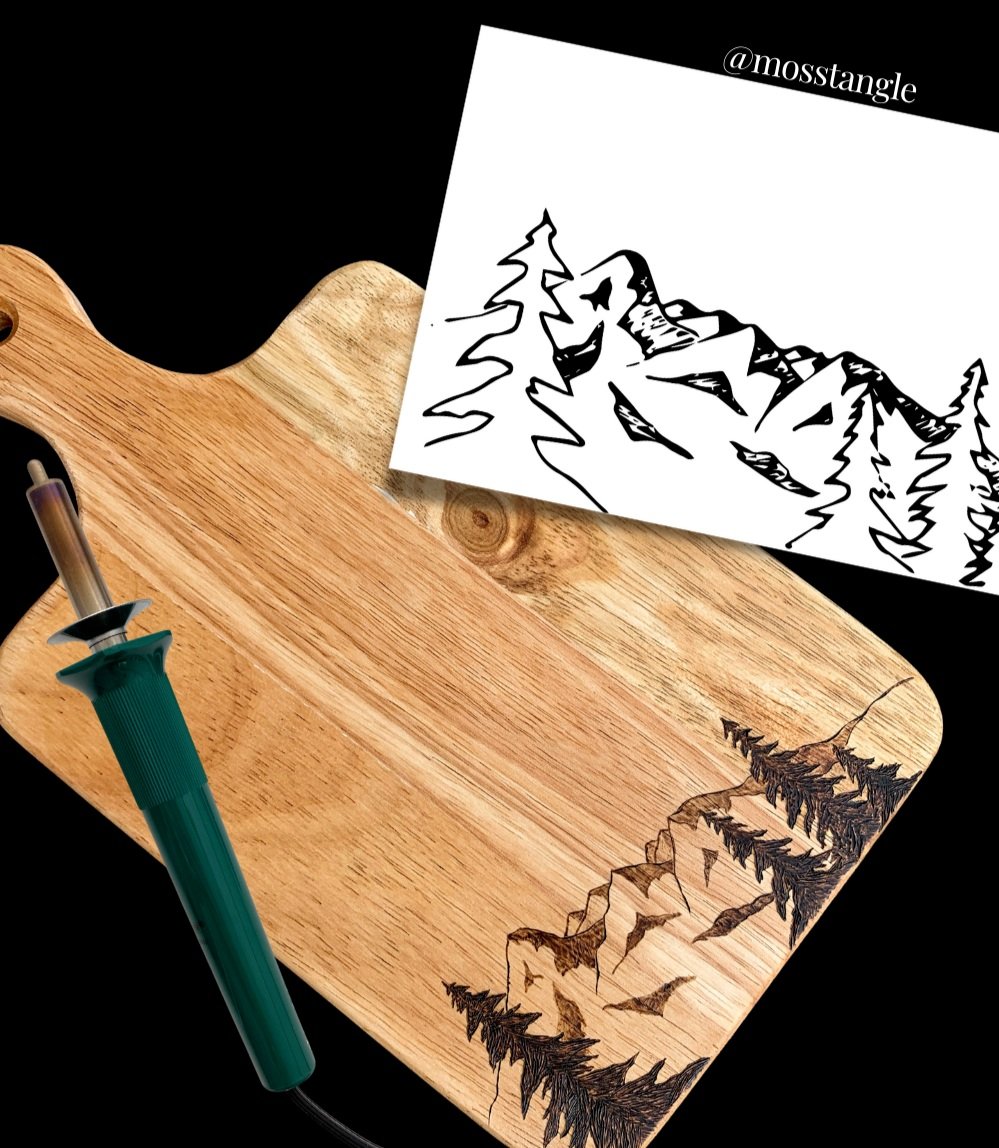
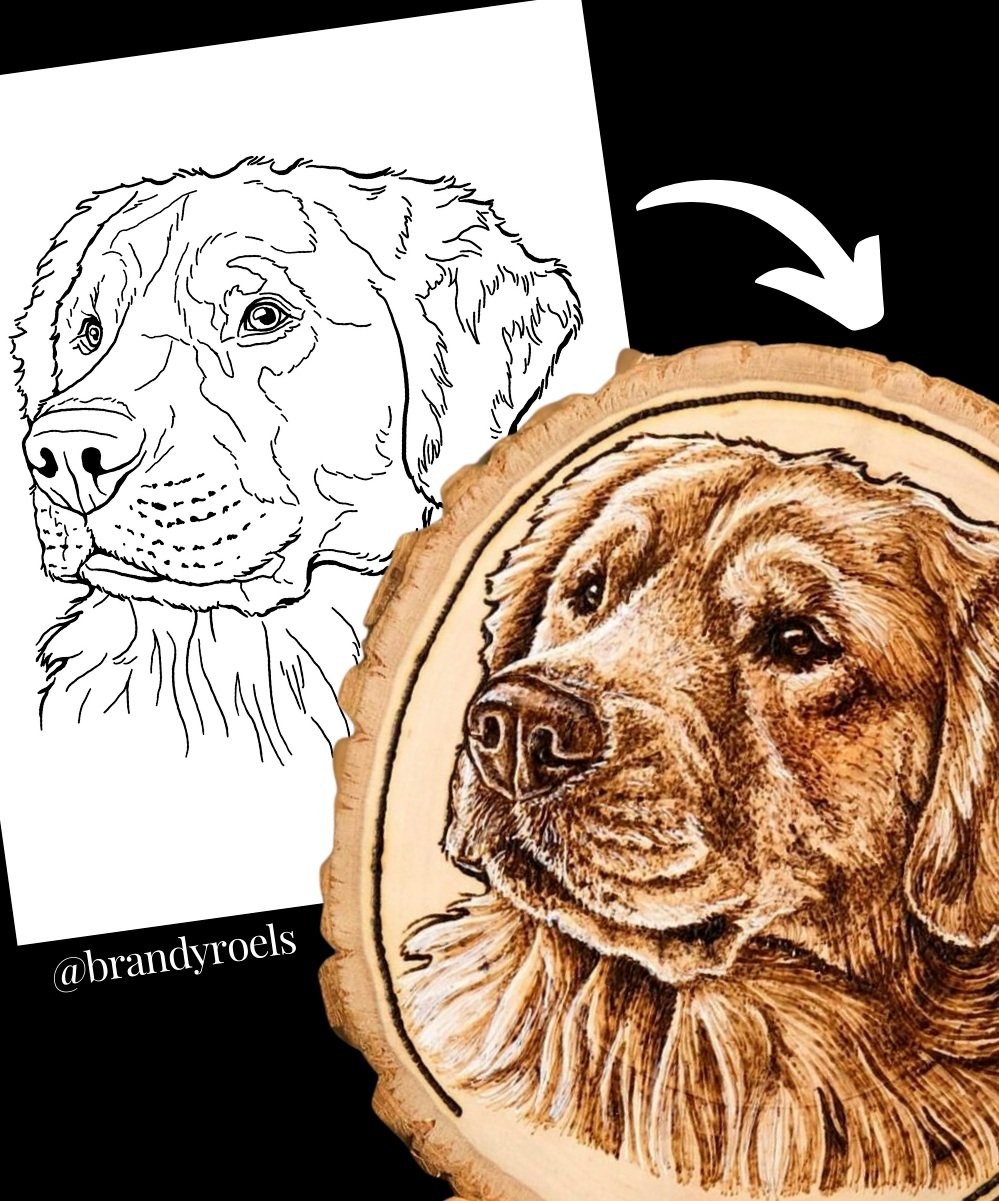
So what can you use these patterns for?
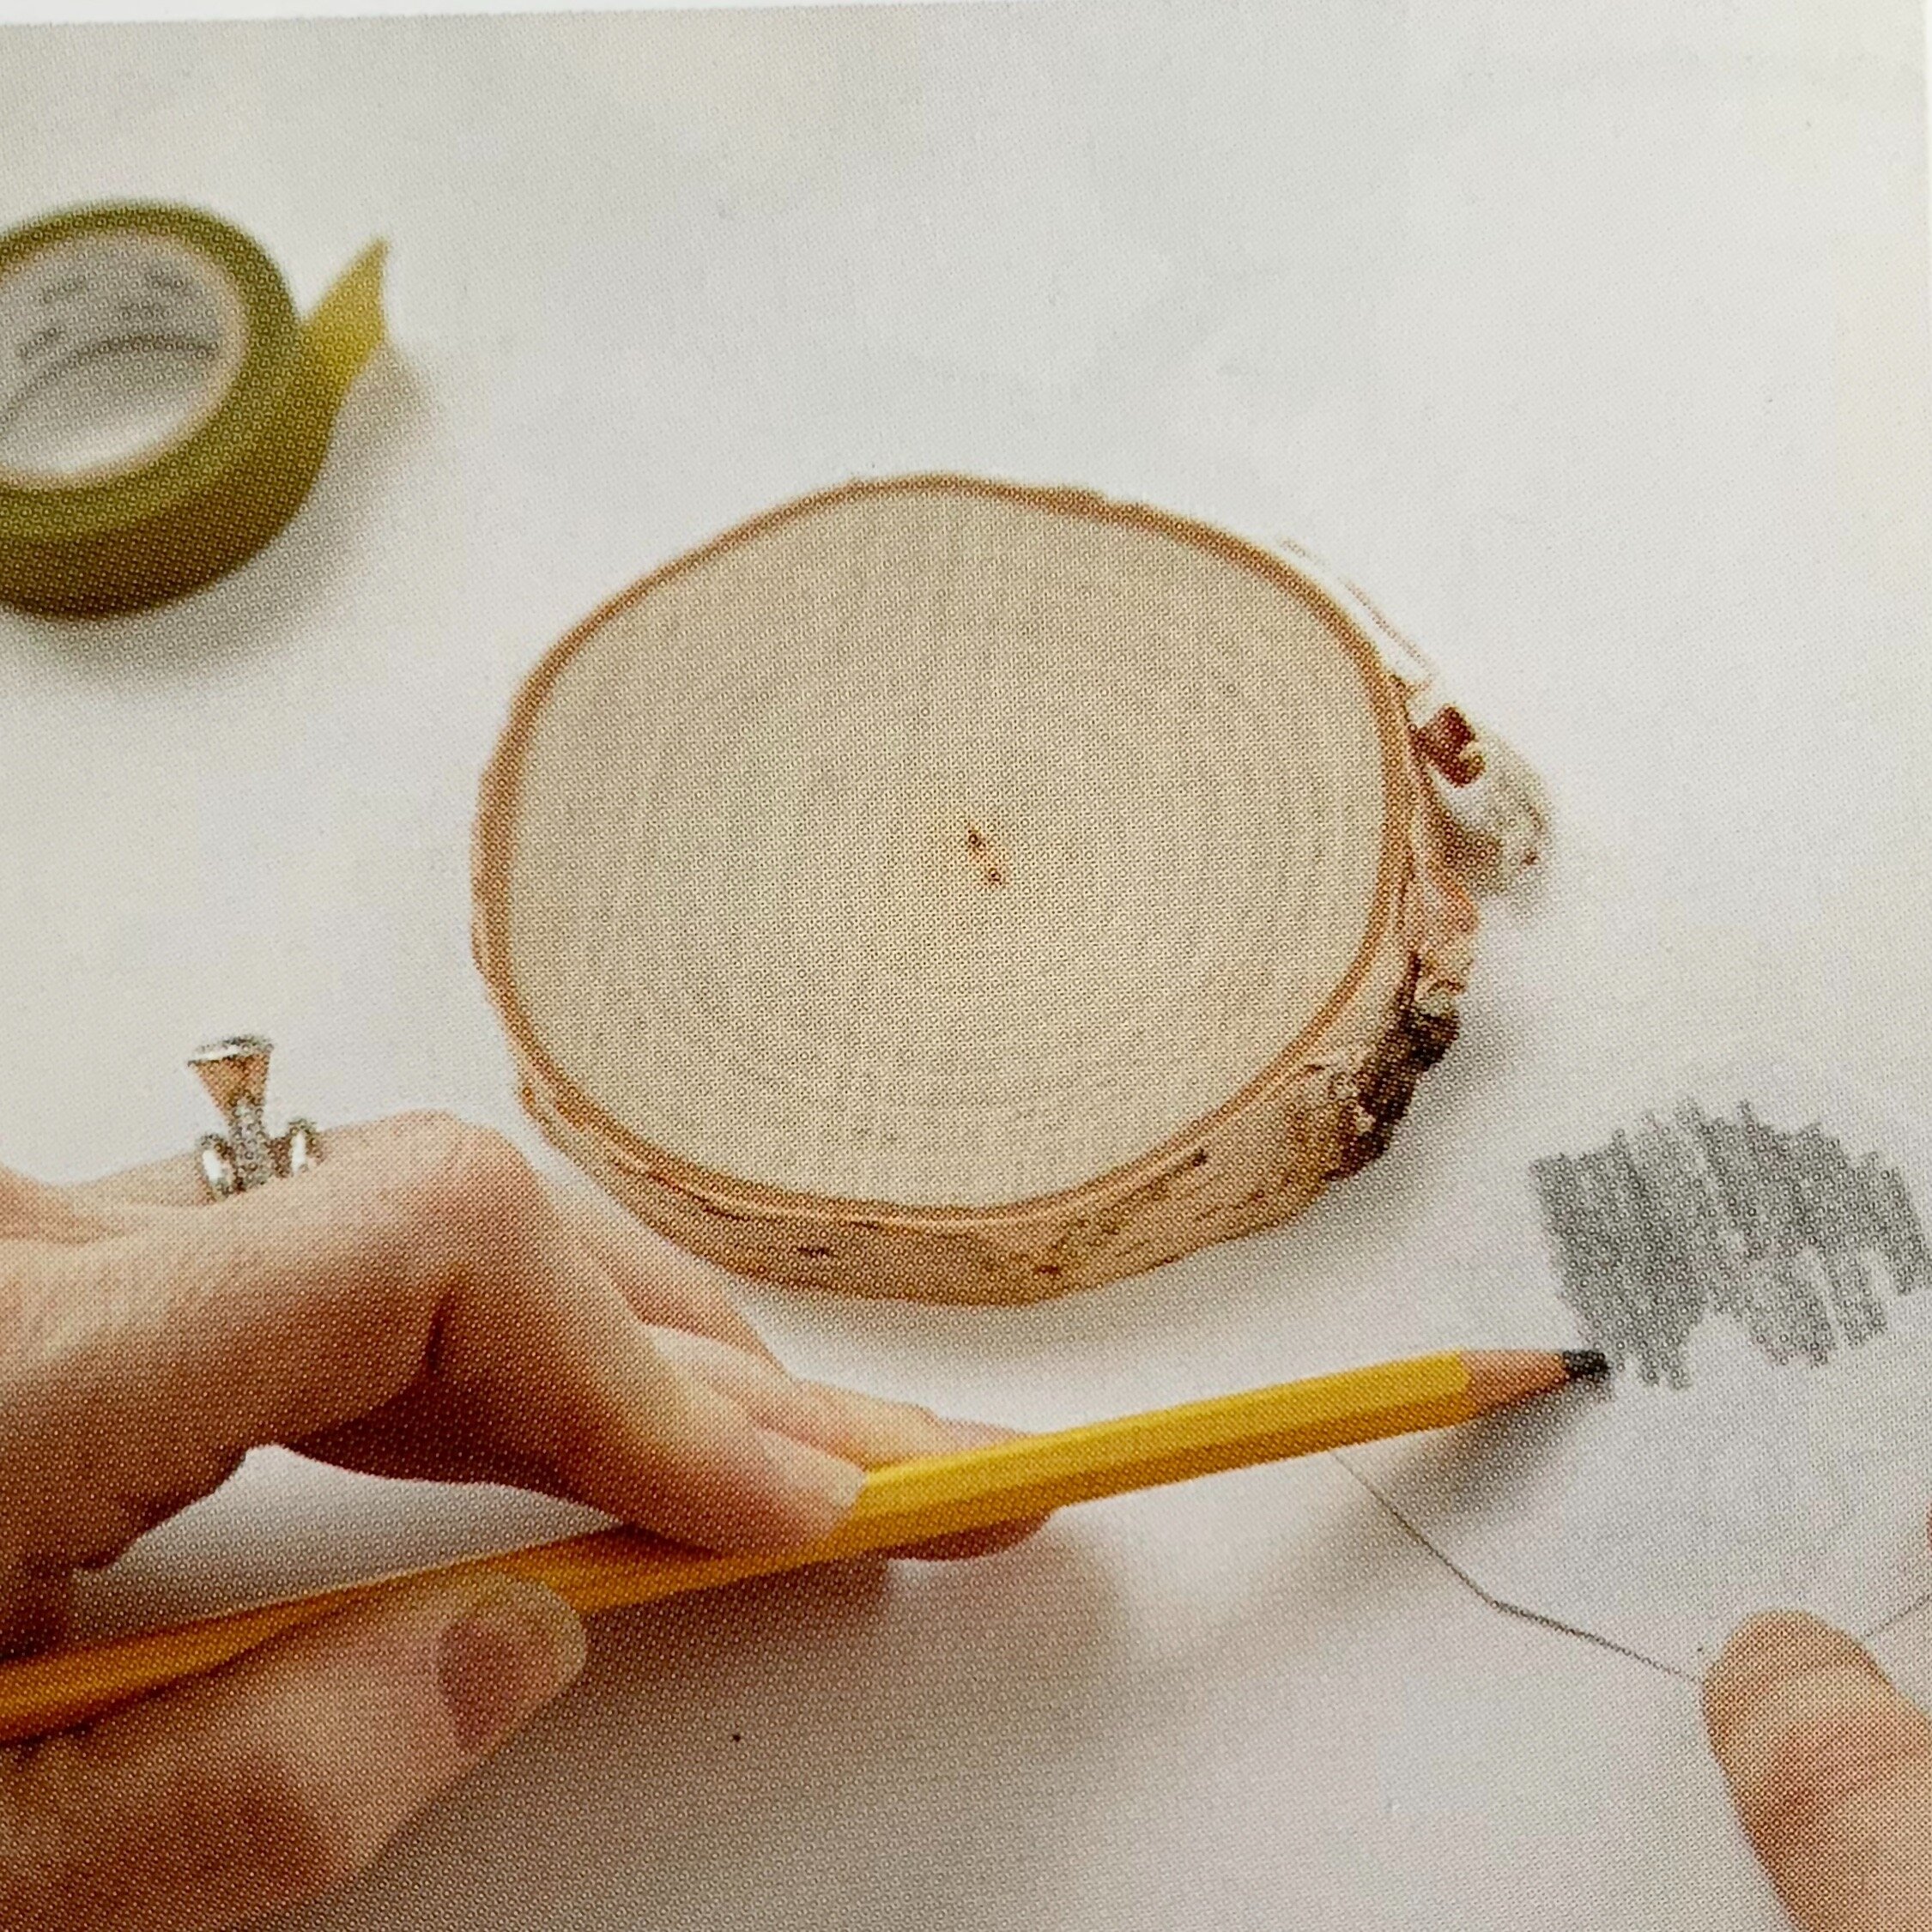
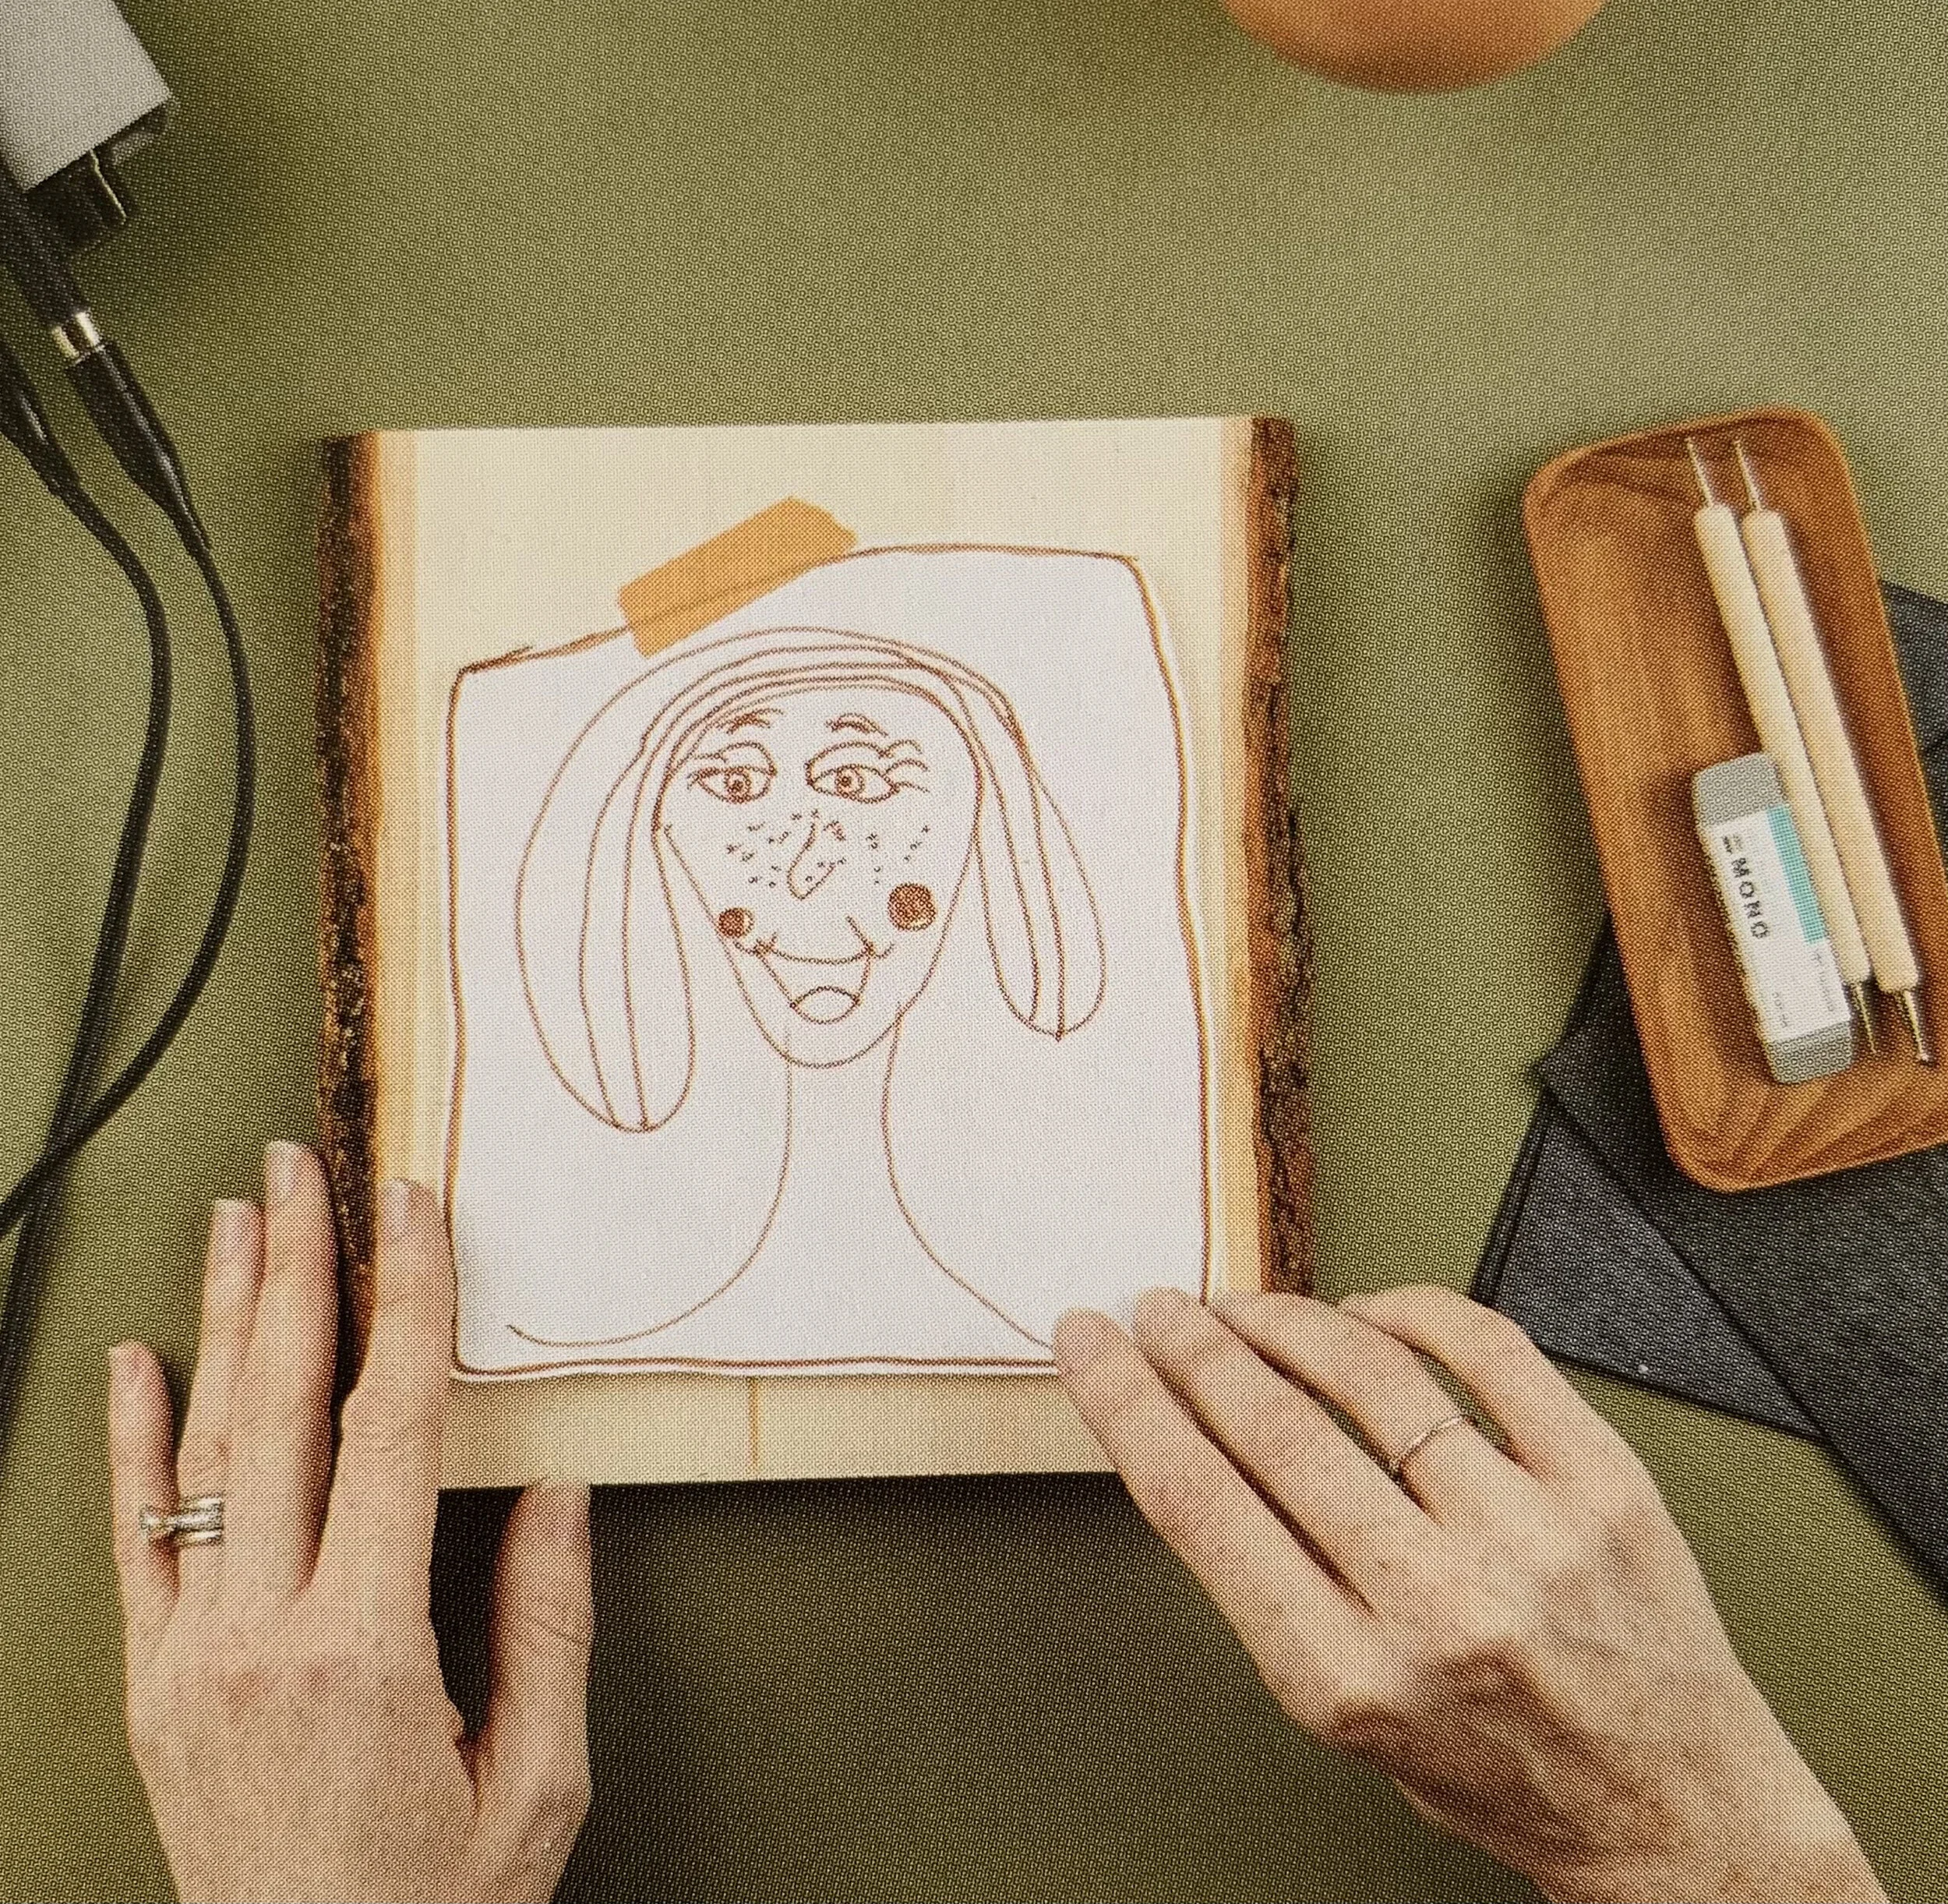
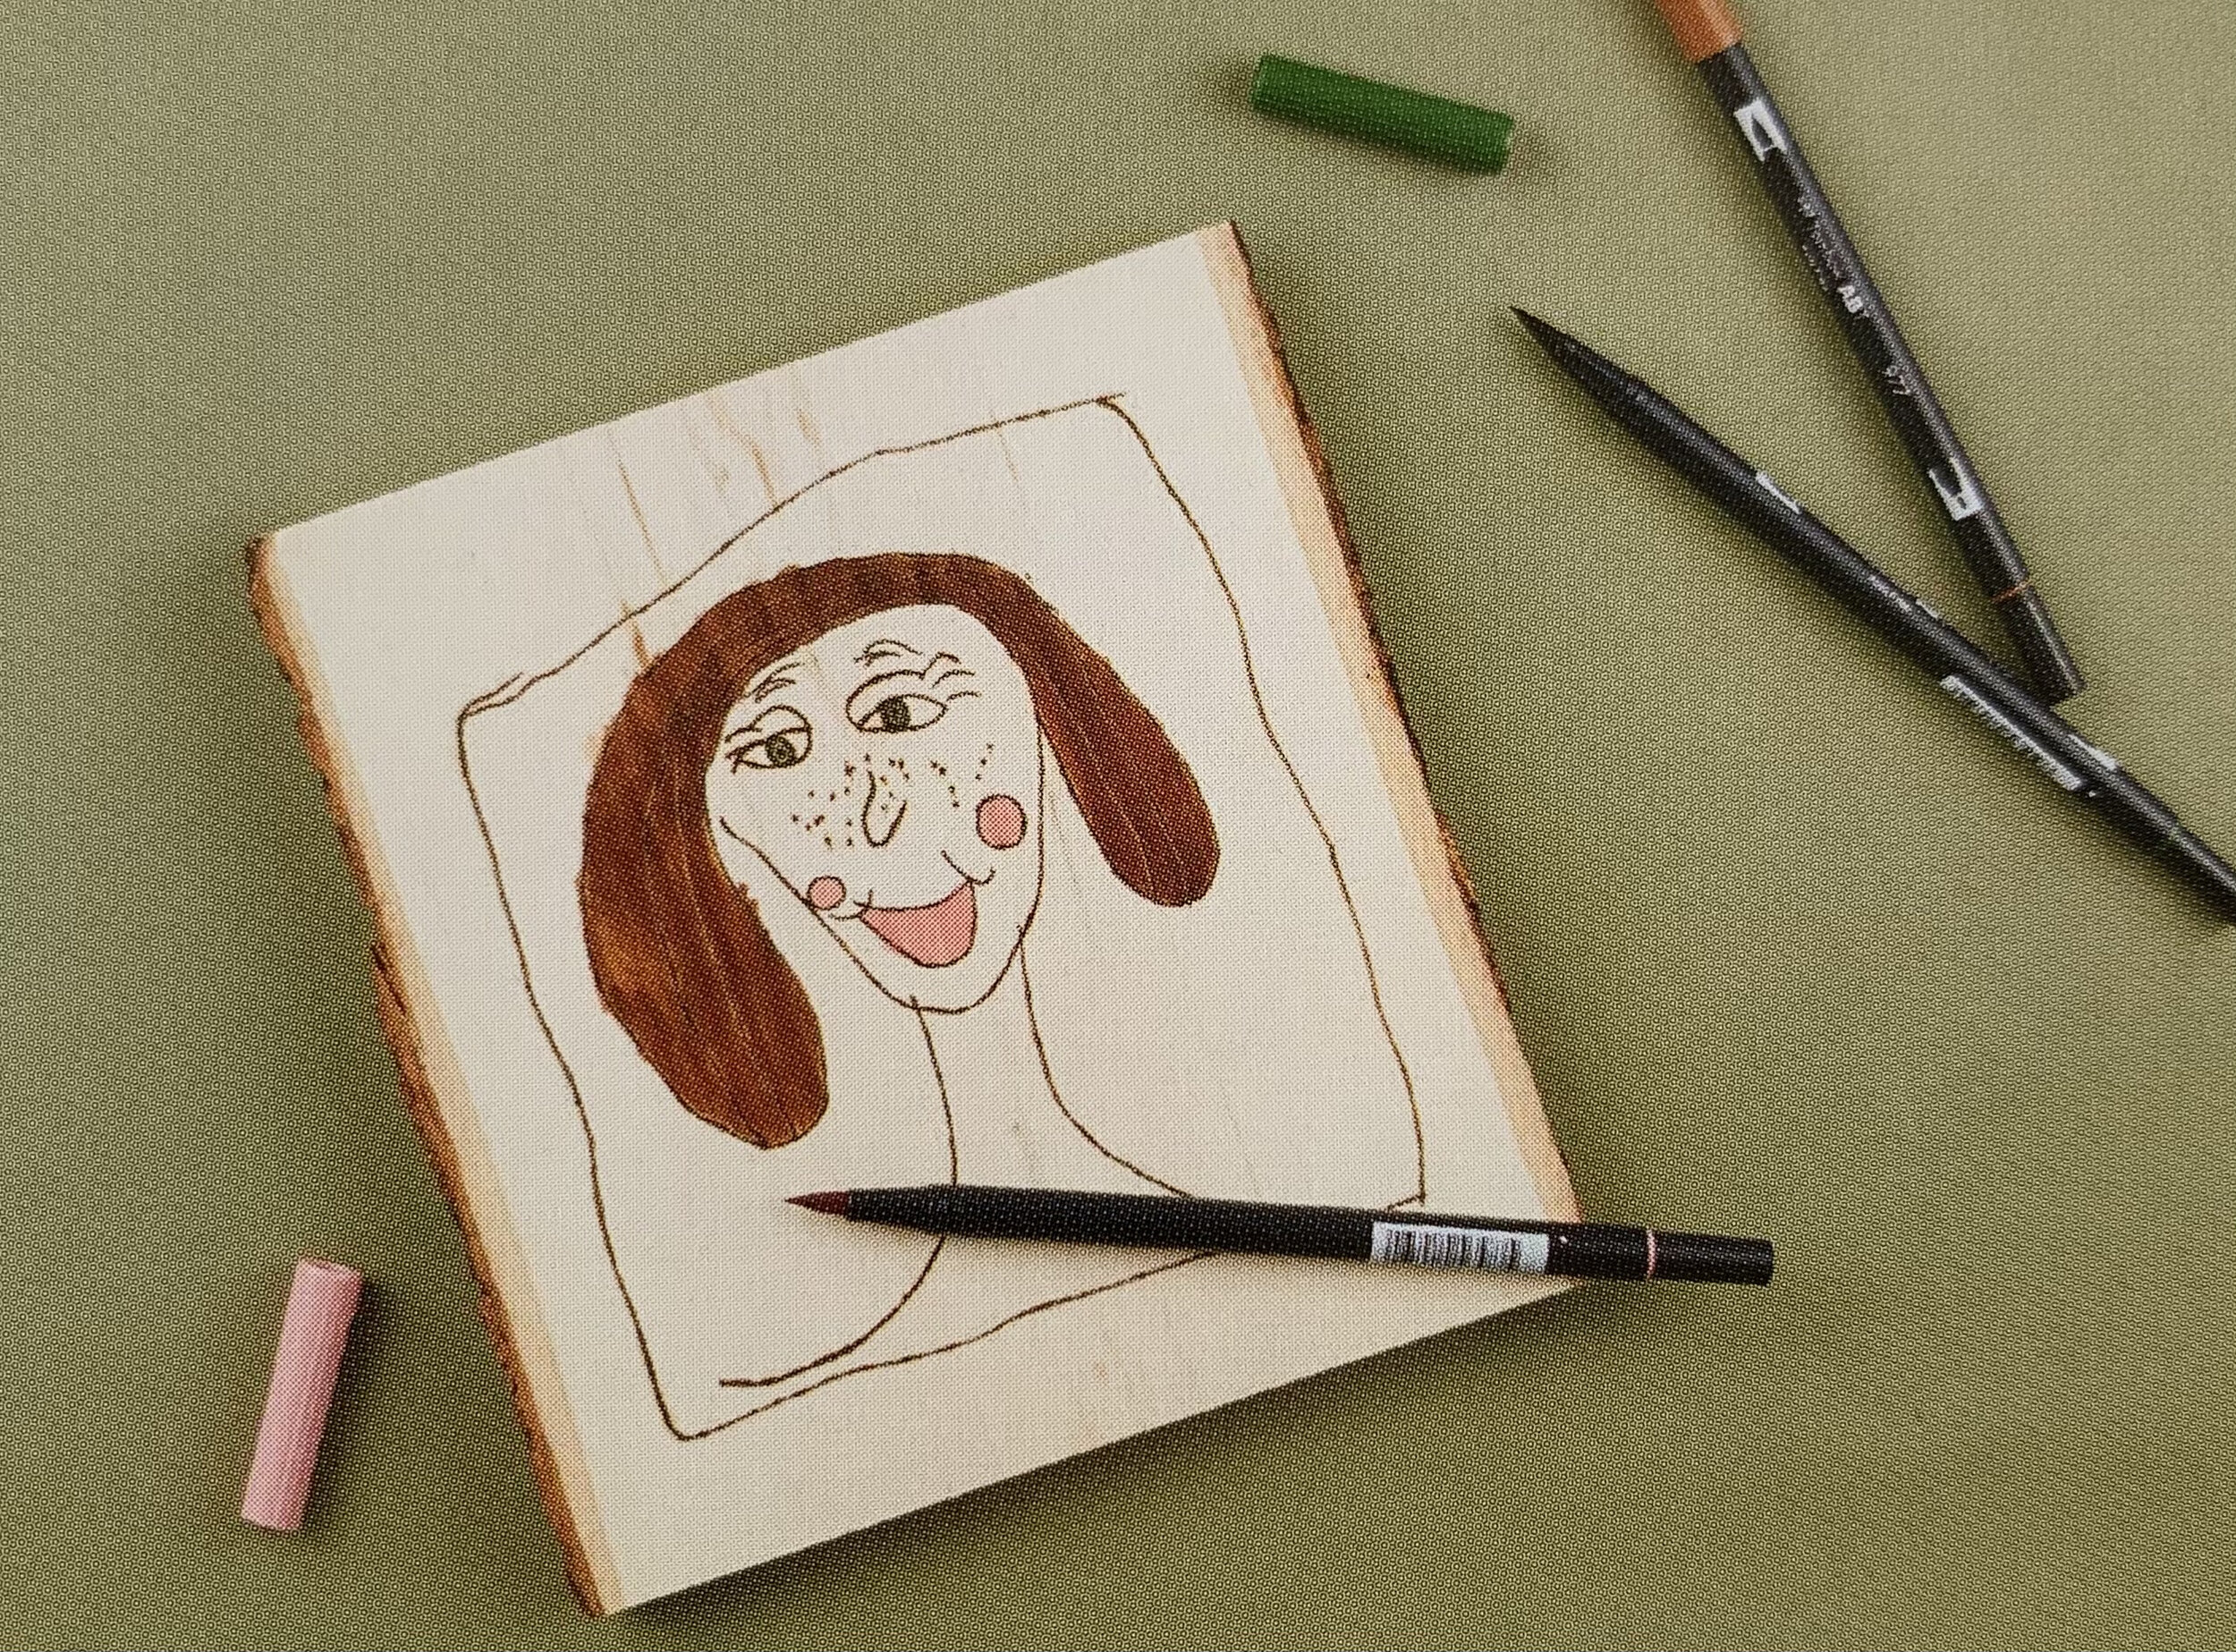
Pyrography of course!
Relief carving
Painting
Colouring
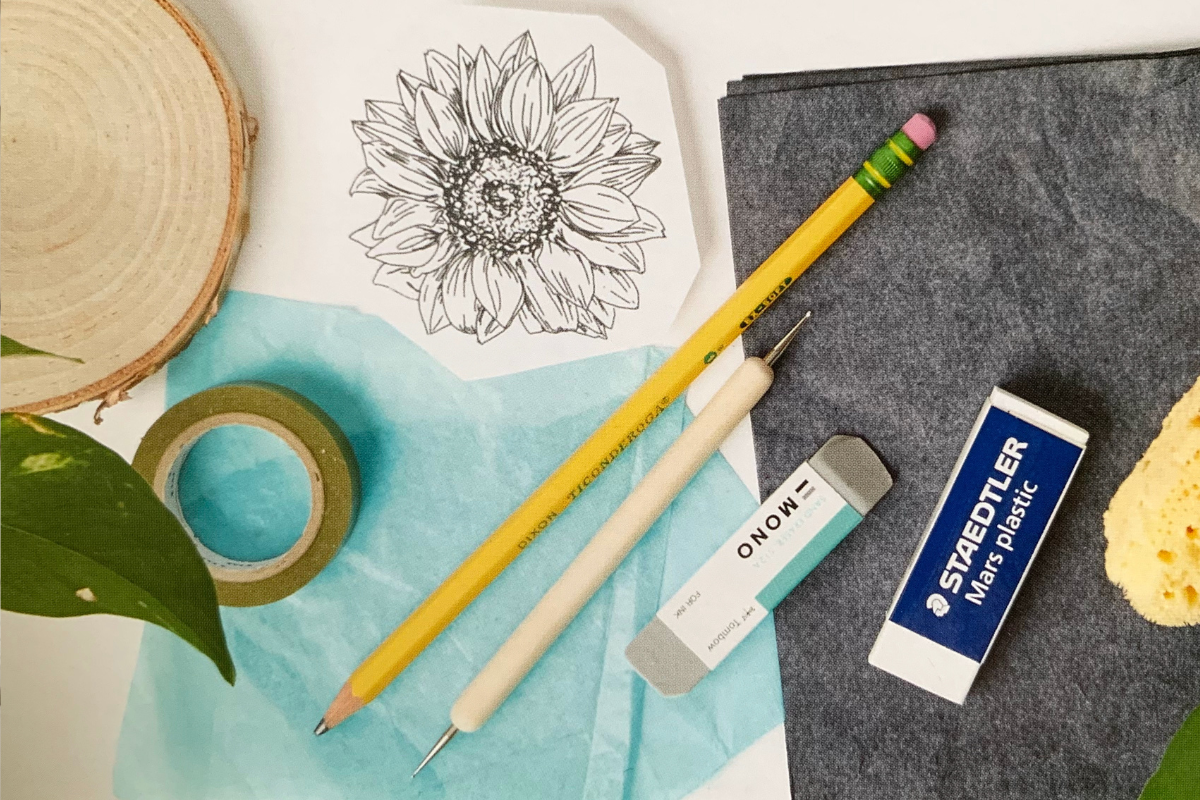
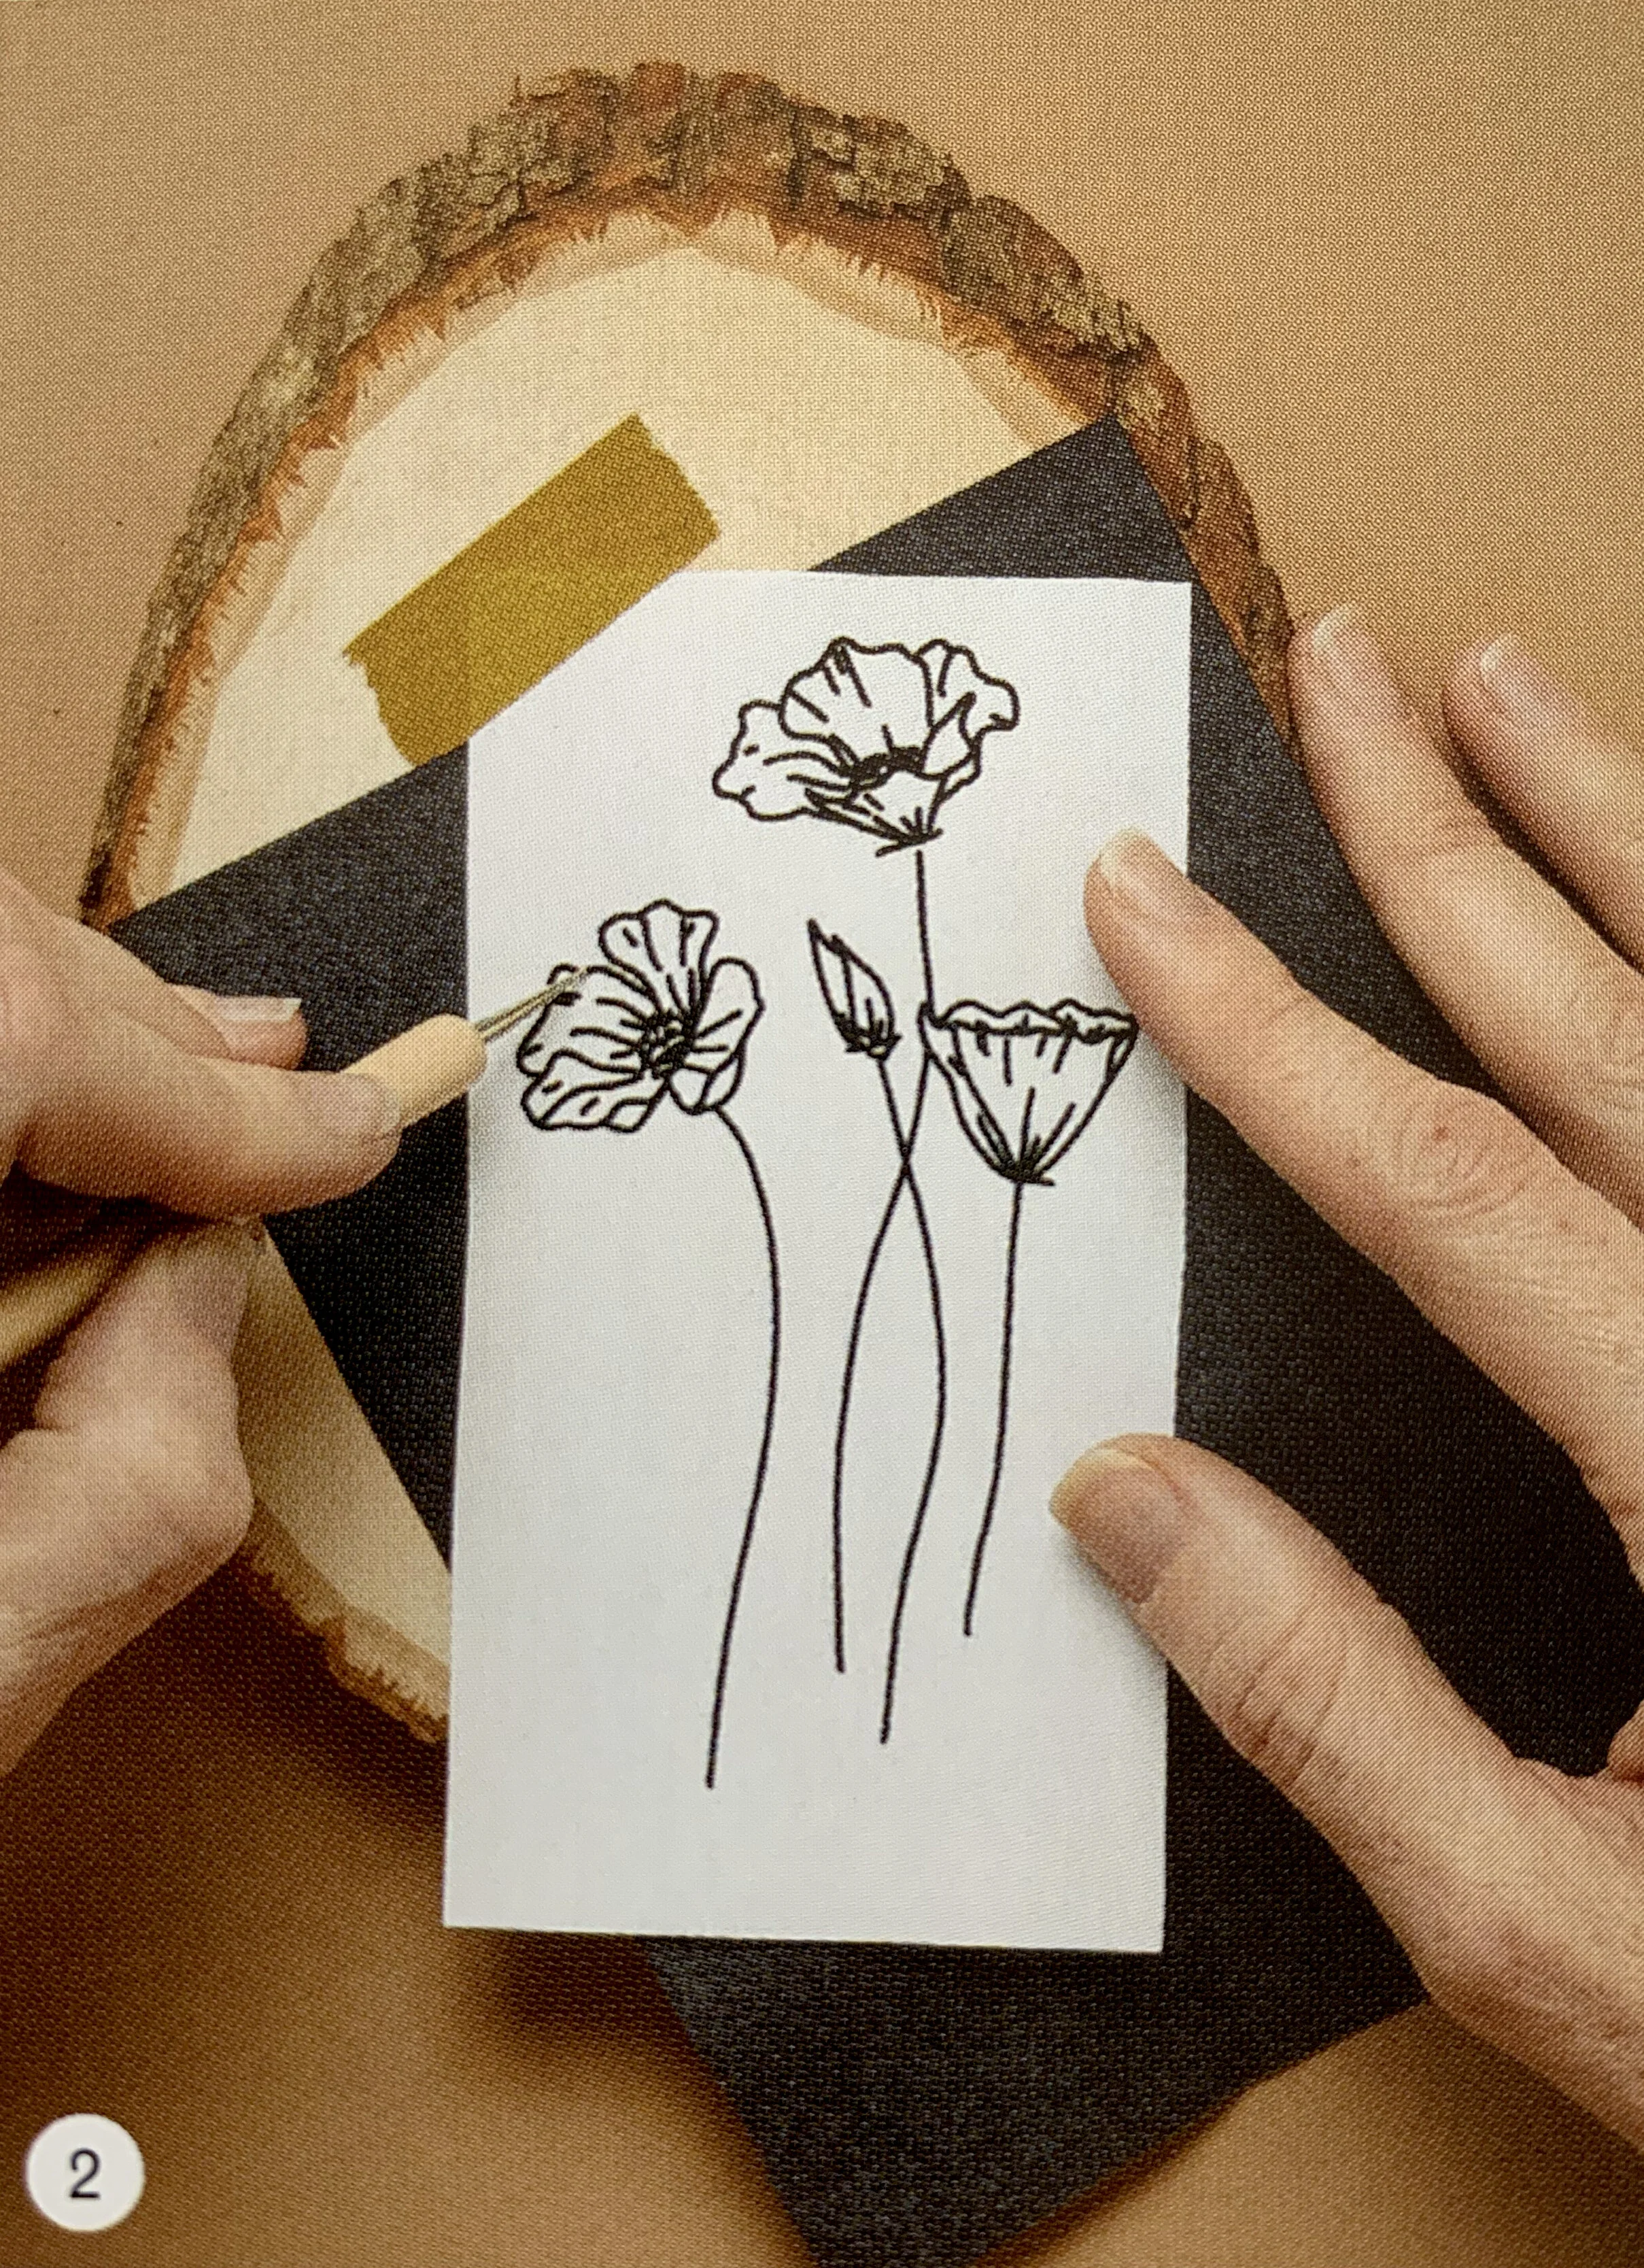
Tracing
Canva Templates
POD (print on demand services)
Creation and sale of unlimited physical items
So much more
Public Domain Images
"Public domain" refers to creative works that are not protected by intellectual property laws such as copyright, trademark, or patent regulations. This means that these works can be freely used by anyone for any purpose without needing permission from a previous rights holder.
Public domain and royalty-free both allow the use of materials without ongoing license fees but differ significantly. Public domain works are those whose copyright has expired or never existed, allowing anyone to use them freely for any purpose, including modifications and commercial use. In contrast, royalty-free refers to copyrighted works that can be used without paying additional royalties after the initial purchase, though the use may still be subject to specific conditions set by the license. While both provide broad usage rights, public domain offers the utmost freedom with no restrictions, whereas royalty-free use is controlled under the terms of a licensing agreement and may include limitations such as the type of allowed use or distribution volume.
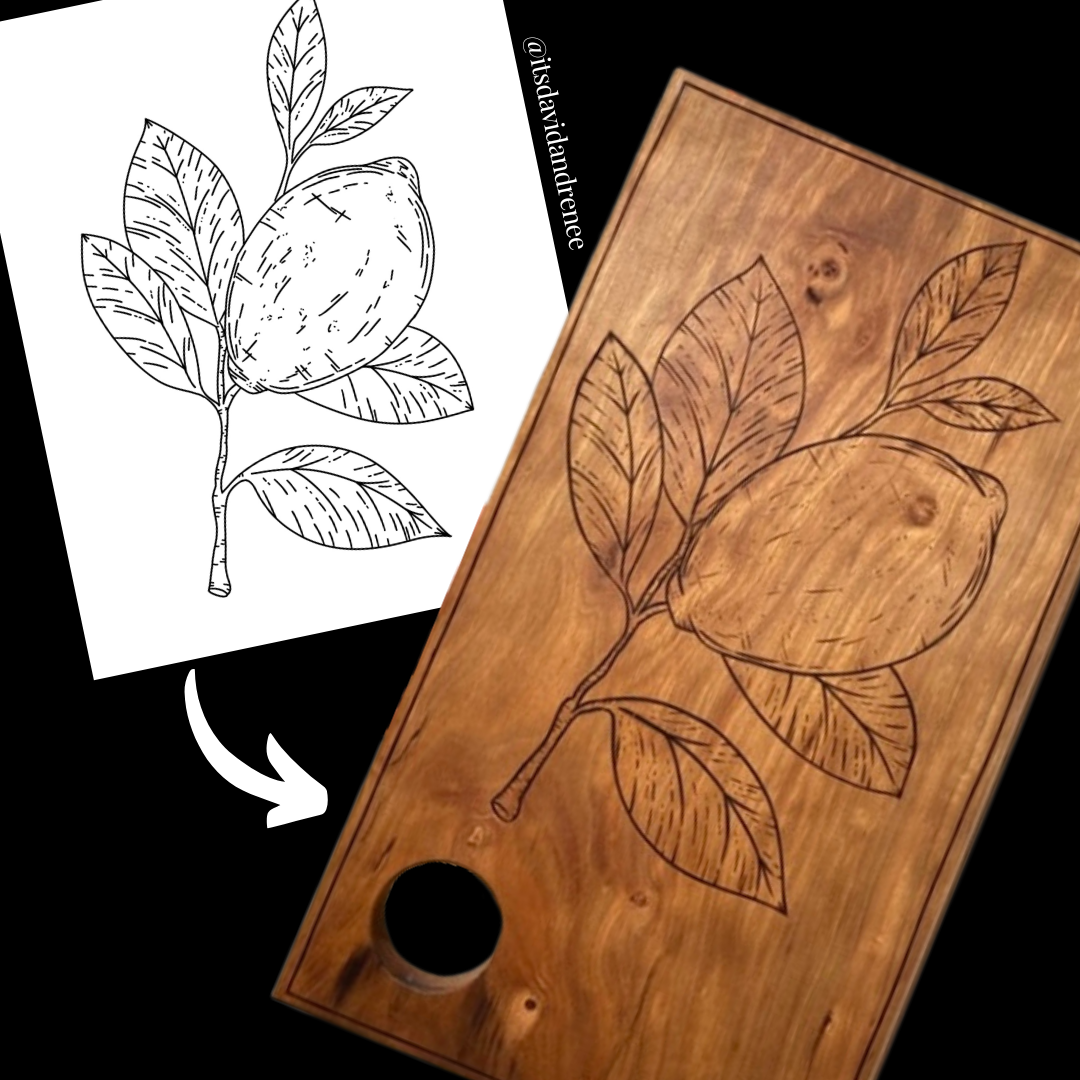
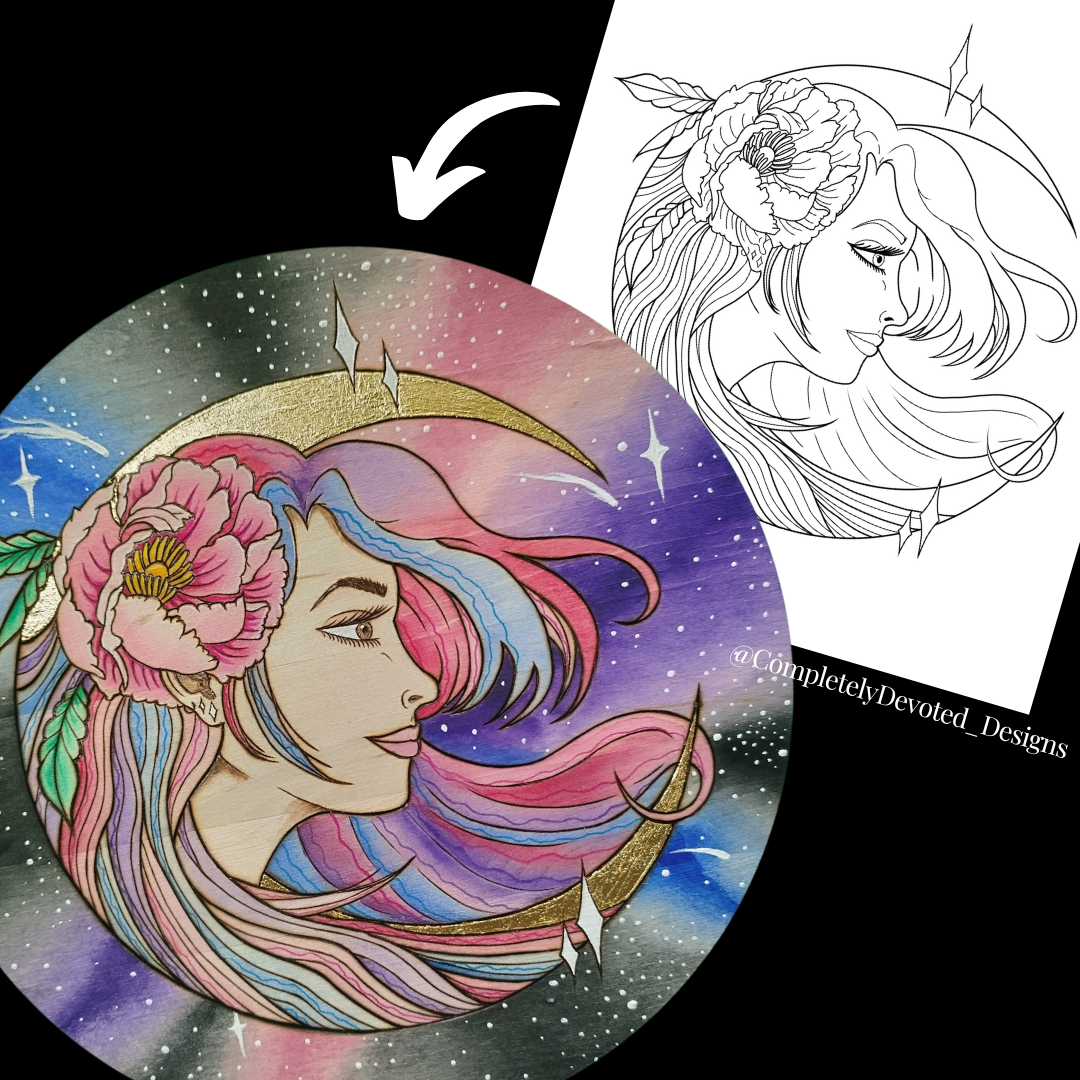
There are many websites which offer royalty free images and public domain content. With these images, you can get inspires and make your own templates by tracing the actual image without worrying about copyright rules.
Here are our top 3 Royalty free/Public Domain sites for images & Videos
Pexels:
These are stock photos, royalty free images & videos shared by creators. You don’t need an account to use some of these images: simply hover over the image you want (ensuring it is the free version) and click “download.
Unsplash:
Very similar to Pexels. Lots of good stock photos and royalty free images and videos. Make sure you are downloading the free content before using.
Smithsonian Open Access:
These is all public domain content. Here you can download, share, and reuse millions of the Smithsonian’s images! It includes images and data from across the Smithsonian’s 21 museums, nine research centers, libraries, archives, and the National Zoo - very cool!