There are many surfaces one can burn on when it comes to pyrography. From egg shell to canvas, the world is your oyster! One rule of thumb to stick to is burning only on natural surfaces (versus human made or chemically treated items). Grab your Free Safety Guide to stay safe while burning. If you like experimenting, you can check out the blog post: Pyrography on Odd Objects.
The most common surface for pyrography is on wood!

Wood is usually readily available and comes in many different shapes, sizes, and colors It makes for a great canvas for wood burning. There are many different species of wood to choose from. Read on to learn more about wood or check out the Top 9 Wood Species to Burn On according to us and the wood burning community! There are also different ways wood reacts to burning on depending on how it was cut…
Always be mindful of what you are burning on. Some wood smoke is poisonous: check out the blog post about Which Woods to Avoid Burning On.
Wood Basics
Hardwood verus Softwood
The main difference between the two is not necessarily the density of the wood but rather the type of tree they come from.
Hardwoods are usually broad-leaved (deciduous) trees - the ones that loose their leaves every fall. Examples include ash, beech, birch, mahogany, maple, oak, teak, and walnut.
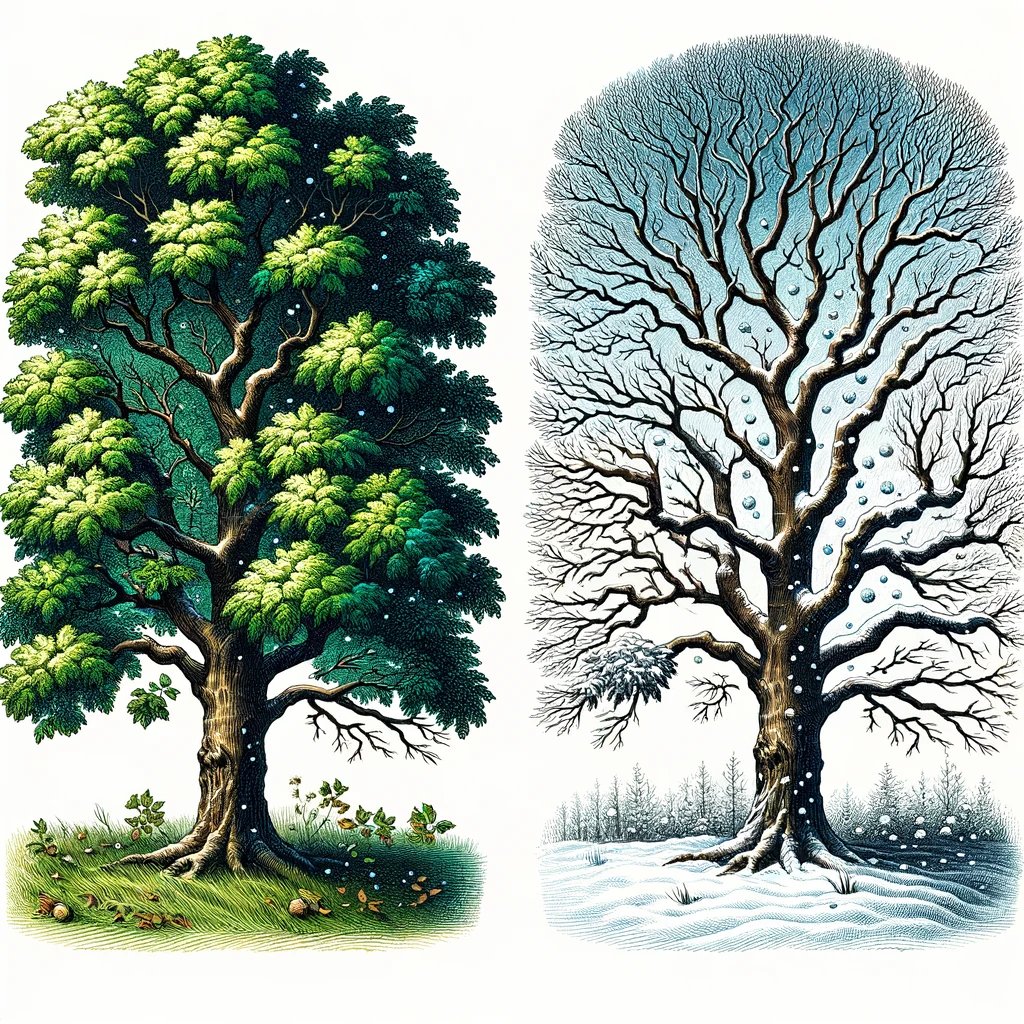

Softwoods are evergeen (coniferous) trees - the tree’s that have needles and cones that stay green year round. Examples include basswood, cedar, cypress, fir, pine, spruce, and redwood.
Generally, softwoods are cheaper because they grow faster and in abundance. Because of this, they are less durable so they are used more for building materials like lumber, plywood, and paper products. Hardwood is more common in high quality furniture, decks and flooring due to its hardness and durability.
The softer the wood is, it can be said that the easier it is to burn on. However, because of the way these tree’s woods differ, they make for very different canvases when burning on them using pyrography techniques…
Softwood tree’s (typically evergreens) create sap. Sap is not our friend in pyrography, especially when first learning the craft. Very often, common woods like pine are sappy and tricky to burn on. Although I have heard of some artists enjoying burning on pine, we would recommend trying a different wood for your first time.
WOOD Slices

The way a log is cut will change your canvas shape and the way your tool works on the wood’s surface.
As you can see here, the edge grain is the outer edge of your slice.
The end grain is the end of a log. This cut is vertical (when looking at a cut tree, like in this photo of the log on the ground) and typically gives you a circular wood slice with bark all around the edges (or none if trimmed off). The grain here is visible in rings.
A face grain cut is the log cut horizontally (on a log laying on the ground) which can give you square or rectangular wood slice canvases and only two edges will be covered in bark (or none if those are trimmed off). The wood grain is visible across the surface and generally spans horizontally across the wood. The wood is usually referred to as planks with this cut.
Wood Grain
and how it Affects pyrography

A common way to explain the grain of wood is using a handful of straws. Renee of @it’sdavidandrenee brought this up at our Pyrography Summit as an example to explain the way finishes (ie. paints, stains etc…) react when applied depending on the way the wood is cut.
This is also true for pyrography. The grain of the wood can affect the flow of your tools on the surface, the texture and appearance of the burned lines, as well as the overall quality of the final artwork.

Imagine the straws as a log. When you cut an end grain piece, you will usually get a circular shape. This makes all the “straws holes” face up. They are porous and will suck in any liquids, stains, paints etc… Burning on this is slightly harder so generally you need more heat and a consistent speed.

Cut it the other way, face grain, and you get the length of the straws. Burning along the grain (following the grain, up and down in the photo to the right) is easier as the nib of the tool usually falls into a grain groove and burn along it. Burn against the grain (side to side) and you can get little blobs of burn, or stop marks as you move across - try turning your heat down and have more of a consistent speed. Look ahead for any grain lines so you can adjust your speed. Reduce your pressure and let the burner do the work as you just gently, but firmly, guide it.
Tree rings and wood grain are closely connected, as both result from the tree’s growth over time. Tree rings form as the tree adds a new layer of wood each year, creating visible bands that vary in width depending on environmental conditions. To learn more about tree rings, check out: What Do Tree Rings Mean?
These rings influence the wood grain, which refers to the pattern of fibers running through the wood. The spacing and direction of the rings determine whether the grain is fine and smooth or coarse and uneven. When wood is cut in different ways, the grain pattern changes based on how the rings are sliced. For pyrography, understanding wood grain is essential because it affects how the surface absorbs heat and how smoothly the burning tool moves, influencing the overall detail and control of the artwork.
The rings on the wood
So what wood is the best to burn on?
We have compiled a list of woods that we enjoy burning on for a variety of reasons. These include Amazon Associate links to great options for these particular wood varieties. In a nutshell, below are our top 9 woods for pyrography.
You can check out this blog post to see why: Best Wood for Pyrography

Want to learn more about pyrography?
Join the Burn Club Community
or check out this blog post: Start Here if you are NEW to Wood Burning