
Finishing wood slice art can provide several benefits, including protection from environmental factors, enhancement of its natural beauty, increased durability, ease of cleaning, and personal preference.
By applying a finish, the wood slice art can be preserved for a longer period of time while also making it more resistant to scratches, dents, and other types of wear and tear. Wood burned marks and designs on the wood, especially shallow burns; such as shading, naturally fade with age and exposure to air, and particularly sunlight!

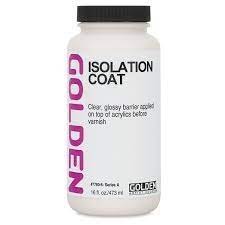
The finish can also bring out the unique grain patterns and color of the wood slice art, adding to its aesthetic appeal. It can also darken the wood considerably, sometimes even making wood burned designs non visible (especially light shading) so make sure you test it on the back of the wood slice before committing to the whole piece. Learn more about how to avoid this here: Isolation Coat/Primer and Wood
When choosing the right finish for your project, there are a few things you should consider.
Time, cost, use, and desired effect.
How long do you want to wait for it to dry/cure?
How much money do you want to spend?
Will your item be used with food?
Will children be playing with the item?
Do you want it shiny or matte?
Here are 5 of our favorite finishes to use and why we like to use them:
No matter which finish you select, be sure to try it on your specific type of wood before you apply it to your finished art piece that you have worked so hard on.
The number of art pieces that have been ruined by finishes makes our heart hurt. Don’t let it happen to you: test before you apply! Each finish looks different on different types of wood. Always test!
***Also, be warned, if your wood has spots or imperfections in it, the majority if finishes will cause them to stand out even more. This includes sanding lines (if you didn’t use a fine grit to finish smoothing our your wood, or if you sanded in the wrong direction, the lines from sandpaper may show).
Please note: These include Amazon Assoicate links for our favorite products. We receive a very small portion if you choose to purchase our recommendations.
Food Safe Finishes
The most important thing to consider, or the thing to consider first, is will the wood slice be used with food? General finishes are not safe to be used on items like cutting boards and wooden utensils. Be sure you are using cutting board oil or cutting board wax, because many companies also have oils that are meant for furniture which is not food safe. Always look for the words “food safe”
Key differences between oils and waxes:
Penetration vs. Protection: Oil conditioners and finishing oils penetrate into the material to nourish and protect from within, whereas waxes primarily provide a protective surface coating.
Appearance: Waxes can alter the appearance more significantly by adding a sheen or gloss, while oils and conditioners tend to enhance the natural look of the material.
Maintenance: Wax finishes may need more frequent reapplication but offer more immediate surface protection against water and scratches. Oils and conditioners may provide longer-lasting nourishment but might not offer as strong a barrier against surface damage.
A combination of wax and oil can provide both protection and a natural, safe finish for wood. If using wax and oil finishes separately, apply the oils first to allow them to penetrate the wood, and then the wax to seal all that goodness in.
Here are our top two food safe oils we use:
Walrus oil
This us one of our favourite companies, and one the community likes to use as well. Please note, they do not harm any animals!
Walrus Oil Cutting Board Oil uses coconut oil, mineral oil, vitamin E and beeswax (be mindful of people who have a coconut allergy). Walrus cutting board oil is liquid and doesn't solidify. It adds a rich color (the more layers you put, the richer the colors and deeper the grain will be), it won't leave a funky taste, and goes on nice and smooth. You can finish it simply with their Wood Wax for Cutting Boards or even just use the the mentioned wax on its own.

Howards Products, Inc.
The Cutting Board Oil contains food grade mineral oil stabilized with Vitamin E, will not go rancid and is odourless and tasteless.
The one thing I will say about the Conditioner is that dirt and grime can collect a little more easily on it once finished, but the color it brings out of the wood, especially basswood, is gorgeous. This one is a mix of oil and wax.
The Wax is probably one of the best we have used for wood surfaces that are used with more wet items (i.e. pickles, cucumbers, tomatoes…) We found it to give the charcuterie boards the most protection from stains and marks.
General Finishes
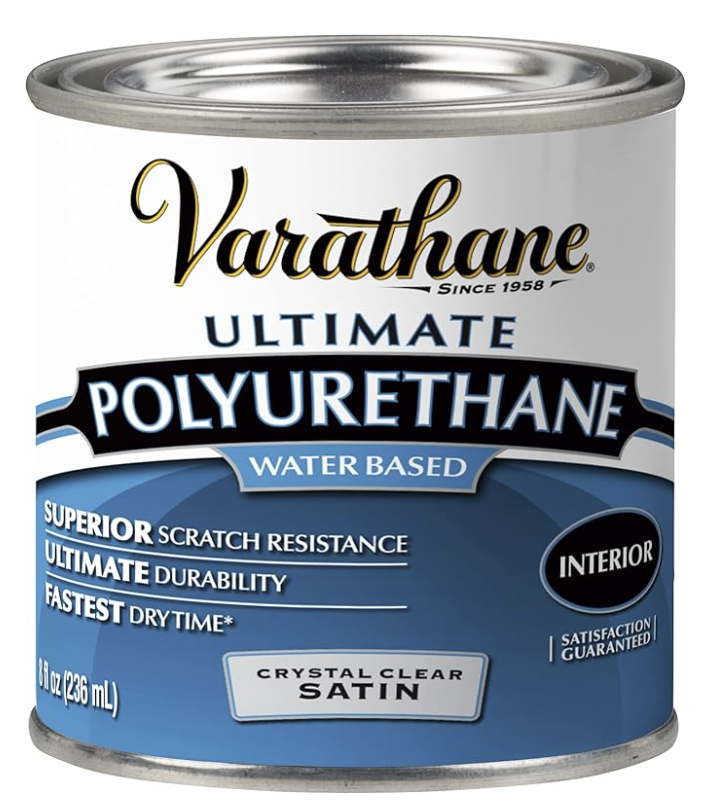
Minwax Fast Drying PolyURETHANE
It is a good idea to use a spray version versus a brush-on version with pieces that have added mediums on it (like watercolour, gold leaf etc…) because wiping/brushing the finish can cause the color to spread or bleed or come off.
Choosing gloss, semi-gloss, or matte are all based on personal preference. Some of us love that shine, and some of us want it to be completely matte. A shiny glossed coat can help protect it from finger prints showing and dirt collecting but may show brush stroked more...

Water Based PolyCRYLIC
We got a lot of responses with polyacrylic, and this is one we like to use as well. Polyacrylic spray-on and brush-on only comes as water based, but comes in satin, gloss, and high gloss sheens. It dries quickly, but can take a long time to fully cure, so be careful setting anything on top of something finished in polyacrylic. It is not as durable as polyurethane, but it isn't as toxic to your lungs or as smelly. It is fairly clear (get the crystal clear kind) but can get milky if you put it on too thick over a dark burn. Also, because it's fairly thin in viscosity and dries quickly, you can get brush strokes from the application that stay, It can be hard to get a really smooth finish.
Key Differences between a polyurethane and a polycrylic:
Composition and Odor: Polyurethane can be oil or water-based, with oil-based versions having a stronger odor and longer drying times. Polyacrylic is water-based, with low odor and quick drying times.
Appearance and Yellowing: Oil-based polyurethane deepens the color of the wood and may yellow over time, which is less desirable for light woods. Polyacrylic remains clear, making it suitable for maintaining the natural color of the wood.
Durability and Application: While both finishes provide good protection, oil-based polyurethane is generally more durable. However, polyacrylic is easier to apply, dries faster, and is better for quick projects..
What we use for Longevity and ultimate protection: Resin

Epoxy Resin makes for a gorgeous, well-protected finish, just don't put it in the sun or moisture, it may cloud it depending on the brand. We like Art Resin as our Resin of choice and find it lasts the longest without clouding or yellowing. Also, any information you may need to finsish a project is easy to find on their website and if you are really stuck, the customer service is absolutely amazing!
Resin takes a while to cure, is super thick, and requires precise mixing (it has a super easy mixing guide online). You also need other tools like a level and a heated tool to remove bubbles and smooth it. Depending on how large your piece is, a lighter can work. For larger pieces, using a torch is much easier.
It can also be messy to work with because it will spill over the edges, but the finished look is gorgeous. Keeping it out of dust particles while its drying is crucial (we cover our slices with a simple cardboard box).
It makes whatever you burned or added to the slice pop! It resists yellowing from the sun but can eventually yellow over time.
You have to make a new batch every time you use it, and it is also a bit pricey, but it is gorgeous!
Fun Tip:
If you don't want the color of the wood to change, Aly of @alyoopsartistry suggests to use isolation coat before adding your finish. This is awesome to use when you want the colour of your piece to stay as is before adding the resin. To learn more about this, check out: Isolation Coat/Primer and Wood
Click here to read about why you may consider leaving your wood slice unfinished.
How to apply a finish to your wood slice:
Finishing wood burned art can help protect it and enhance its appearance. Here are some steps you can follow to finish your wood burned art:
Sand the wood: Use sandpaper to smooth the surface of the wood and remove any rough spots. Click here to see the best way to sand your slices. Having a smooth surface is crucial as the sanding lines will be more visible with majority of finishes added.
Remove dust: Clean the wood surface with a clean, dry cloth to remove any dust or debris.
Apply a wood conditioner or oil: This will help the wood absorb the finish evenly. Apply the wood conditioner or oil with a clean cloth and let it soak in for about 15 minutes before wiping off any excess.
Choose your finish: There are many types of finishes you can use on wood burned art, such as polyurethane, lacquer, or wax. Choose the finish that best fits your desired outcome.
Apply the finish: Apply the finish with a brush, foam brush, or cloth according to the manufacturer's instructions. Make sure to apply an even coat and avoid drips.
Let it dry: Allow the finish to dry completely before handling the wood.
Apply additional coats: Depending on the type of finish, you may need to apply additional coats. Follow the manufacturer's instructions for the recommended drying time between coats.
Buff the finish: After the final coat has dried, use a clean cloth to buff the surface of the wood to a smooth and shiny finish.
Following these steps will help ensure that your wood burned art is protected and looks great for years to come.
When to re-finish your wood art
In general, it is recommended to reapply a finish to wood art every 1-3 years to maintain its appearance and protect it from wear and tear. However, if the wood art is exposed to harsh conditions such as direct sunlight, high humidity, or frequent handling, you may need to apply a finish more often.
It's important to also keep an eye on the finish and look for signs of wear or damage such as cracking, peeling, or discoloration. If you notice any of these signs, it's time to refinish the wood art to prevent further damage.
Ultimately, the best way to determine how often you should finish your wood art is to monitor its condition regularly and apply a new coat of finish as needed to maintain its appearance and protection.
Functional wood art, such as cutting boards, serving trays, and furniture, may require more frequent refinishing than decorative wood art since they are exposed to more wear and tear.
To learn more about how to care for your functional wood burned artwork (and all other types of wood art), check out: Woodcare 101: Preserving Your Pyrography Art