Getting into pyrography can be a fun and rewarding experience, whether you're just starting out or looking to take your skills to the next level. There are some fantastic books out there that can help you along the way, offering tips, techniques, and plenty of project ideas.
In this review, we'll take a look at FIVE great reads that can guide you through your woodburning journey. From learning the basics to mastering realistic animal portraits, these books have got you covered.
Let's dive into what makes each of these resources invaluable for any pyrography enthusiast.
Creative Woodburning: Projects, Patterns and Instruction to Get Crafty with Pyrography

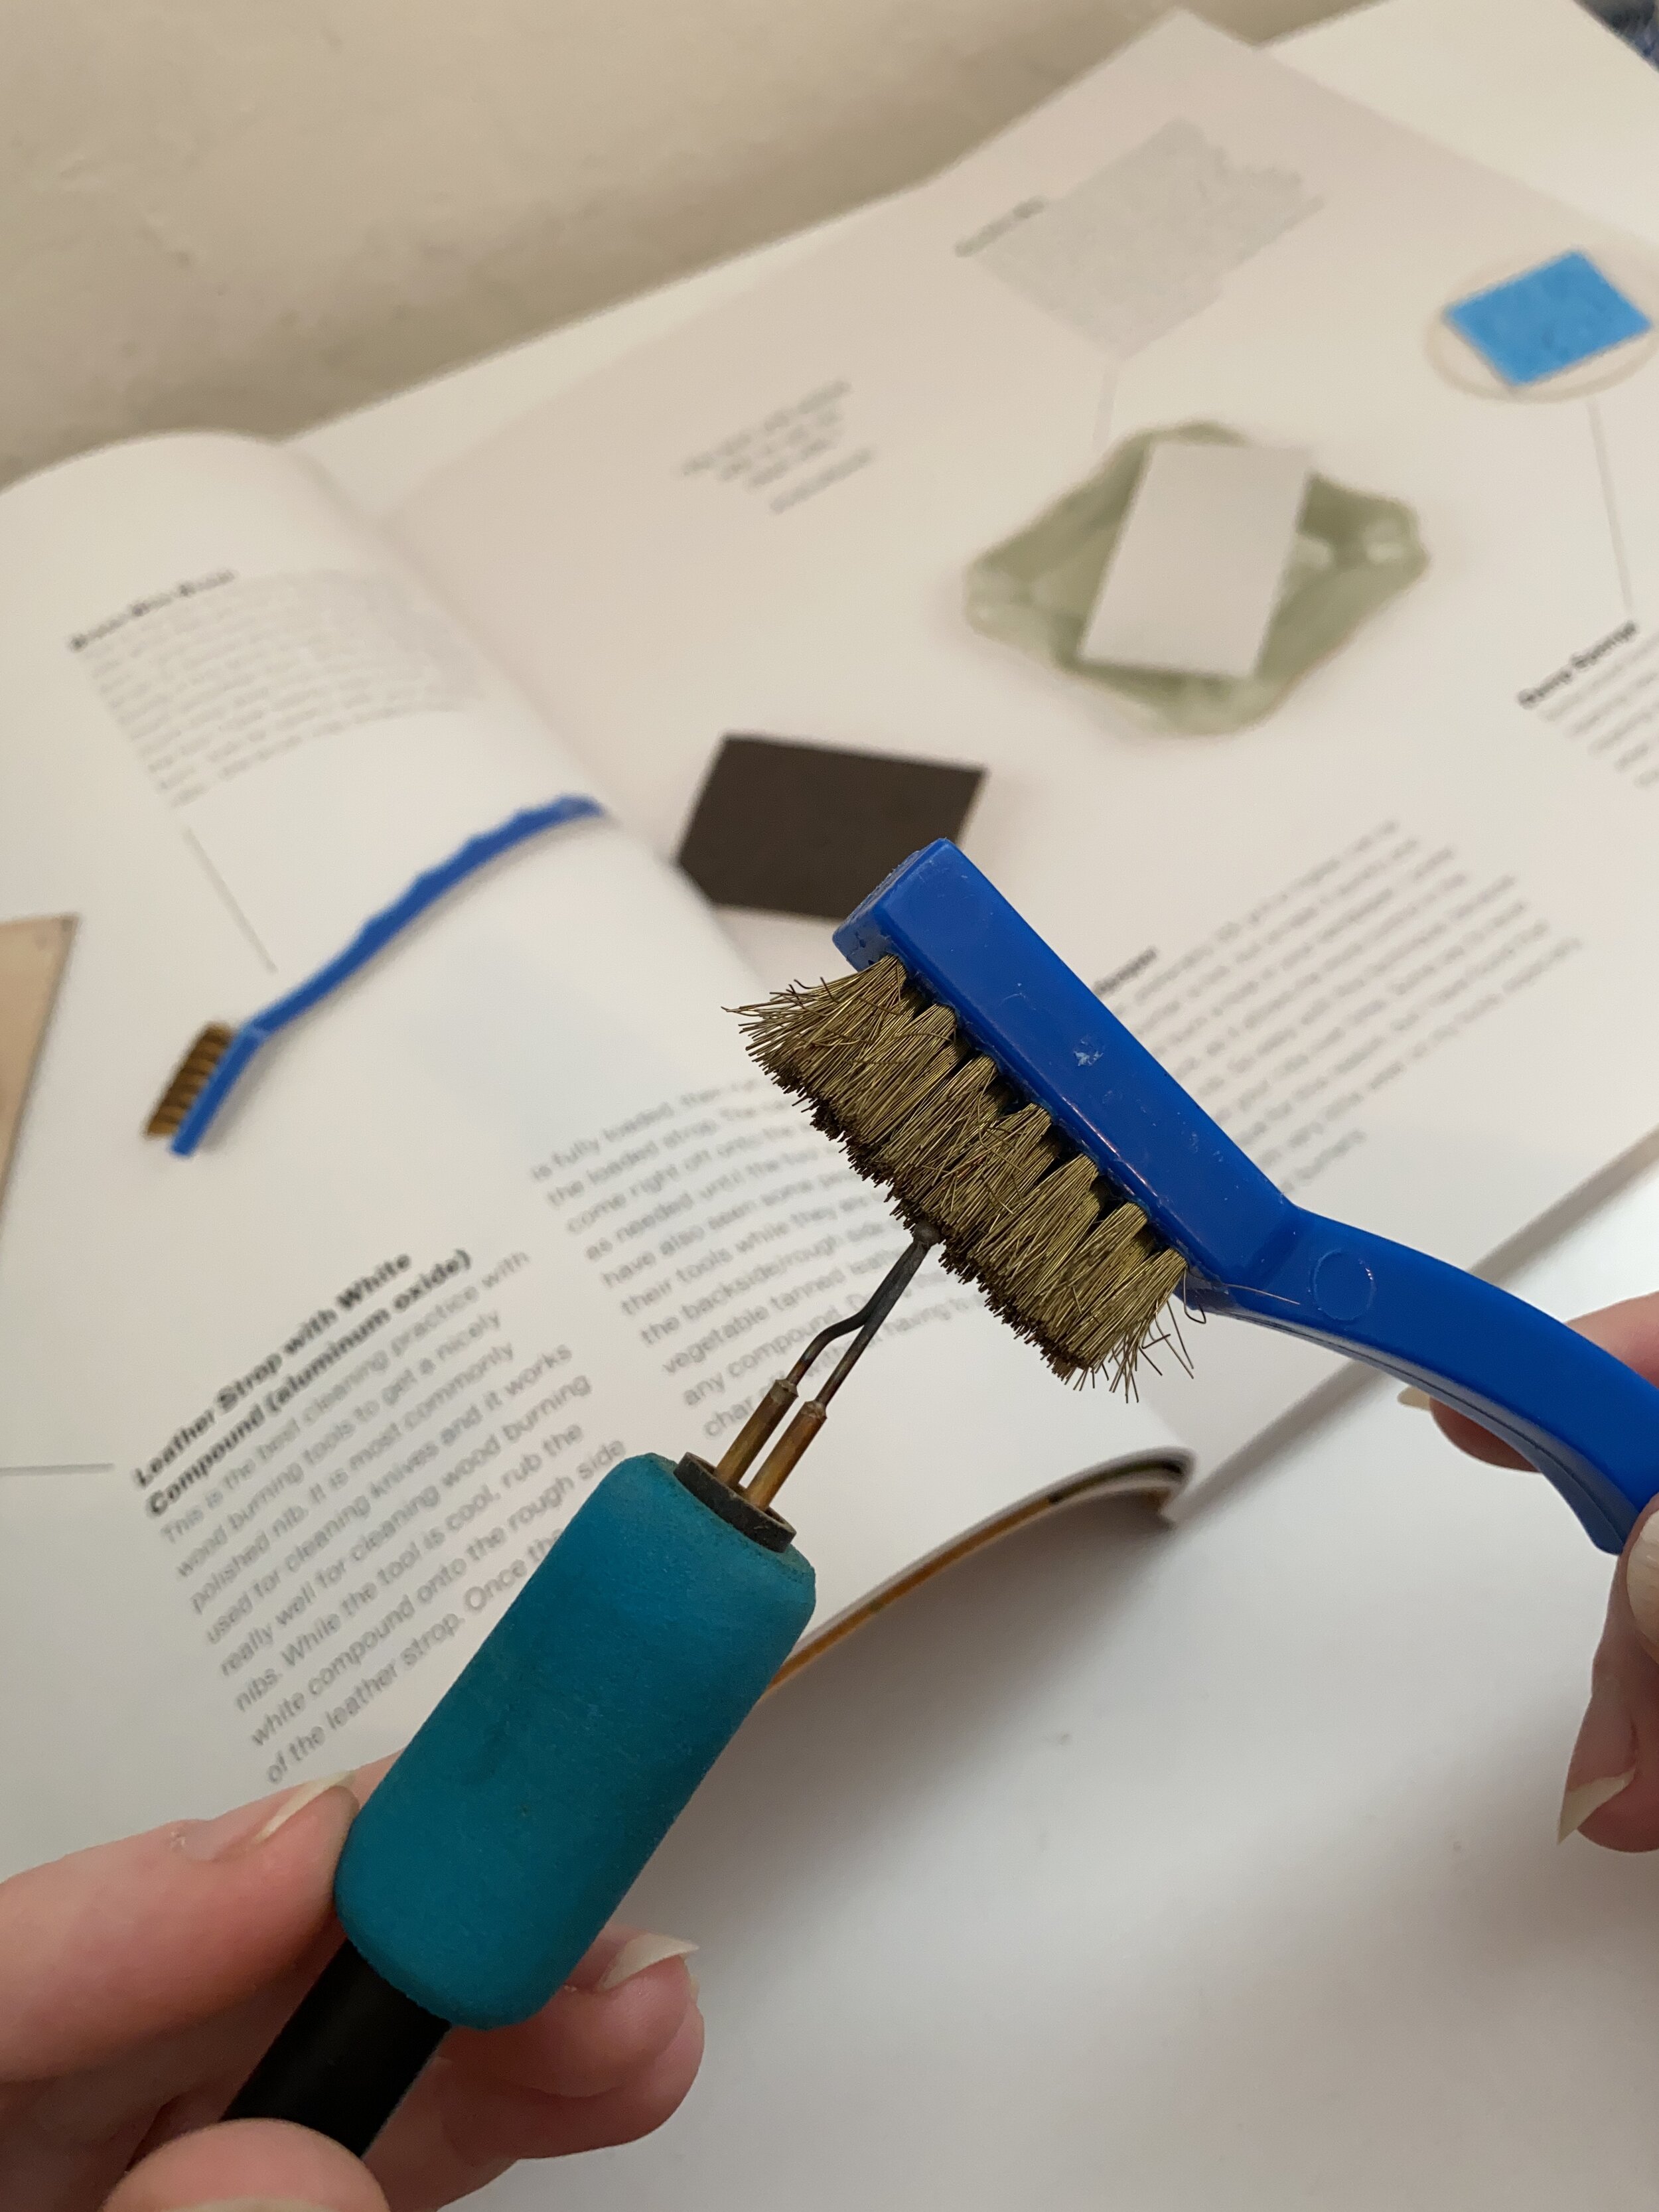
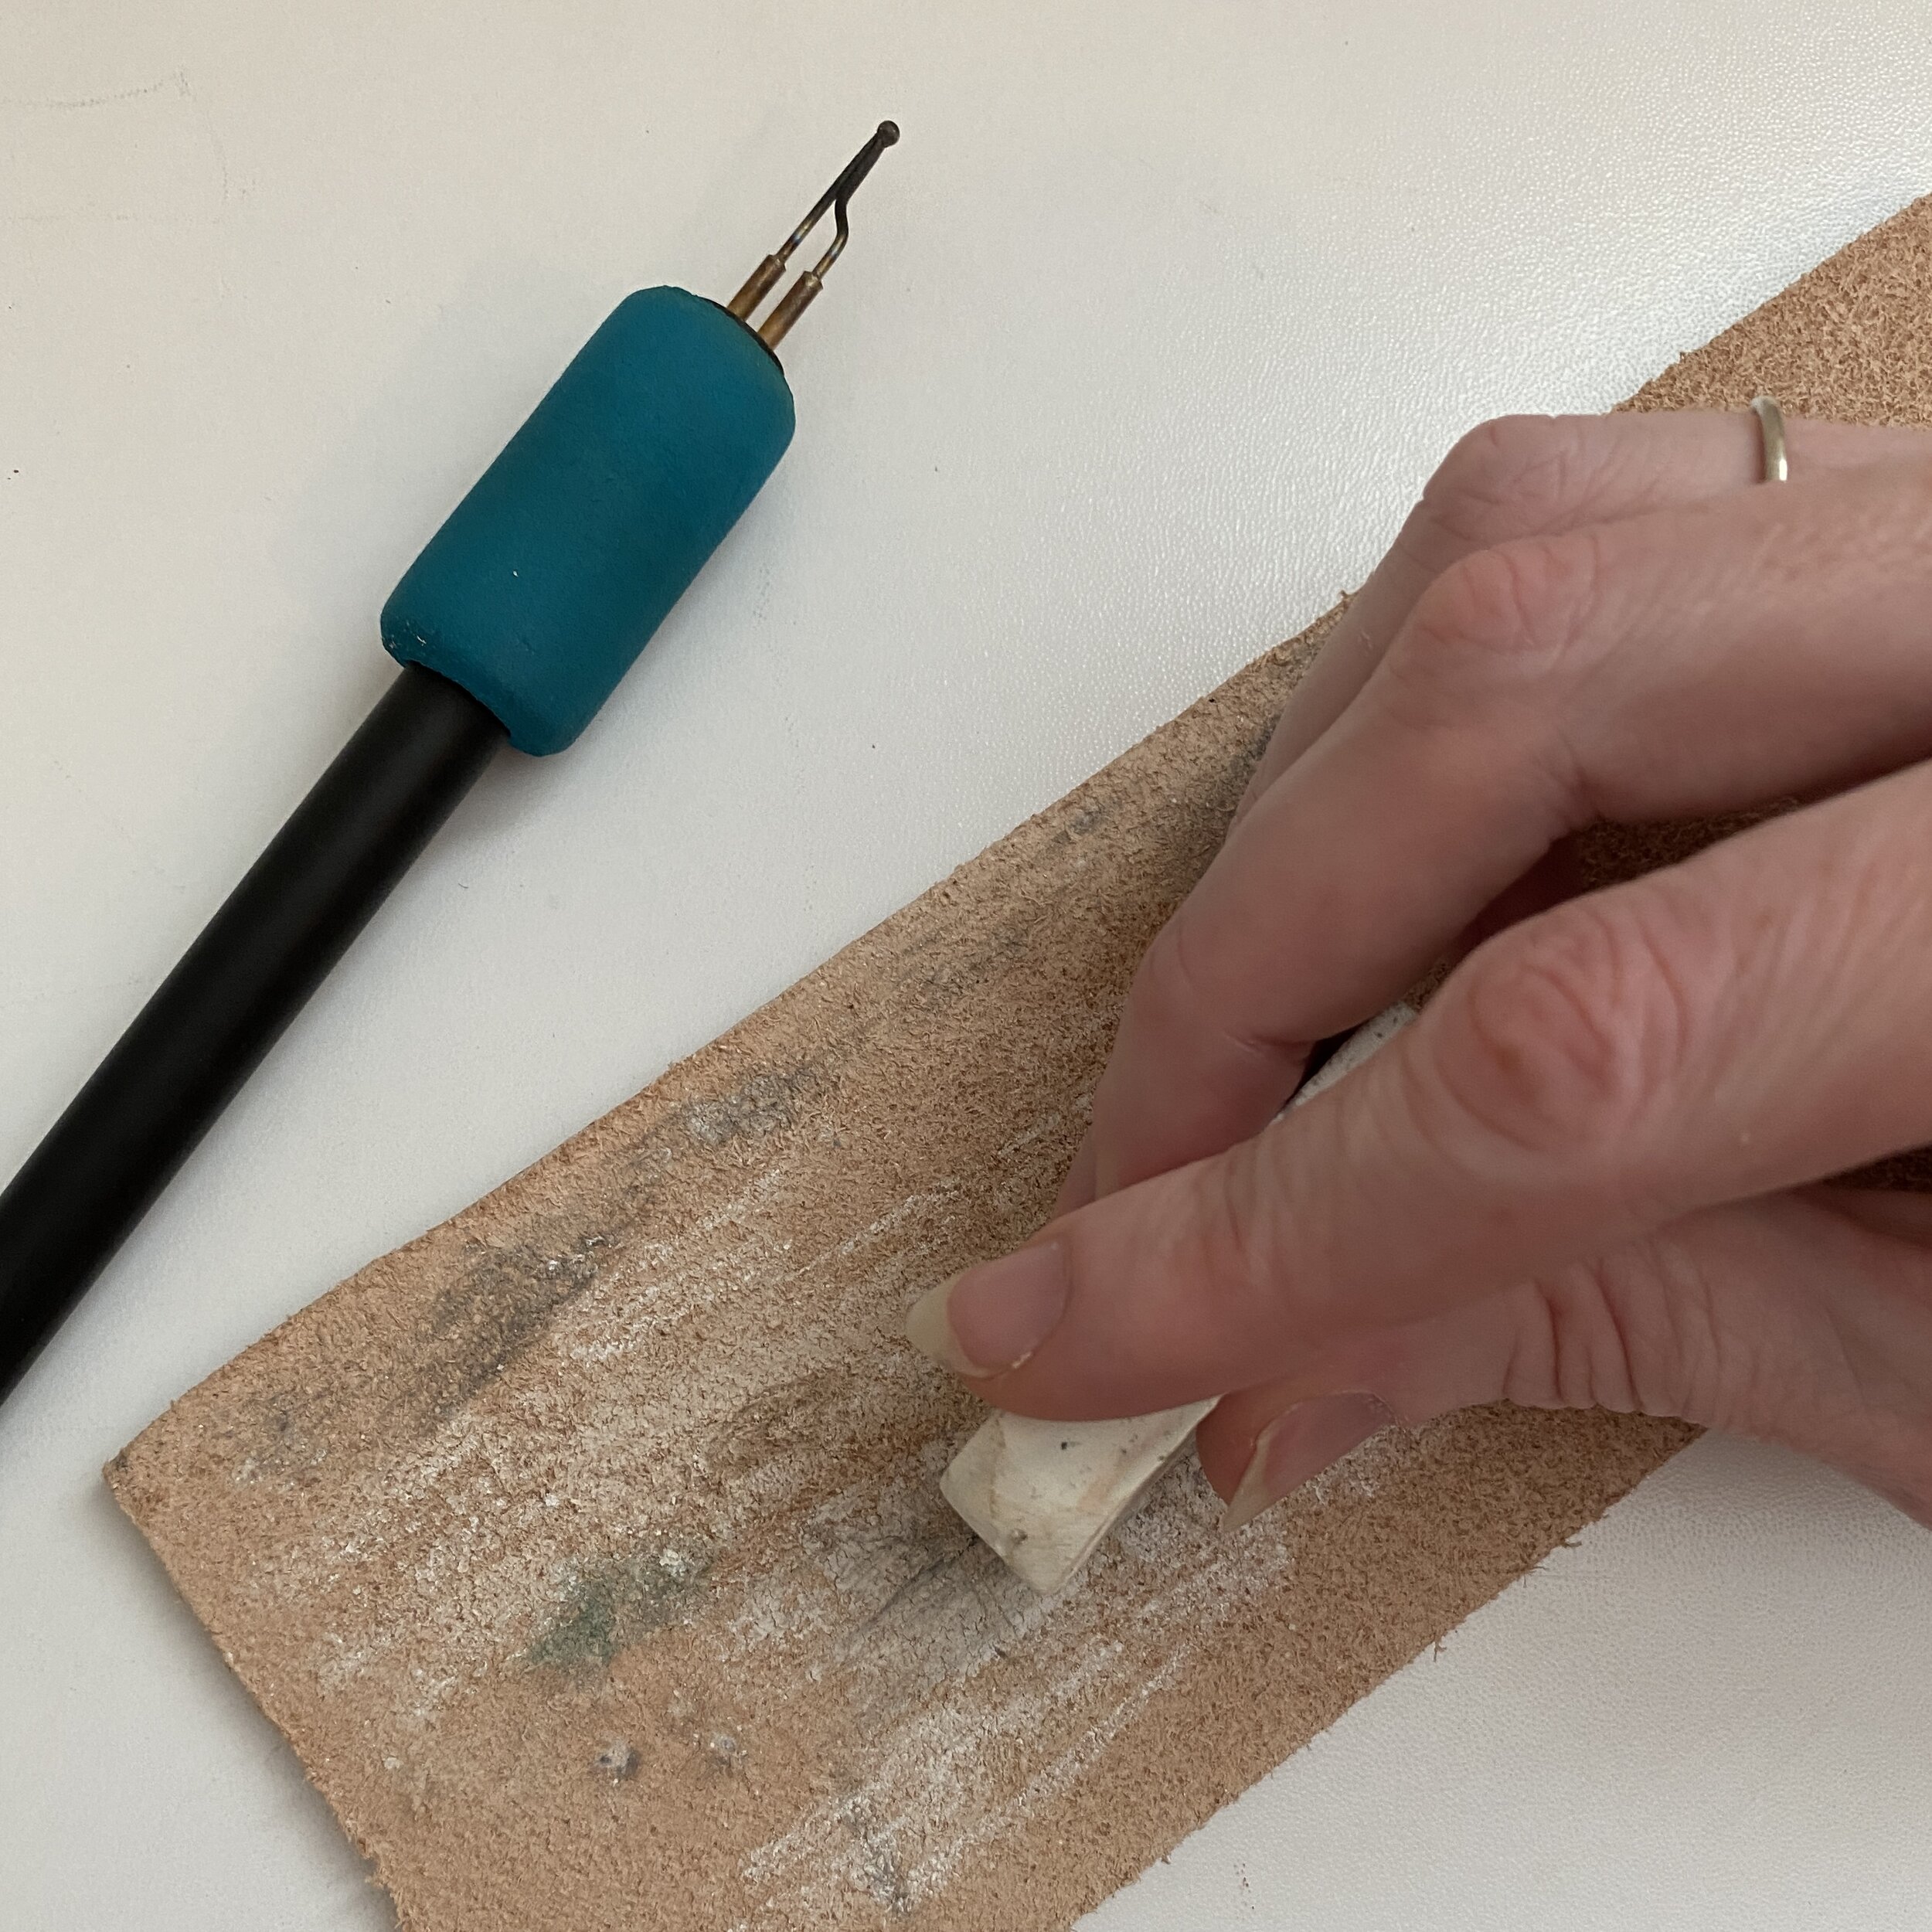
“Creative Woodburning" by Bee Locke is a comprehensive guide suitable for both beginners and experienced pyrography artists. The book starts with a thorough introduction to the basics of woodburning, covering essential tools, materials, and safety practices, just to start. Locke delves into various techniques, from basic shading and texturing to more advanced methods like stippling and crosshatching, burning feather textures and more. The book includes a wide range of projects, each with detailed step-by-step instructions and patterns, ensuring there's something for everyone. Additionally, the inclusion of original designs and motifs provides ample inspiration for readers to develop their unique style.
One of the book's strengths is the organization of all the clear and detailed instructions, which make it accessible for beginners and easy to find. The troubleshooting section is particularly helpful, offering solutions for common mistakes. Overall, "Creative Woodburning" is a valuable resource for anyone interested in pyrography, providing a balanced mix of instruction, inspiration, and practical tips.
"The Wood Burn Book: An Essential Guide to the Art of Pyrography" by Rachel Strauss

"The Wood Burn Book: An Essential Guide to the Art of Pyrography" by Rachel Strauss is an excellent resource for both novice and experienced pyrography artists. The book opens with a thorough introduction to the basics of woodburning, detailing essential tools, materials, and safety practices. Strauss covers a wide array of techniques, from simple line work and shading to intricate texturing and pattern creation. Each technique is explained with clear, step-by-step instructions and accompanied by high-quality photographs, making it easy for readers to understand and follow along.
What sets this book apart is the variety of projects it offers. Strauss includes a broad range of ideas, from decorative household items to personalized gifts, ensuring there's something for every skill level and interest. The book also features unique and original designs, providing plenty of inspiration for readers to develop their own creative projects. Additionally, Strauss's passion for pyrography shines through in her engaging writing style, making the book not only informative but also enjoyable to read.
Overall, "The Wood Burn Book" is a valuable and inspiring guide that offers a balanced mix of instruction, practical tips, and creative inspiration, making it a worthwhile addition to any pyrography artist's library.
"Wood Burning Realistic Animals" by Minisa Robinson

"Wood Burning Realistic Animals" by Minisa Robinson is a specialized guide focused on creating lifelike animal portraits through the art of pyrography. This book is particularly valuable for artists who wish to enhance their skills in rendering detailed and realistic animal figures. Robinson begins with a thorough introduction to the basics of pyrography, including essential tools, materials, and safety tips, which makes the book accessible to beginners.
The core of the book lies in its detailed tutorials for creating realistic animal portraits. Robinson provides step-by-step instructions, accompanied by high-quality photographs and detailed line drawings, to guide readers through each stage of the process. She covers various techniques such as shading, texturing fur, and capturing the intricate details of animal features, all aimed at bringing a lifelike quality to the woodburned artwork.
One of the book's strengths is its focus on realism. Robinson shares her expertise in capturing the essence and character of different animals, offering tips on how to achieve precise details and depth. This makes the book an excellent resource for artists looking to challenge themselves and elevate their pyrography skills.
Overall, "Wood Burning Realistic Animals" by Minisa Robinson is an exceptional guide for pyrography artists interested in creating lifelike animal portraits. Its detailed tutorials and expert tips make it a valuable resource for advancing one's skills in realistic woodburning.
"The Great Book of Wood Burning" by Lora S. Irish

"The Great Book of Wood Burning" by Lora S. Irish is an extensive and detailed guide for pyrography artists, whether they are beginners or more advanced practitioners. The book starts with a thorough introduction to the basics of wood burning, covering essential tools, materials, and safety practices, which is particularly beneficial for those new to the craft.
One of the book's major strengths lies in its exploration of various techniques. Irish meticulously explains everything from basic line work and shading to advanced texturing and layering methods. Each technique is presented with step-by-step instructions and detailed photographs, ensuring readers can easily follow along and practice effectively.
The book also stands out for its wide range of projects. It includes designs suitable for different skill levels, from simple patterns to more intricate artworks. Each project comes with clear instructions, patterns, and helpful tips, making it easy for readers to recreate the designs or use them as inspiration for their own creations.
Another highlight is the extensive collection of original designs and motifs, ranging from nature-inspired scenes to abstract patterns. This wealth of design options is excellent for sparking creativity and helping artists develop their own unique styles. The link is to an extended version which has even more designs, techniques and projects!
Overall, "The Great Book of Wood Burning" is a valuable and inspiring resource, offering a balanced mix of instruction, practical tips, and creative inspiration for anyone interested in pyrography.
"WoodBurning Workshop" by Court O’Reilly
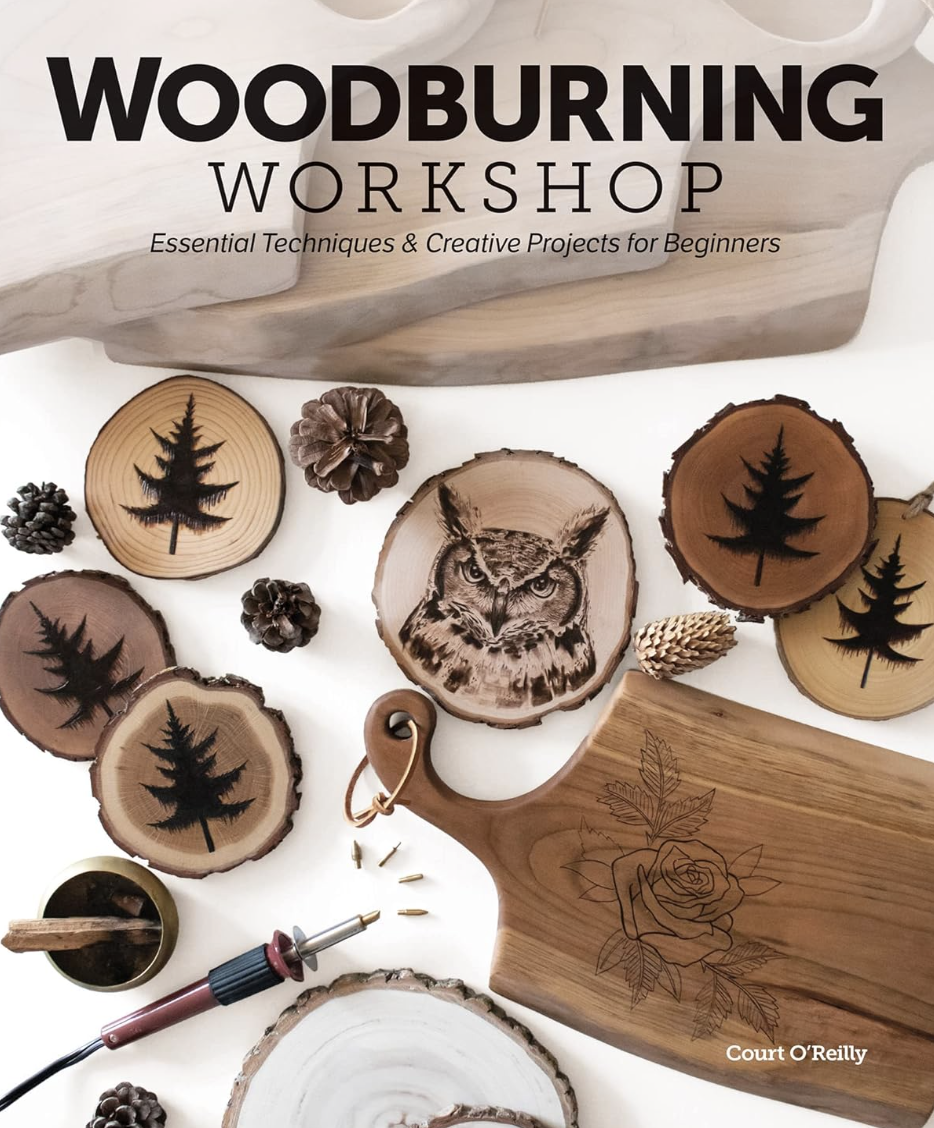
"Woodburning Workshop" by Court O’Reilly is a practical and comprehensive guide designed for pyrography enthusiasts of all skill levels. The book begins with an in-depth introduction to the basics of pyrography, covering essential tools, materials, and safety practices. This foundational knowledge is particularly beneficial for beginners, ensuring they have a solid understanding before progressing to more complex techniques.
O’Reilly excels in providing detailed, step-by-step instructions for a wide range of wood burning techniques, from basic line work and shading to advanced texturing and detailing methods. The book includes a variety of projects tailored to different skill levels, each accompanied by high-quality photographs and clear instructions.
Additionally, the wealth of original designs and motifs, ranging from nature scenes to abstract patterns, serves as a rich source of inspiration for artists looking to develop their unique styles. Overall, "Wood Burning Workshop" is a valuable resource that balances practical instruction with creative inspiration, making it a worthwhile addition to any pyrography artist's library.