Choosing a burner can be quite difficult. There are so many brands, so many options, so many nibs and it can all be a bit confusing…
But before we dive into the price ranges and styles of tools, I want to start with an important reminder:
the quality of your art isn’t defined by the cost of your tools.
The tools we use are undeniably important, but at the end of the day, it’s all about the user and what works best for them. Many artists can create incredible work with the simplest, most affordable tools, showing that skill and creativity matter more than price. On the flip side, even the fanciest tools can feel frustrating, like struggling to get solid lines.
Now, lets talk about the function of tools. When you are looking into a wood burning tool, I like to think that you need to consider a couple things when choosing:
Price
Use
Style
Price - What will my money get me?
Price is first because, well, your budget is your budget and wood burning tools can range in price from $15-$300+, so lets starthere.
I like to think that there is 4 different levels in price.
⭐️ LEVEL 1: $15 USD
These are value tools that usually just have an on/off switch, recommended only if you are doing one project. They may come with several nib options but take some time to heat up and are a bit bulky to hold. This one from Walnut Hollow has been tried, tested and true.
If you can invest a little more money, especially if you want to continue pyrography, we recommend going up, at least one more level.

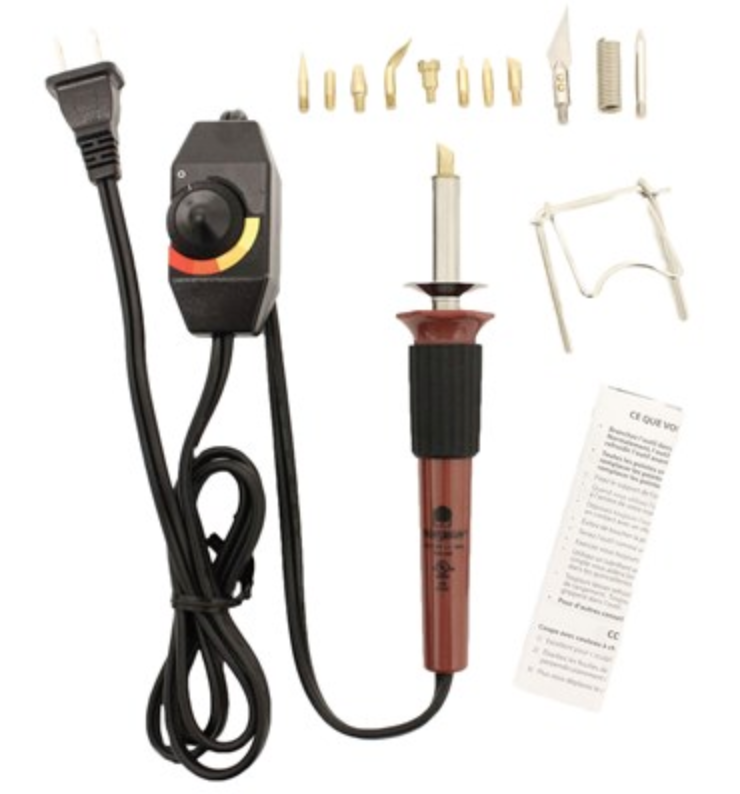
⭐️ ⭐️ LEVEL 2: $30 USD
These are usually your solid-nibbed wood burning tools with temperature control. They usually come with several interchangeable nibs, are portable, but take a little while to heat and cool. Still slightly bulky, but for learning, exploring and understanding the art of pyrography, this price range is what you should be looking for.
Be weary of anything around this price or cheaper, especially off of amazon…
We love the Walnut Hollow Versa tool. This was our first burner, and after trying many many others, this is still one we recommend for beginners and large projects the most! Click here to get yours.
⭐️ ⭐️ ⭐️ LEVEL 3: $80 USD to $120 USD
These are considered professional level machines, or entry level wire nib burners. Most come with interchangeable nibs. They may be lower quality wire nibs, when they are interchangeable, that may need some gentle tweaking before use or with a limited number of nibs, but this option is good if you want to learn what nib you like best. The grip will be more pen-like, it will have decent temperature control, and it will heat and cool faster than the previous tools. They are lighter weight machines and are not meant for heavy use.
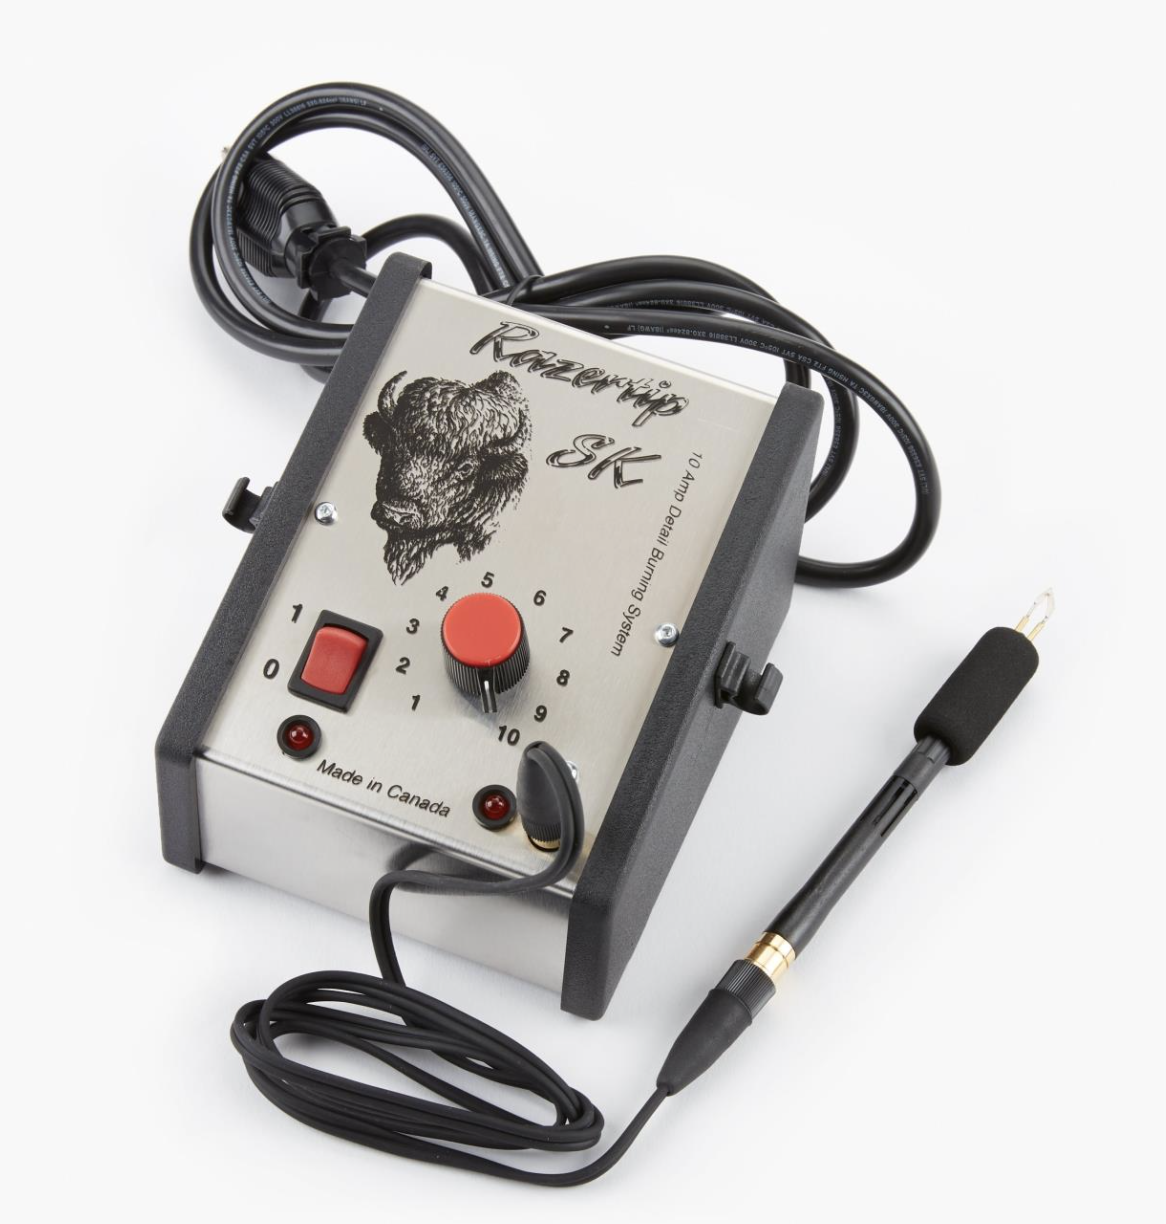
⭐️ ⭐️ ⭐️ ⭐️ ⭐️ LEVEL 4: $200 USD and Up:
These are your professional machines. These are sturdy, heavy duty, professional equipment. A lot of the time you will need to buy the machine separate from the pens/nibs. Many of the nibs are hand formed. There are options for pen choices(fixed pen and interchangeable options) and tons of individual options for nib choices (flow, spade, writing, shading transfer hot stamps). Some companies will customize nibs, and some offer such a wide range you wont need customization (looking at you Razertip). The grip of these machines will be pen-like, it will have excellent temperature control(in some cases precise to the last degree), it will heat and cool in seconds, and in general these machines will reach much higher temperatures. Some great companies, our top three, include Razertip, Tekchic, PJL Enterprises.
You can watch a video where we review a bunch of pro burners and listen in as we dive into Razertip and what we like and don’t like about each of their machines, by joining Burn Club+ (then head to the Open Studio Recordings Channel!)
Use - How will I use my wood burning tool?
ONE TIME USE - If you are planning on using a wood burning tool for just one project, then go ahead and get yourself a single temperature, solid-nibbed value wood burning tool. A tool like the Walnut Hollow Value Tool is around $15. It comes with several nib options and you will be able to complete your project.
HOBBIEST and PROFESSIONALS - If you plan on doing more than one project, or very large projects, then we highly recommend that you get yourself a solid-nibbed, temperature-controlled woodburning tool. The Walnut Hollow Versatool is our favorite. This tool is so versatile, inexpensive (around $30 ), comes with a bunch of useful nibs, and works like a dream. This could easily be the only tool you buy. The level of detail that you can achieve with this one tool is astounding. Just go look at the #versatool to see what I mean. There are many professional wood burning artists who only use this tool.
PROFESSIONALS - If you are burning more than a couple times a week, then you should invest or start saving up to invest in a proper professional machine. These machines will decrease your time wasted waiting for you tools to heat/cool, will allow you to have a more ergonomic grip while working, they will allow for quicker nib changes, and will just speed up your whole process. They are worth the investment. Some great companies include Razertip, Tekchic, PJL Enterprises.
STATIONARY OR MOBILE - Will you have a dedicated wood burning station, or will you be on the move? This is something to consider when choosing the right burner for you. Some do not pack or travel well, while others are made to be portable.
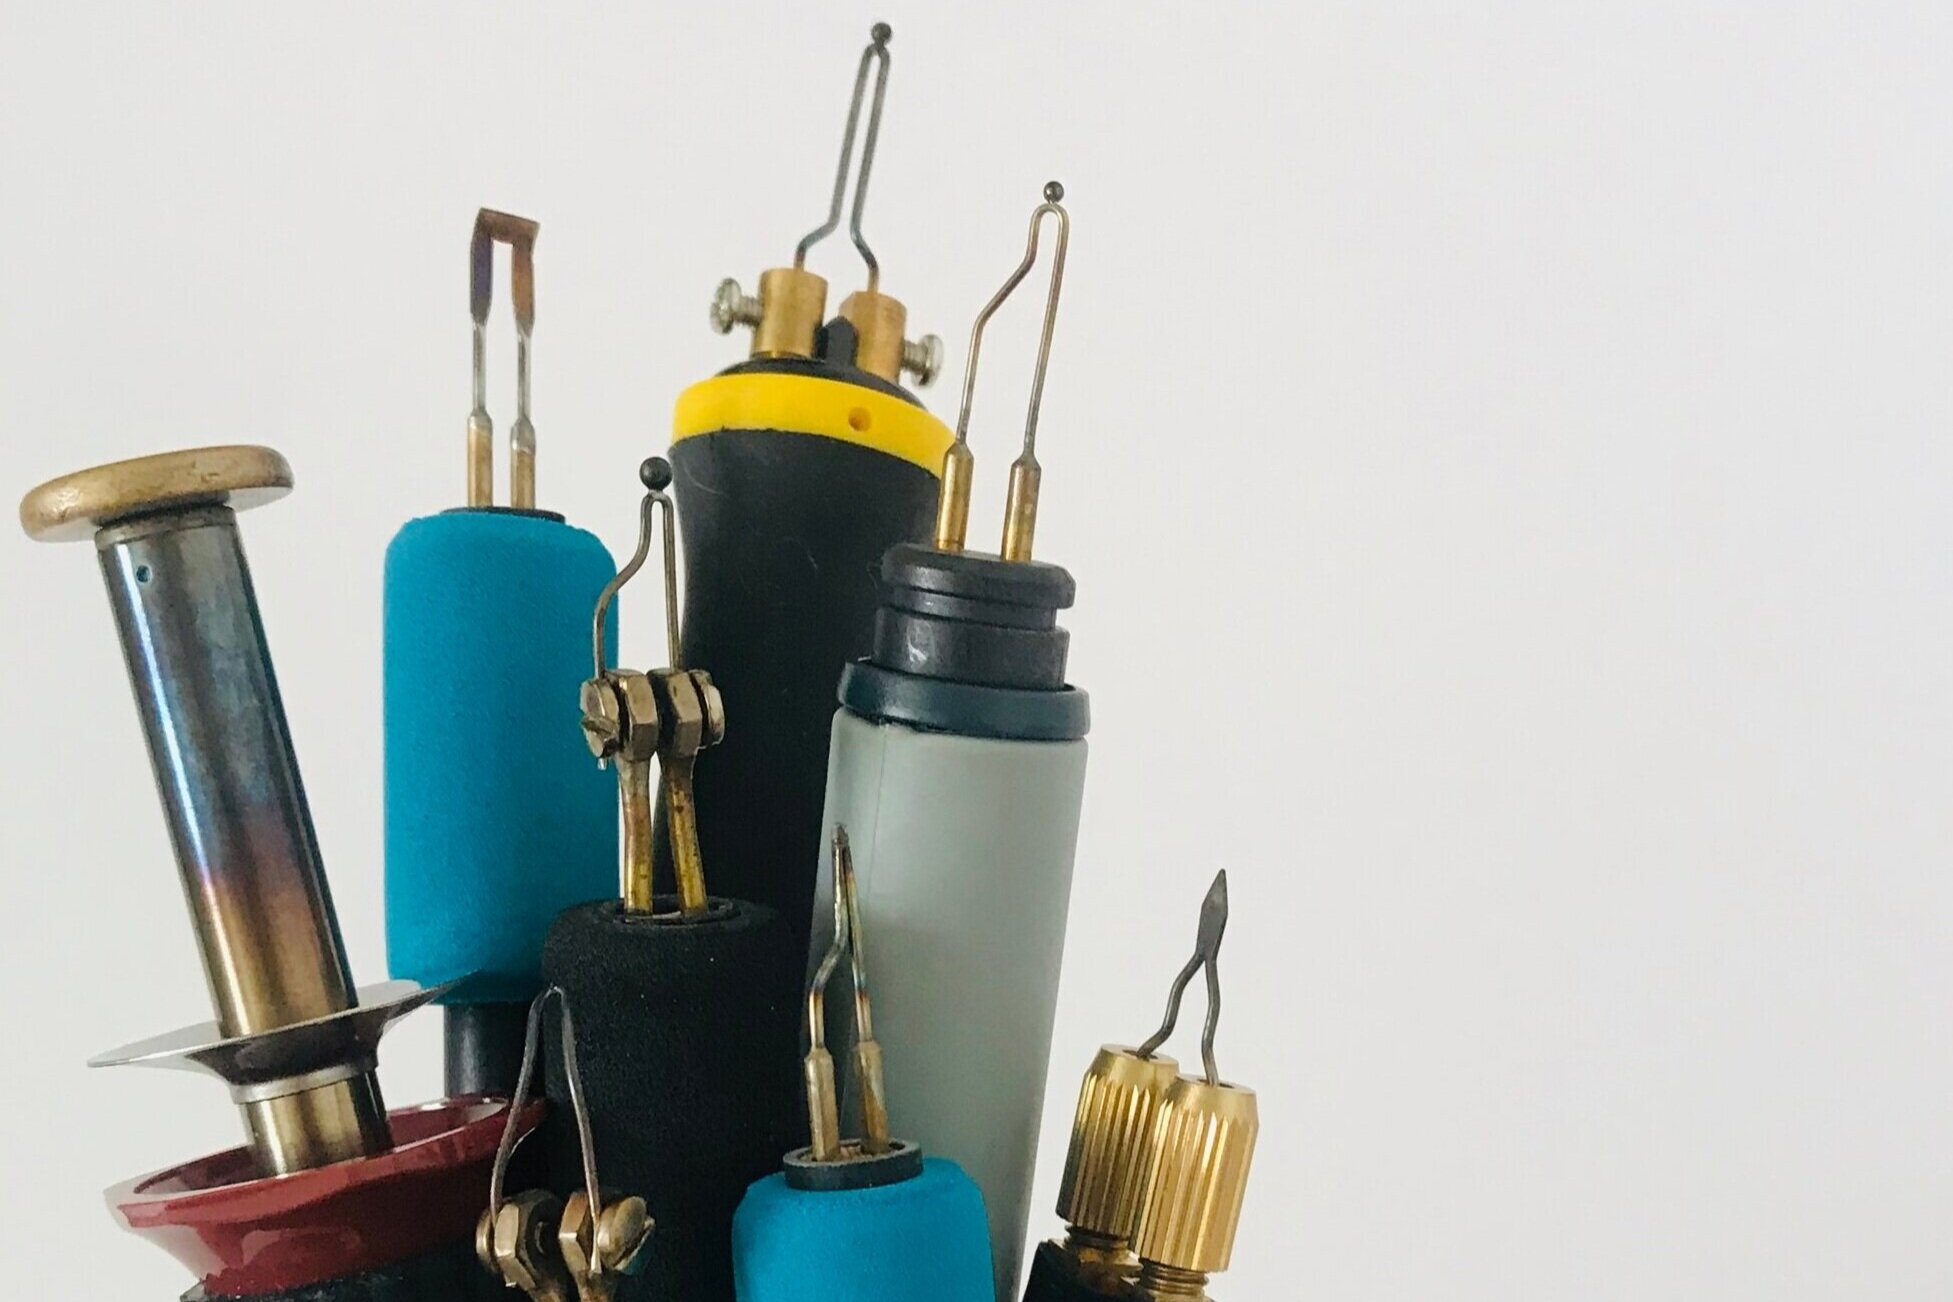
Style - Solid vs Wire Nibs
For a detailed explanation between these two styles, check out the blog post: Wire Tip Vs. Solid Tip Burner. In a nutshell:
SOLID: A Solid-nibbed or solid-tipped burner has a long heated shaft, with nibs that screw directly into the shaft. Your hand placement is further away from the surface being burned, and is generally a thick grip that will take some getting used to. They can come in temperature-controlled and single temperature varieties. These range from $15-$30.
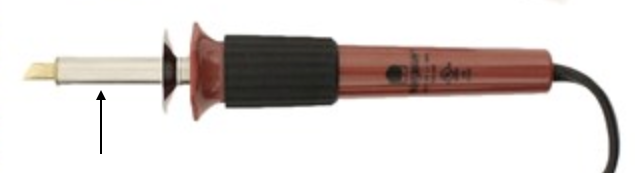
Now, a solid-nibbed burner, does have its drawbacks. It takes a little while to heat up and cool down, the grip is thick and requires your hand to be far away from the surface you are burning (can take some getting used to), and the docking station is not very solid. But… this compact machine can burn! It’s great for covering large areas too as a solid nib burner will retain its heat better than a wire burner. We recommend this tool, or something similar be in every wood burning artists tool bag.
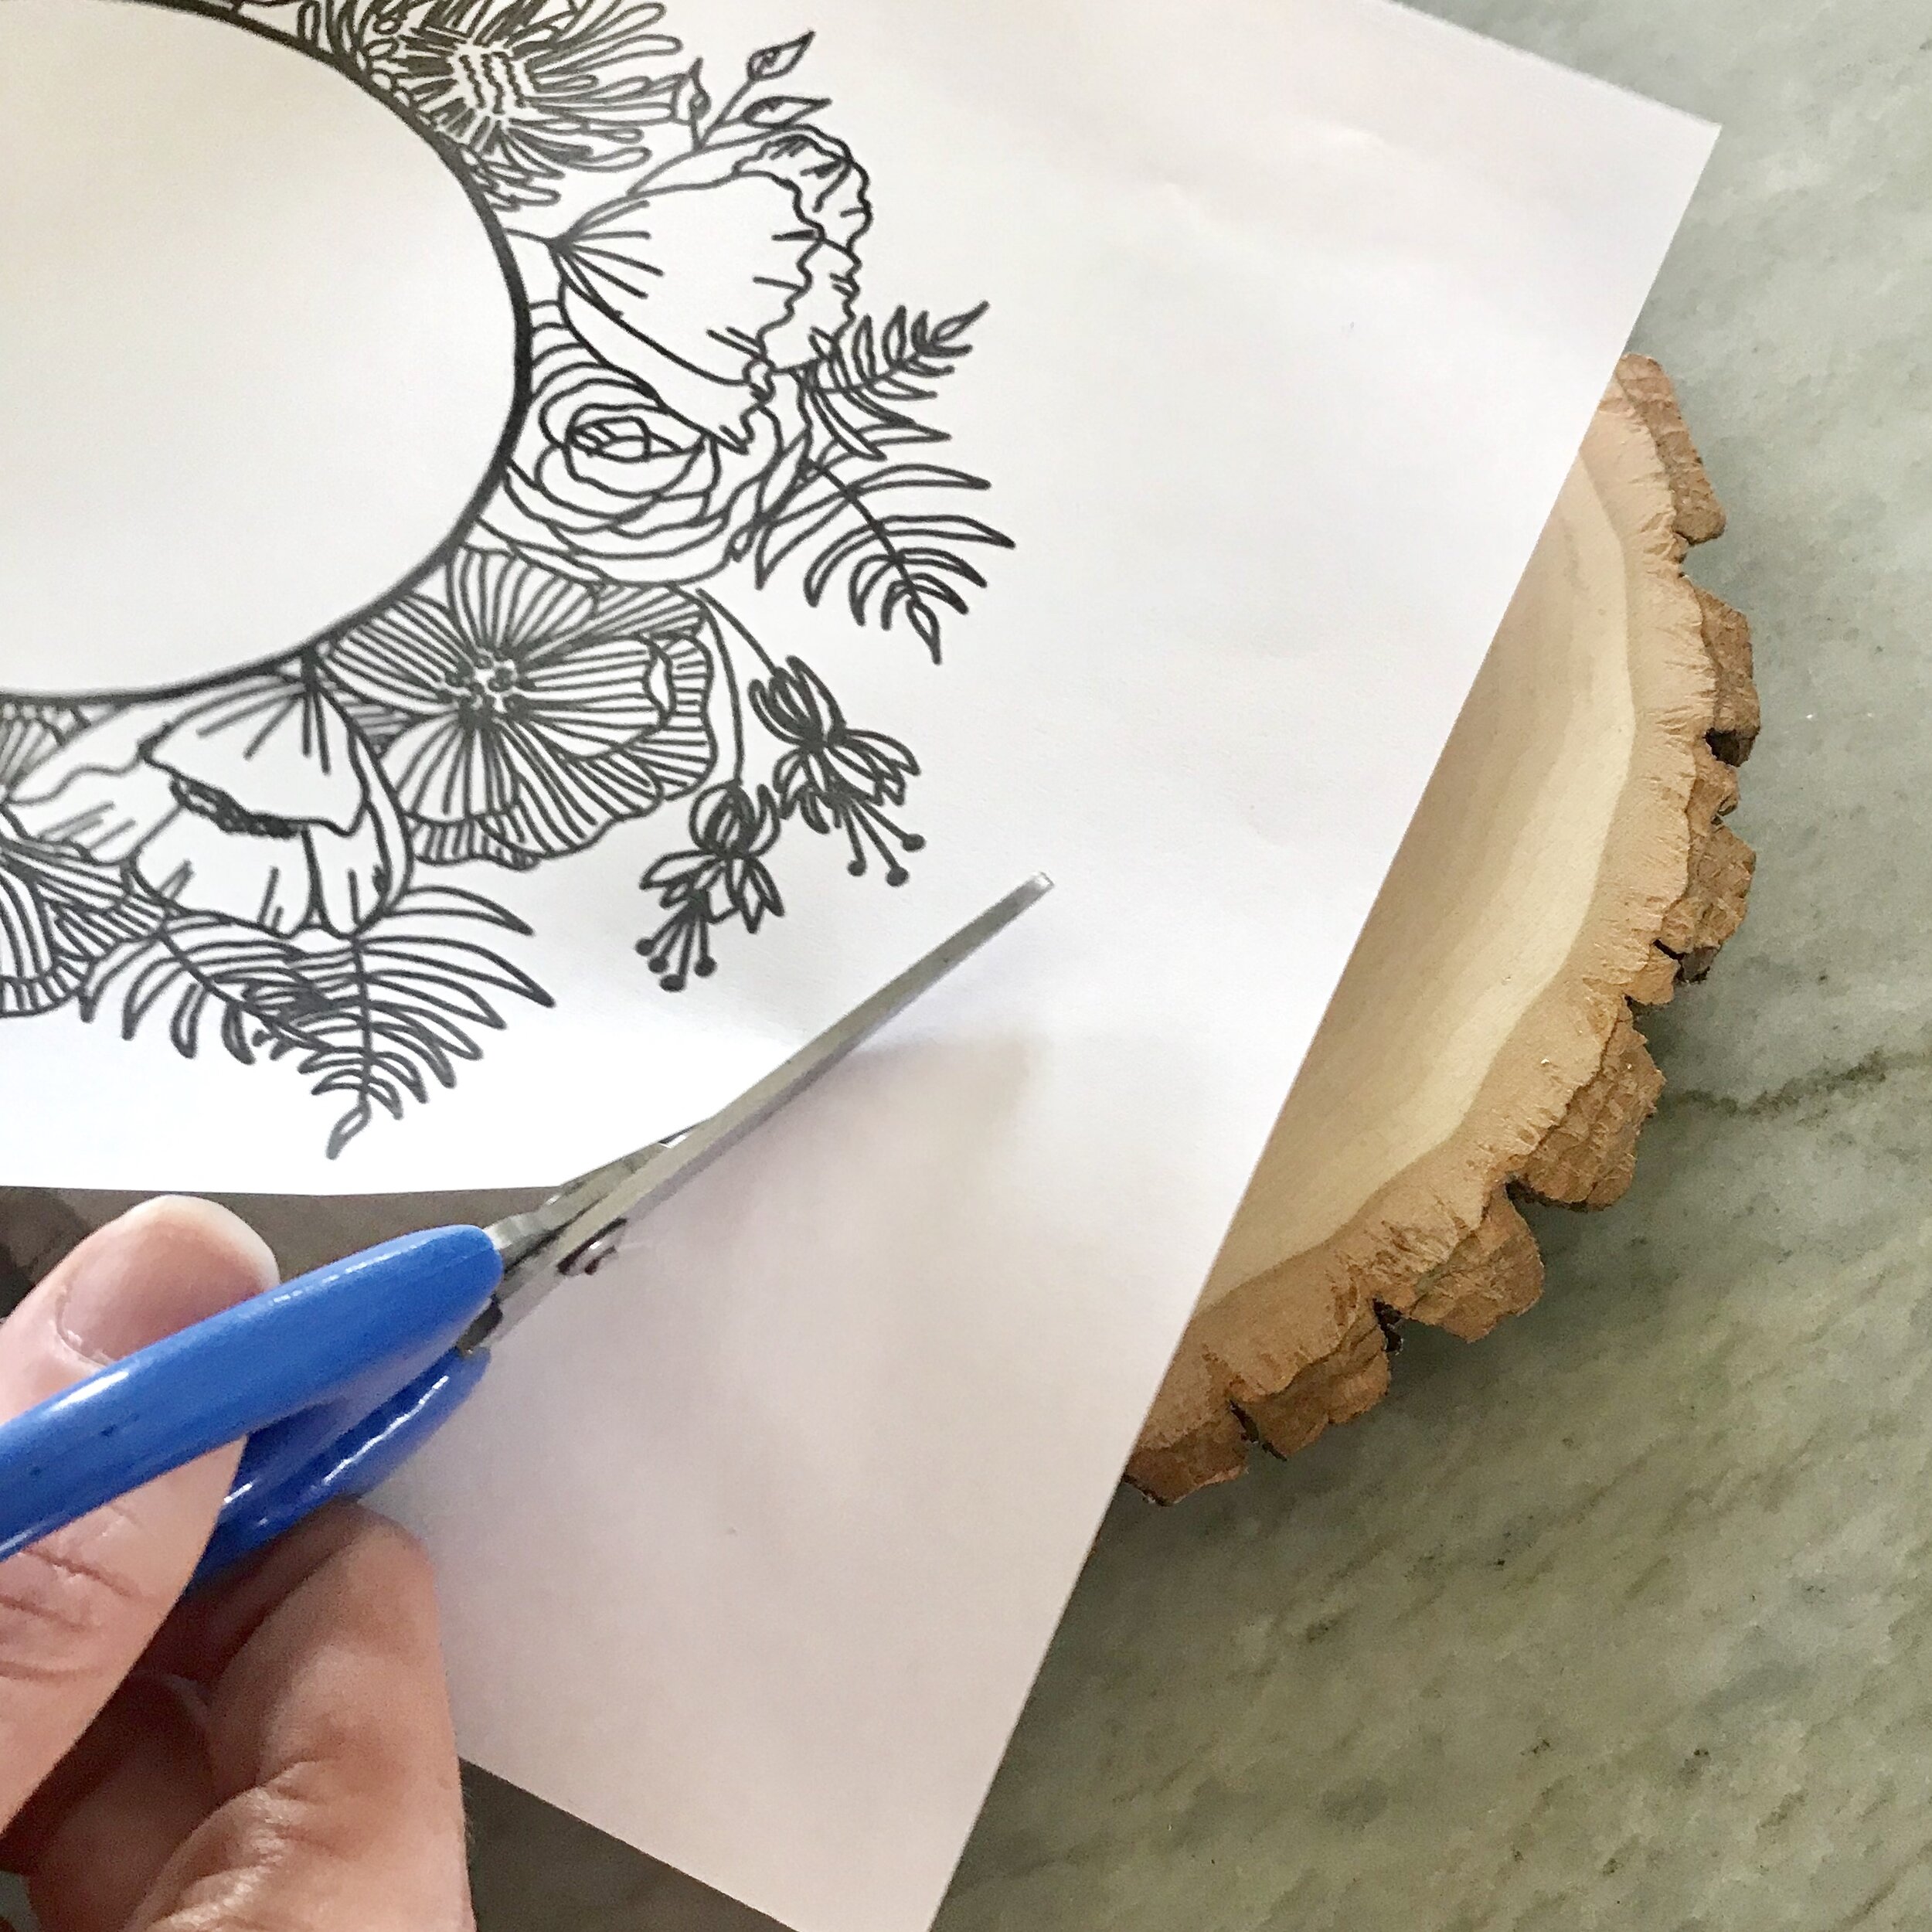
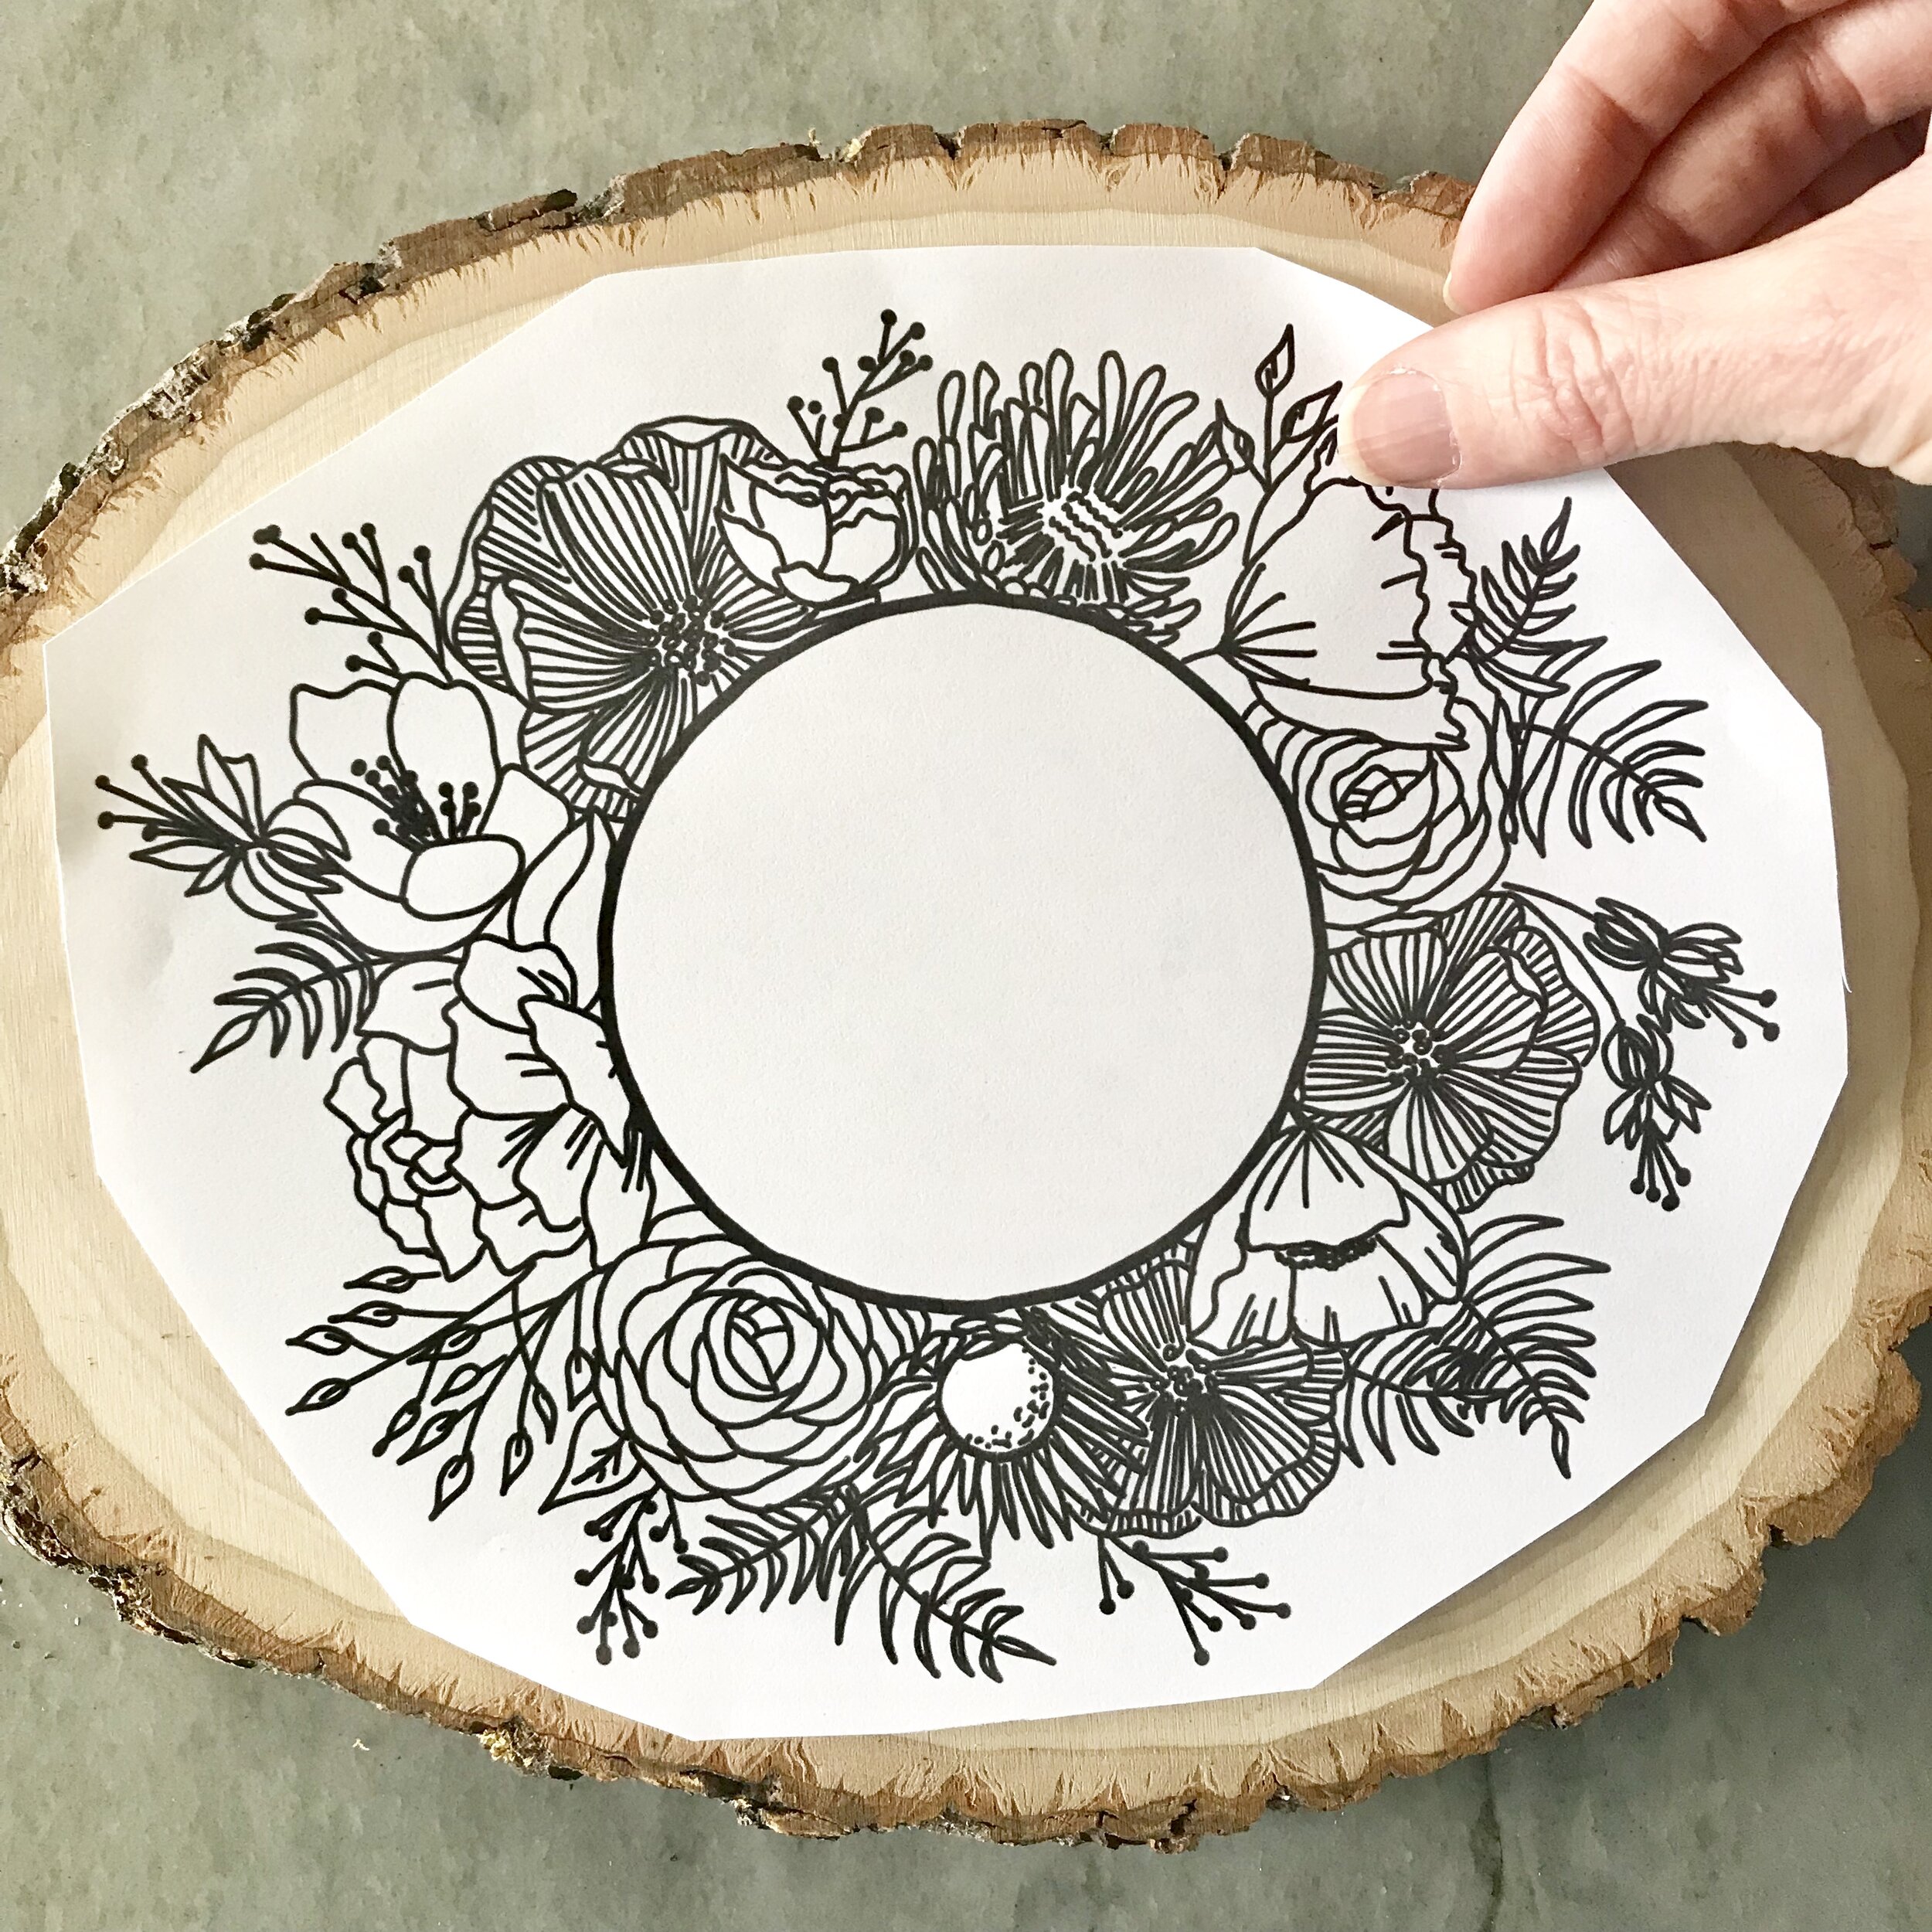
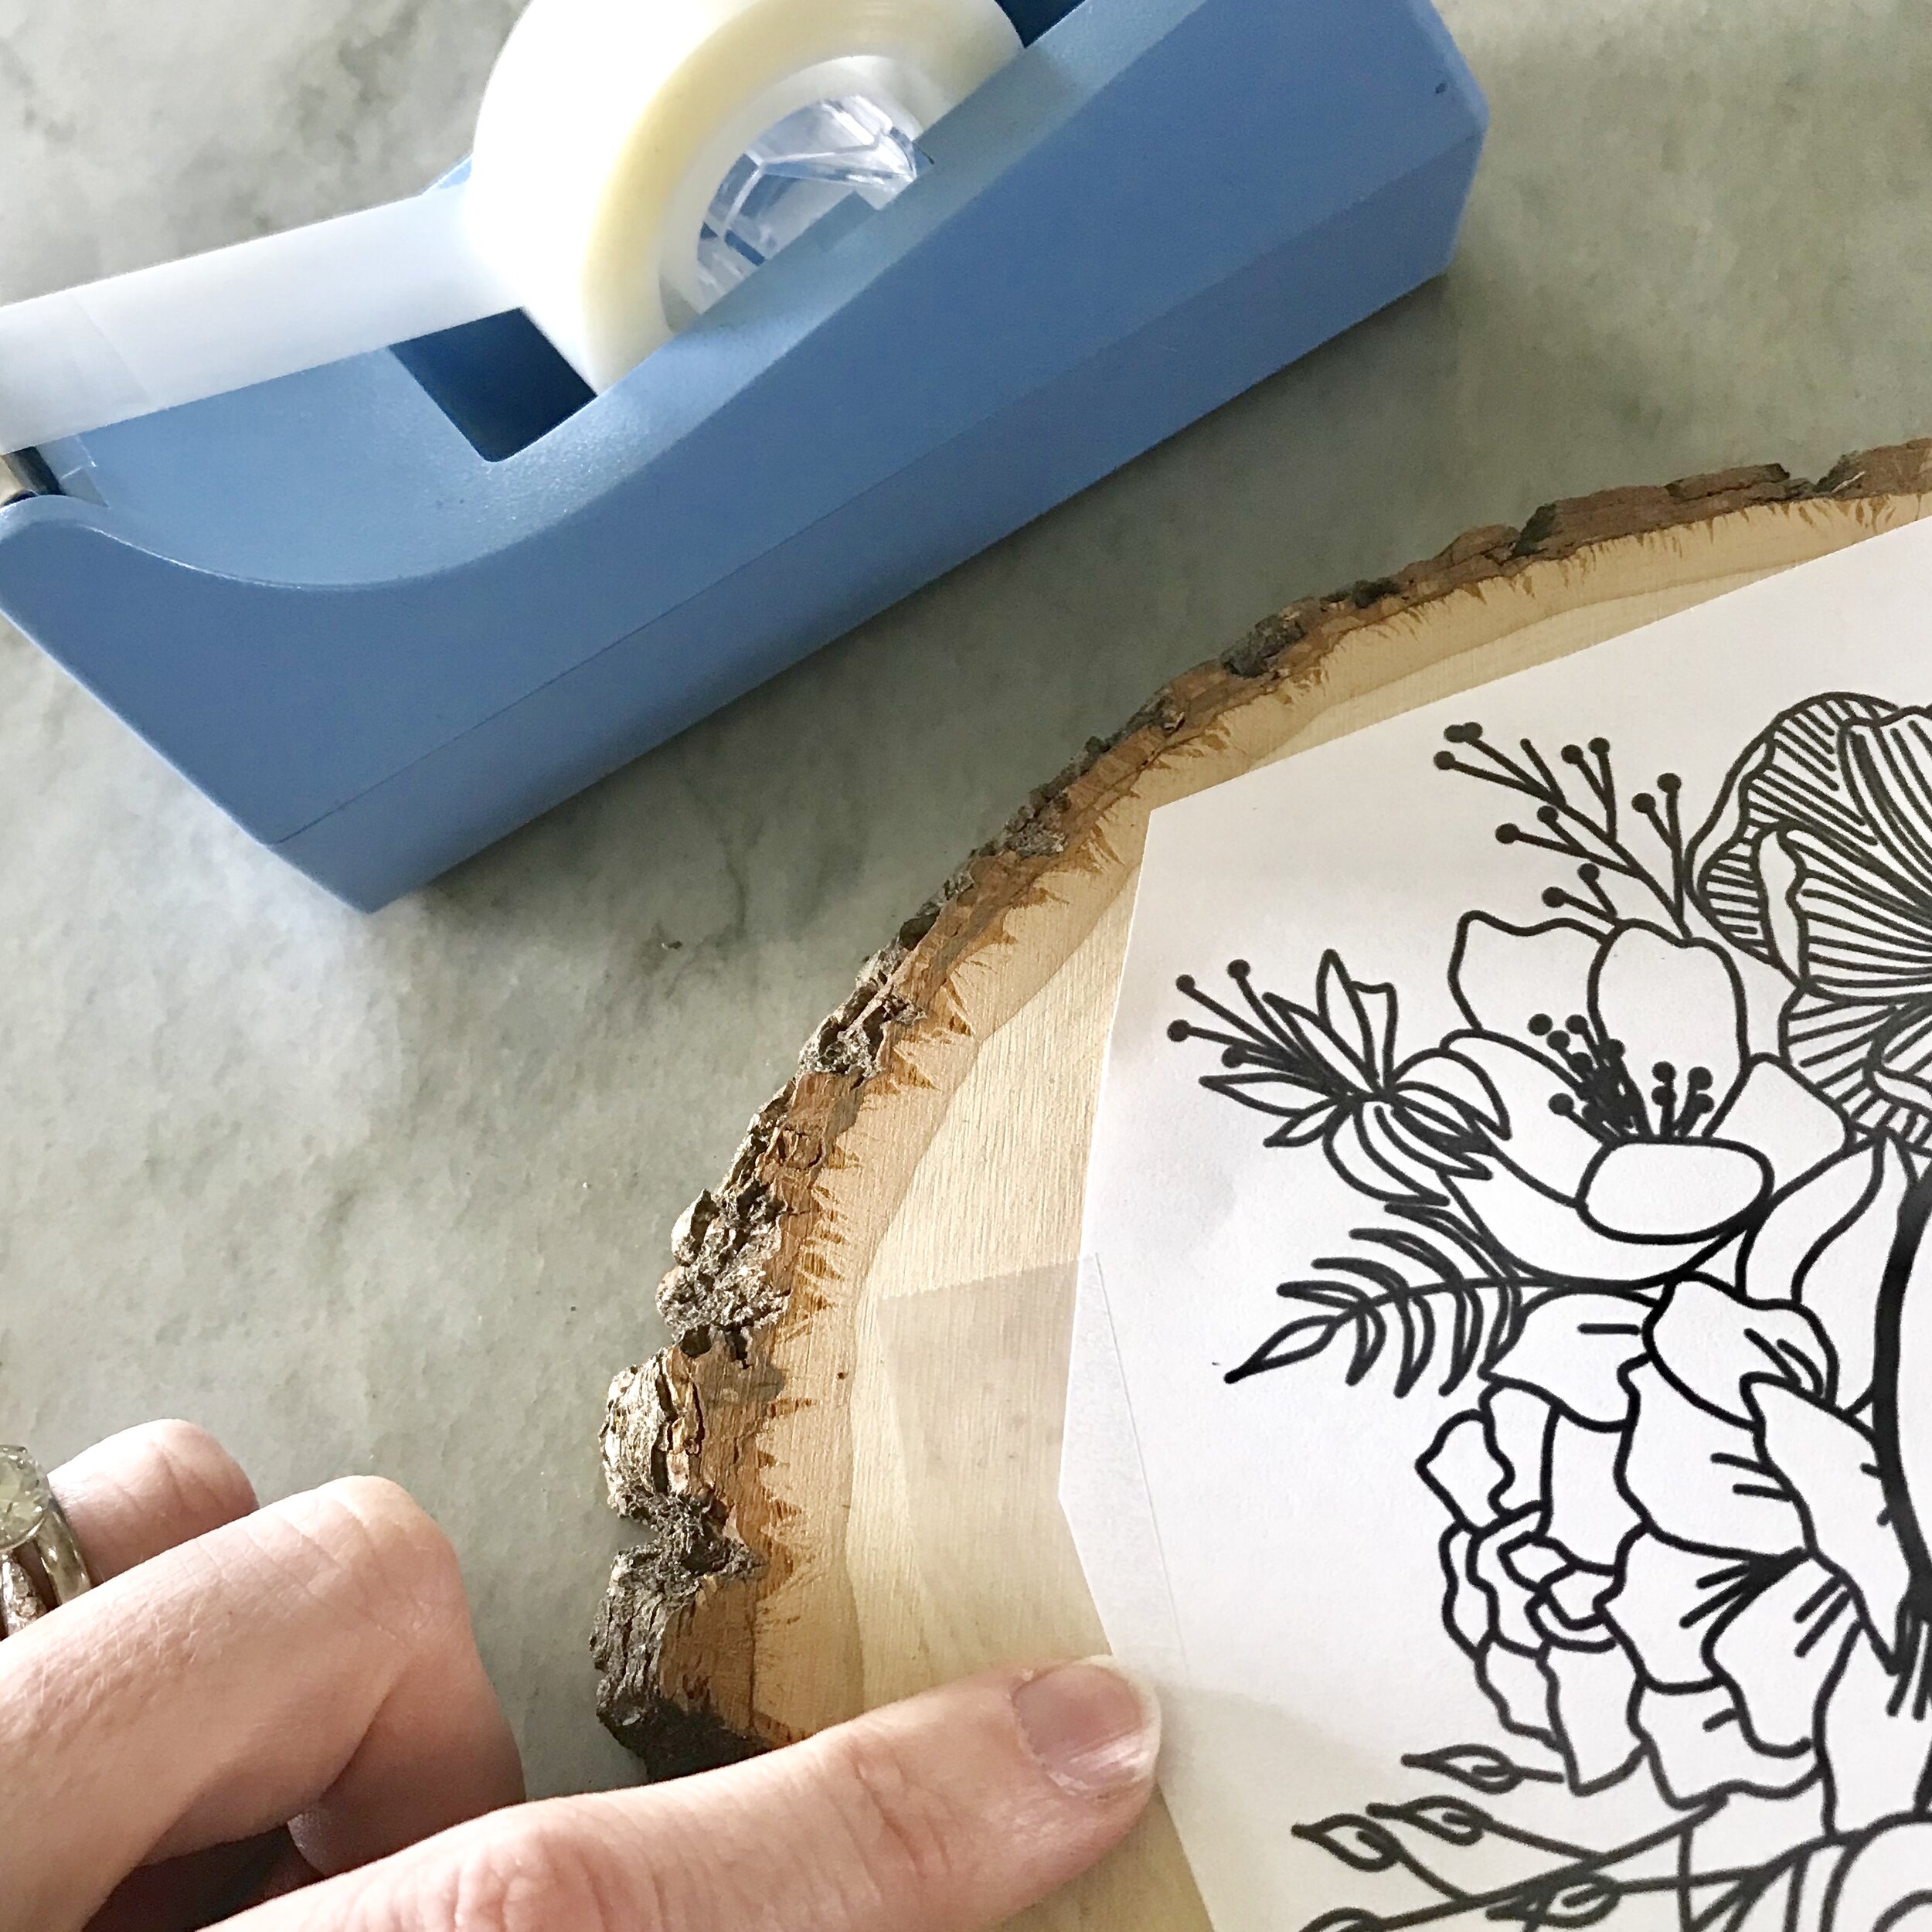
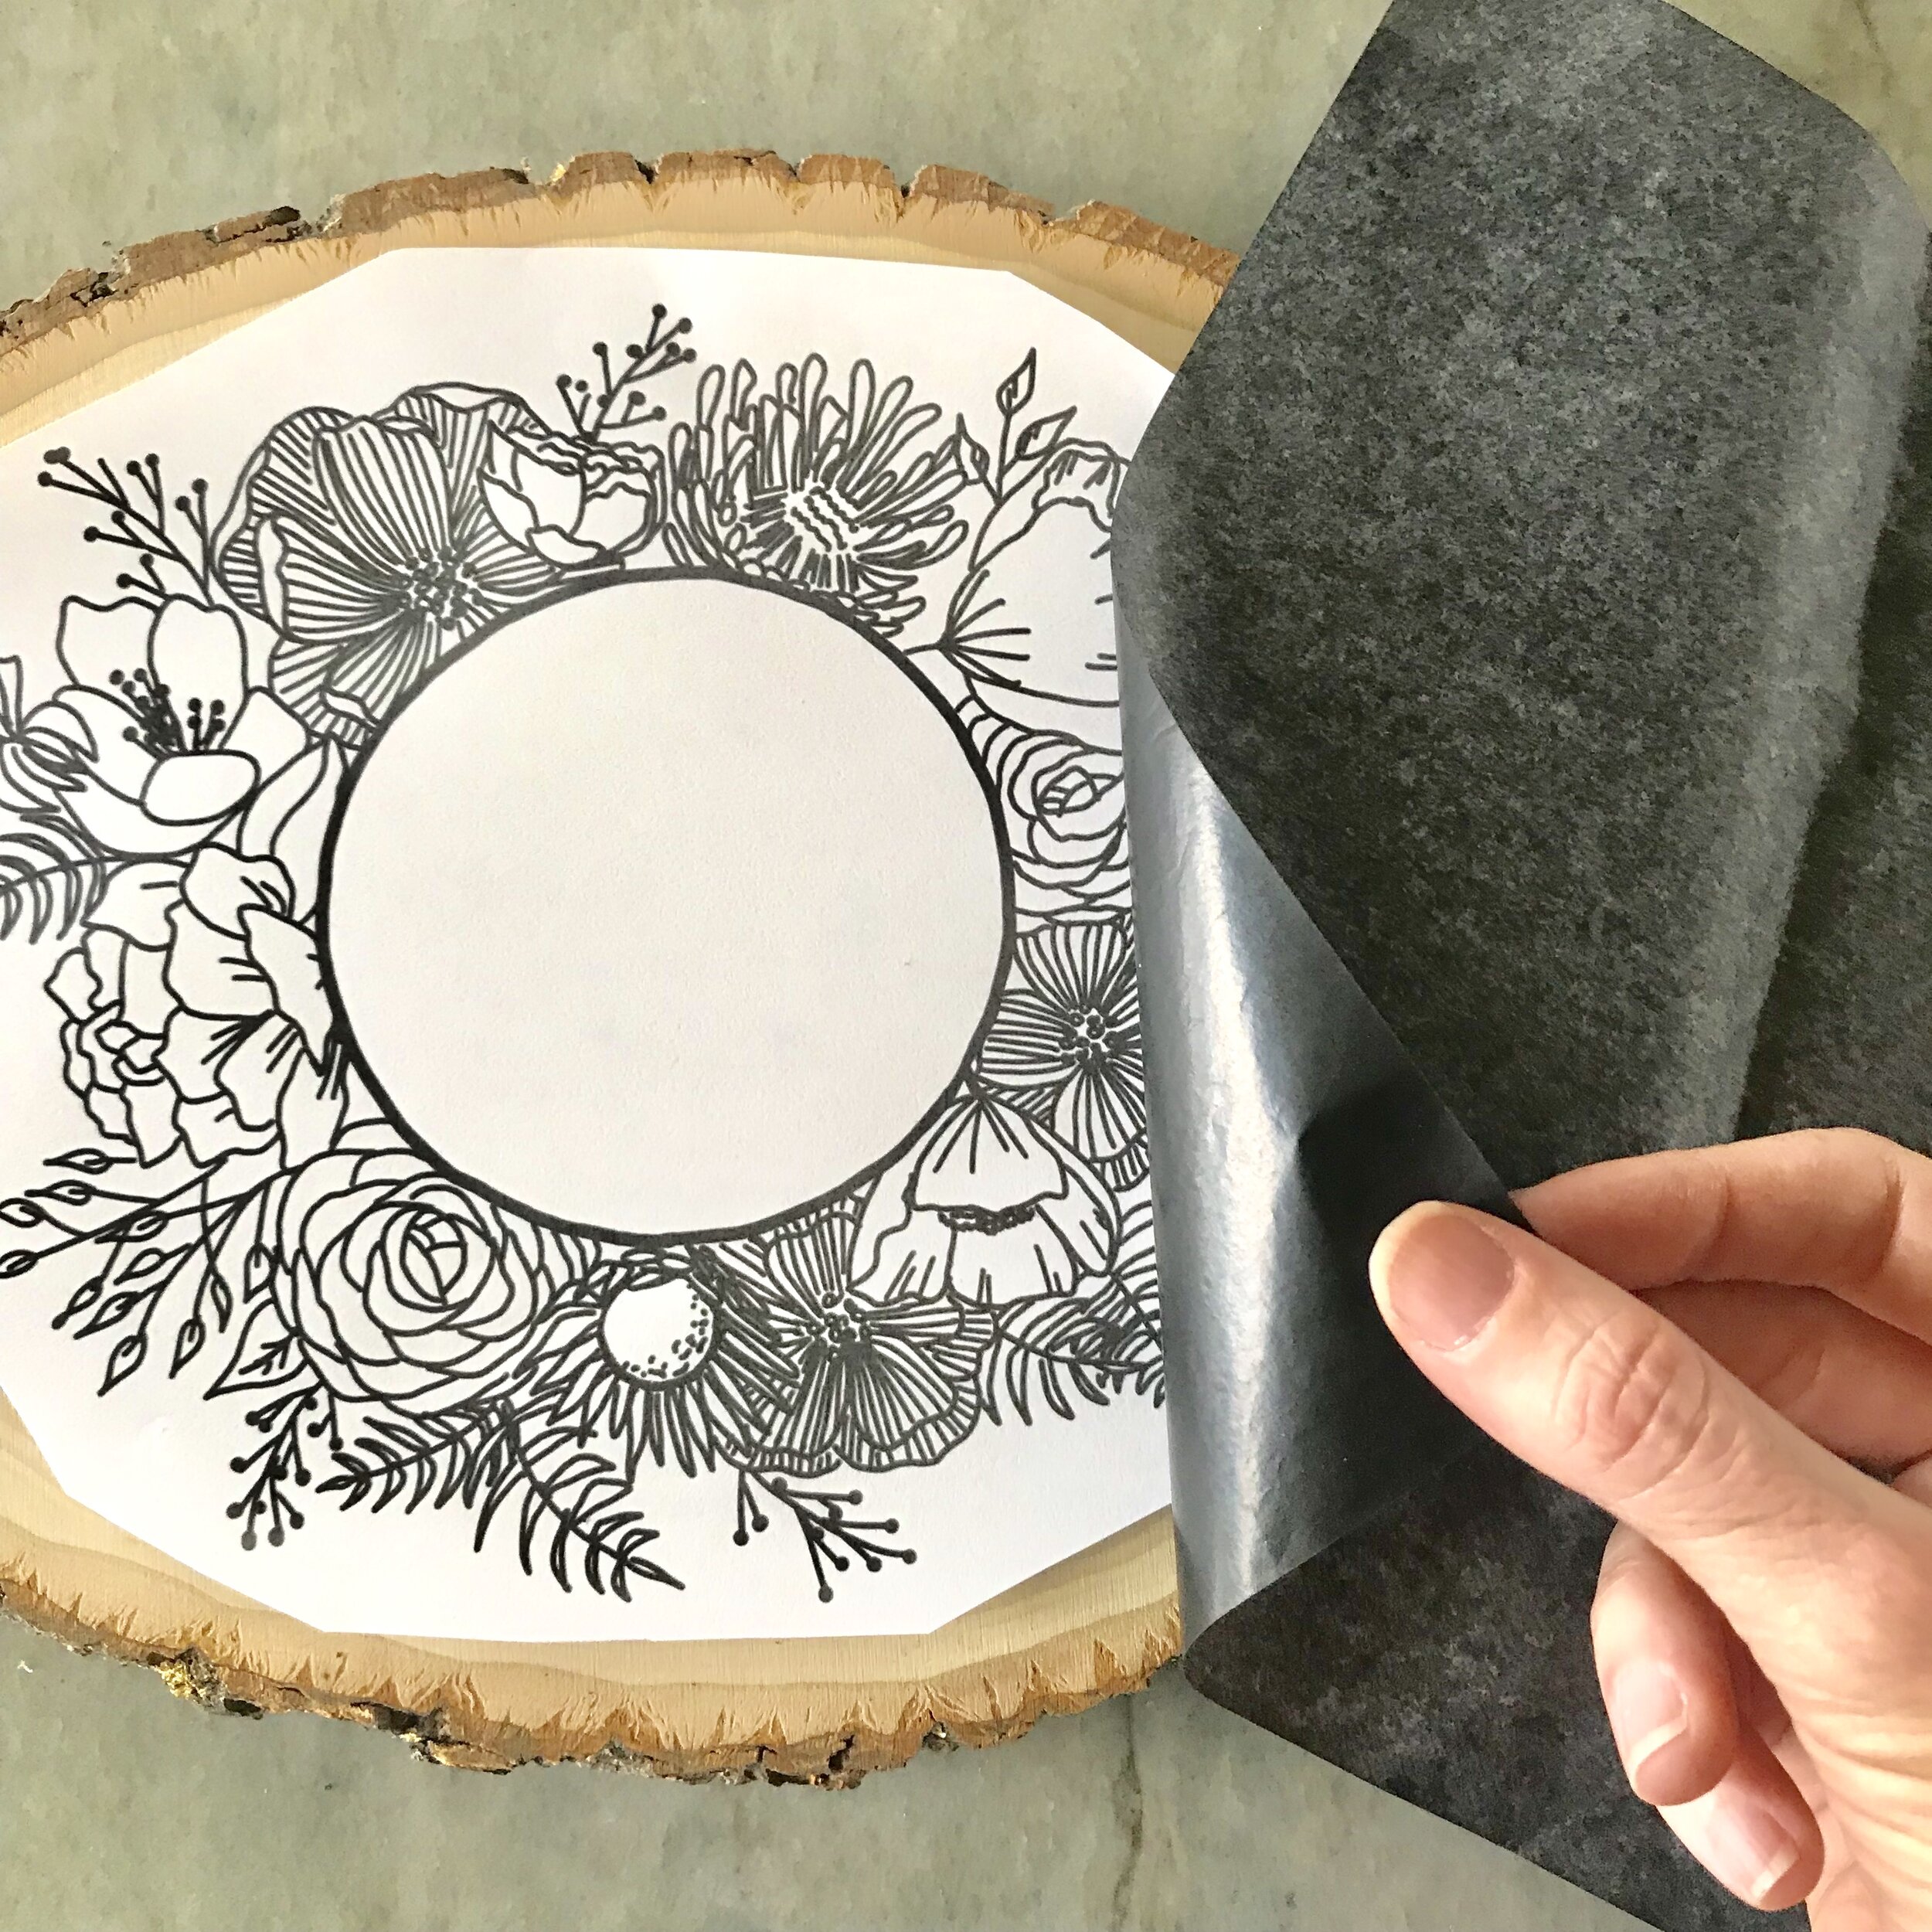
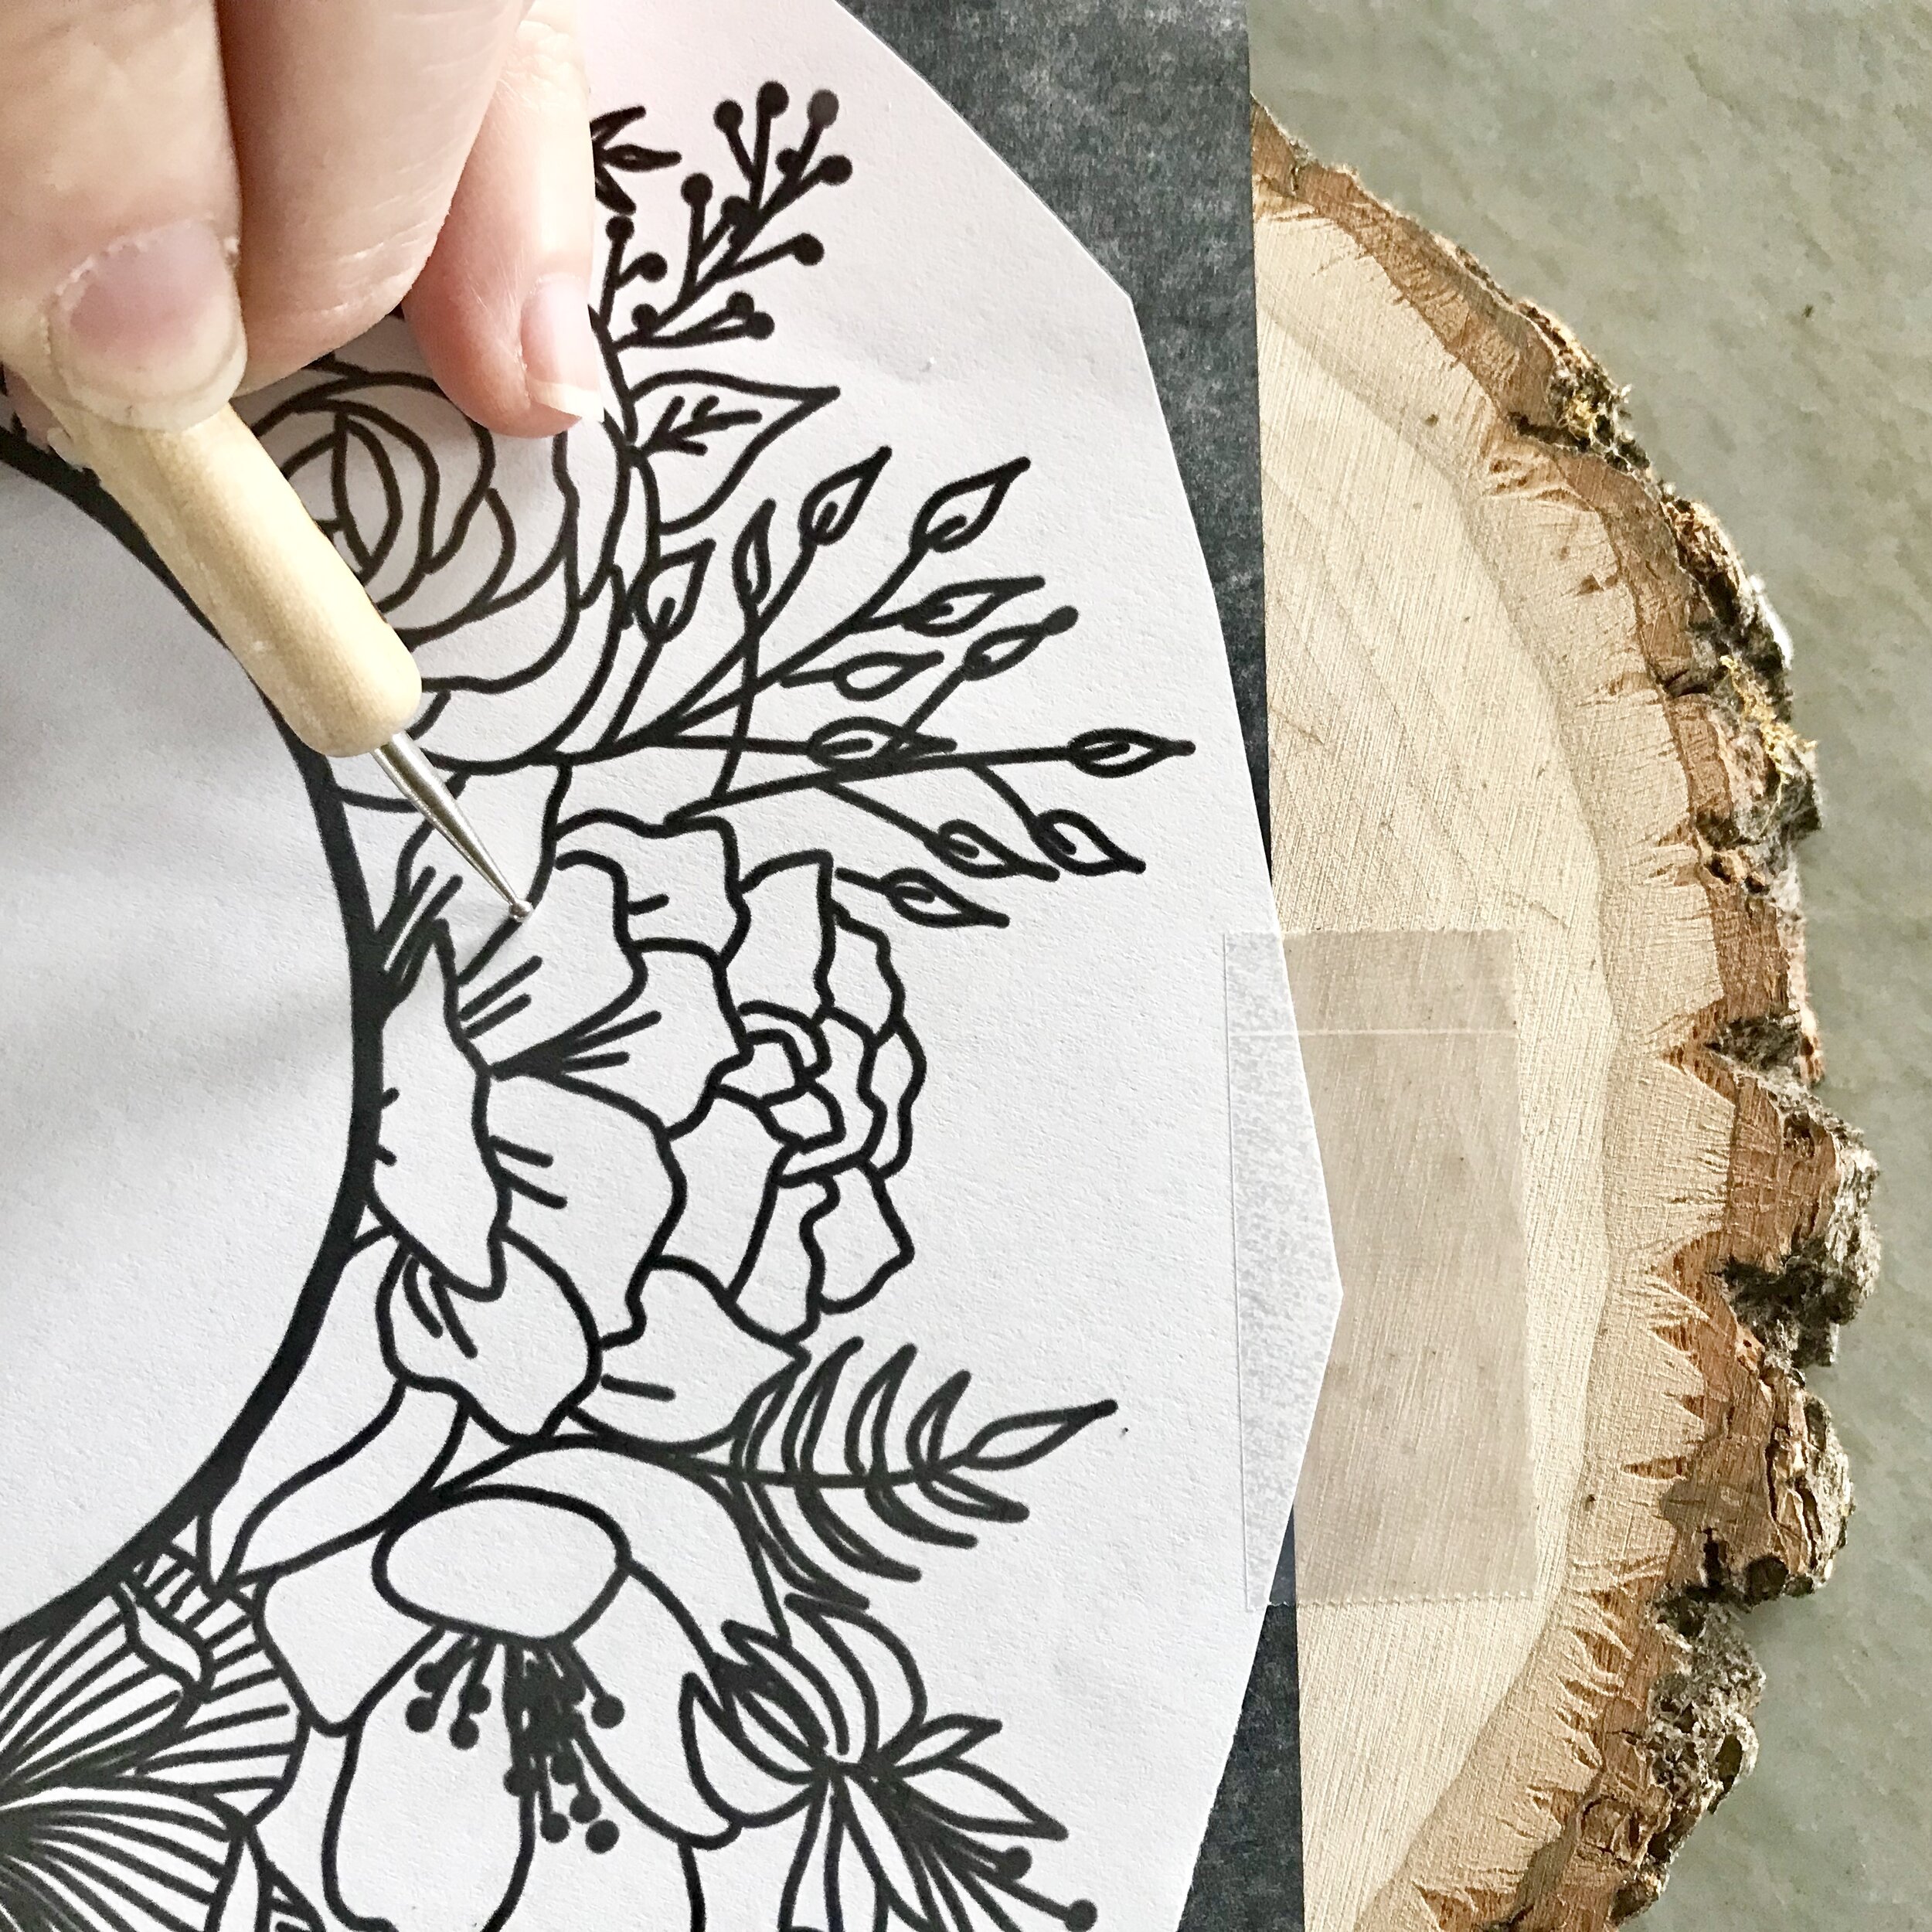
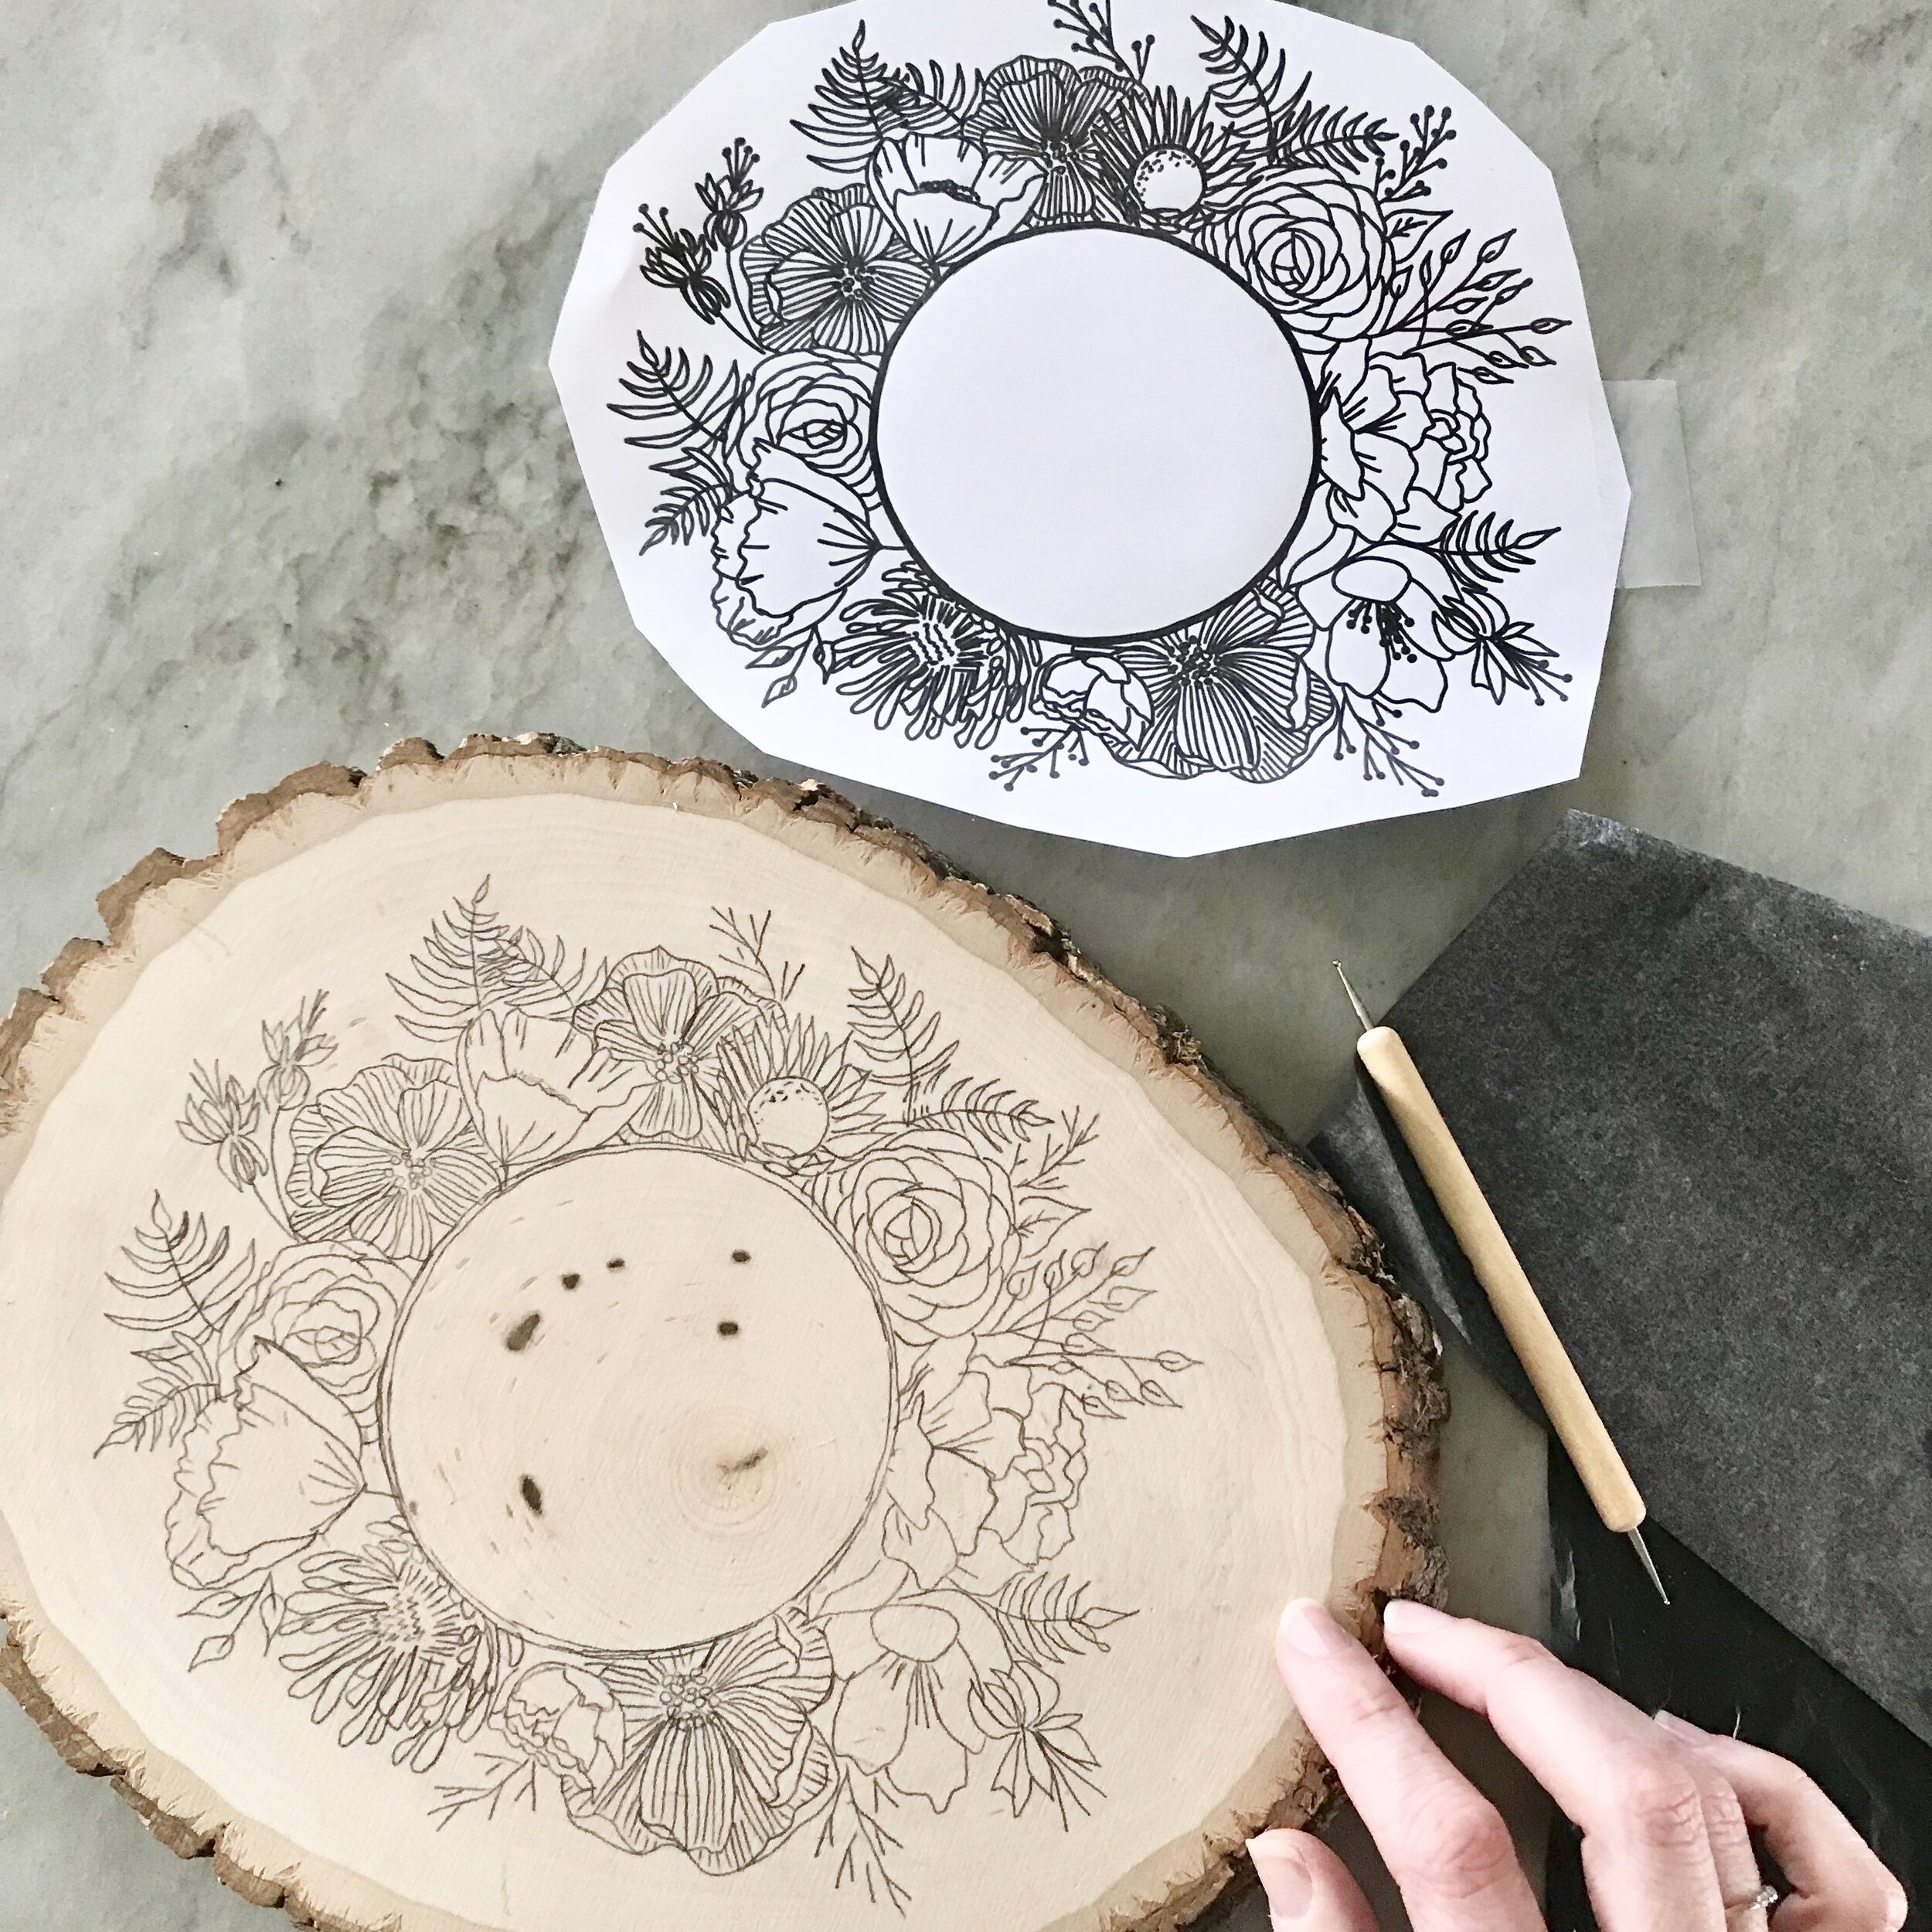
There is also an amazing nib called the Transfer Nib. It is amazing for transferring images to wood precisely and quickly. Check out this blog post on Using Heat To Transfer Images Onto Wood.
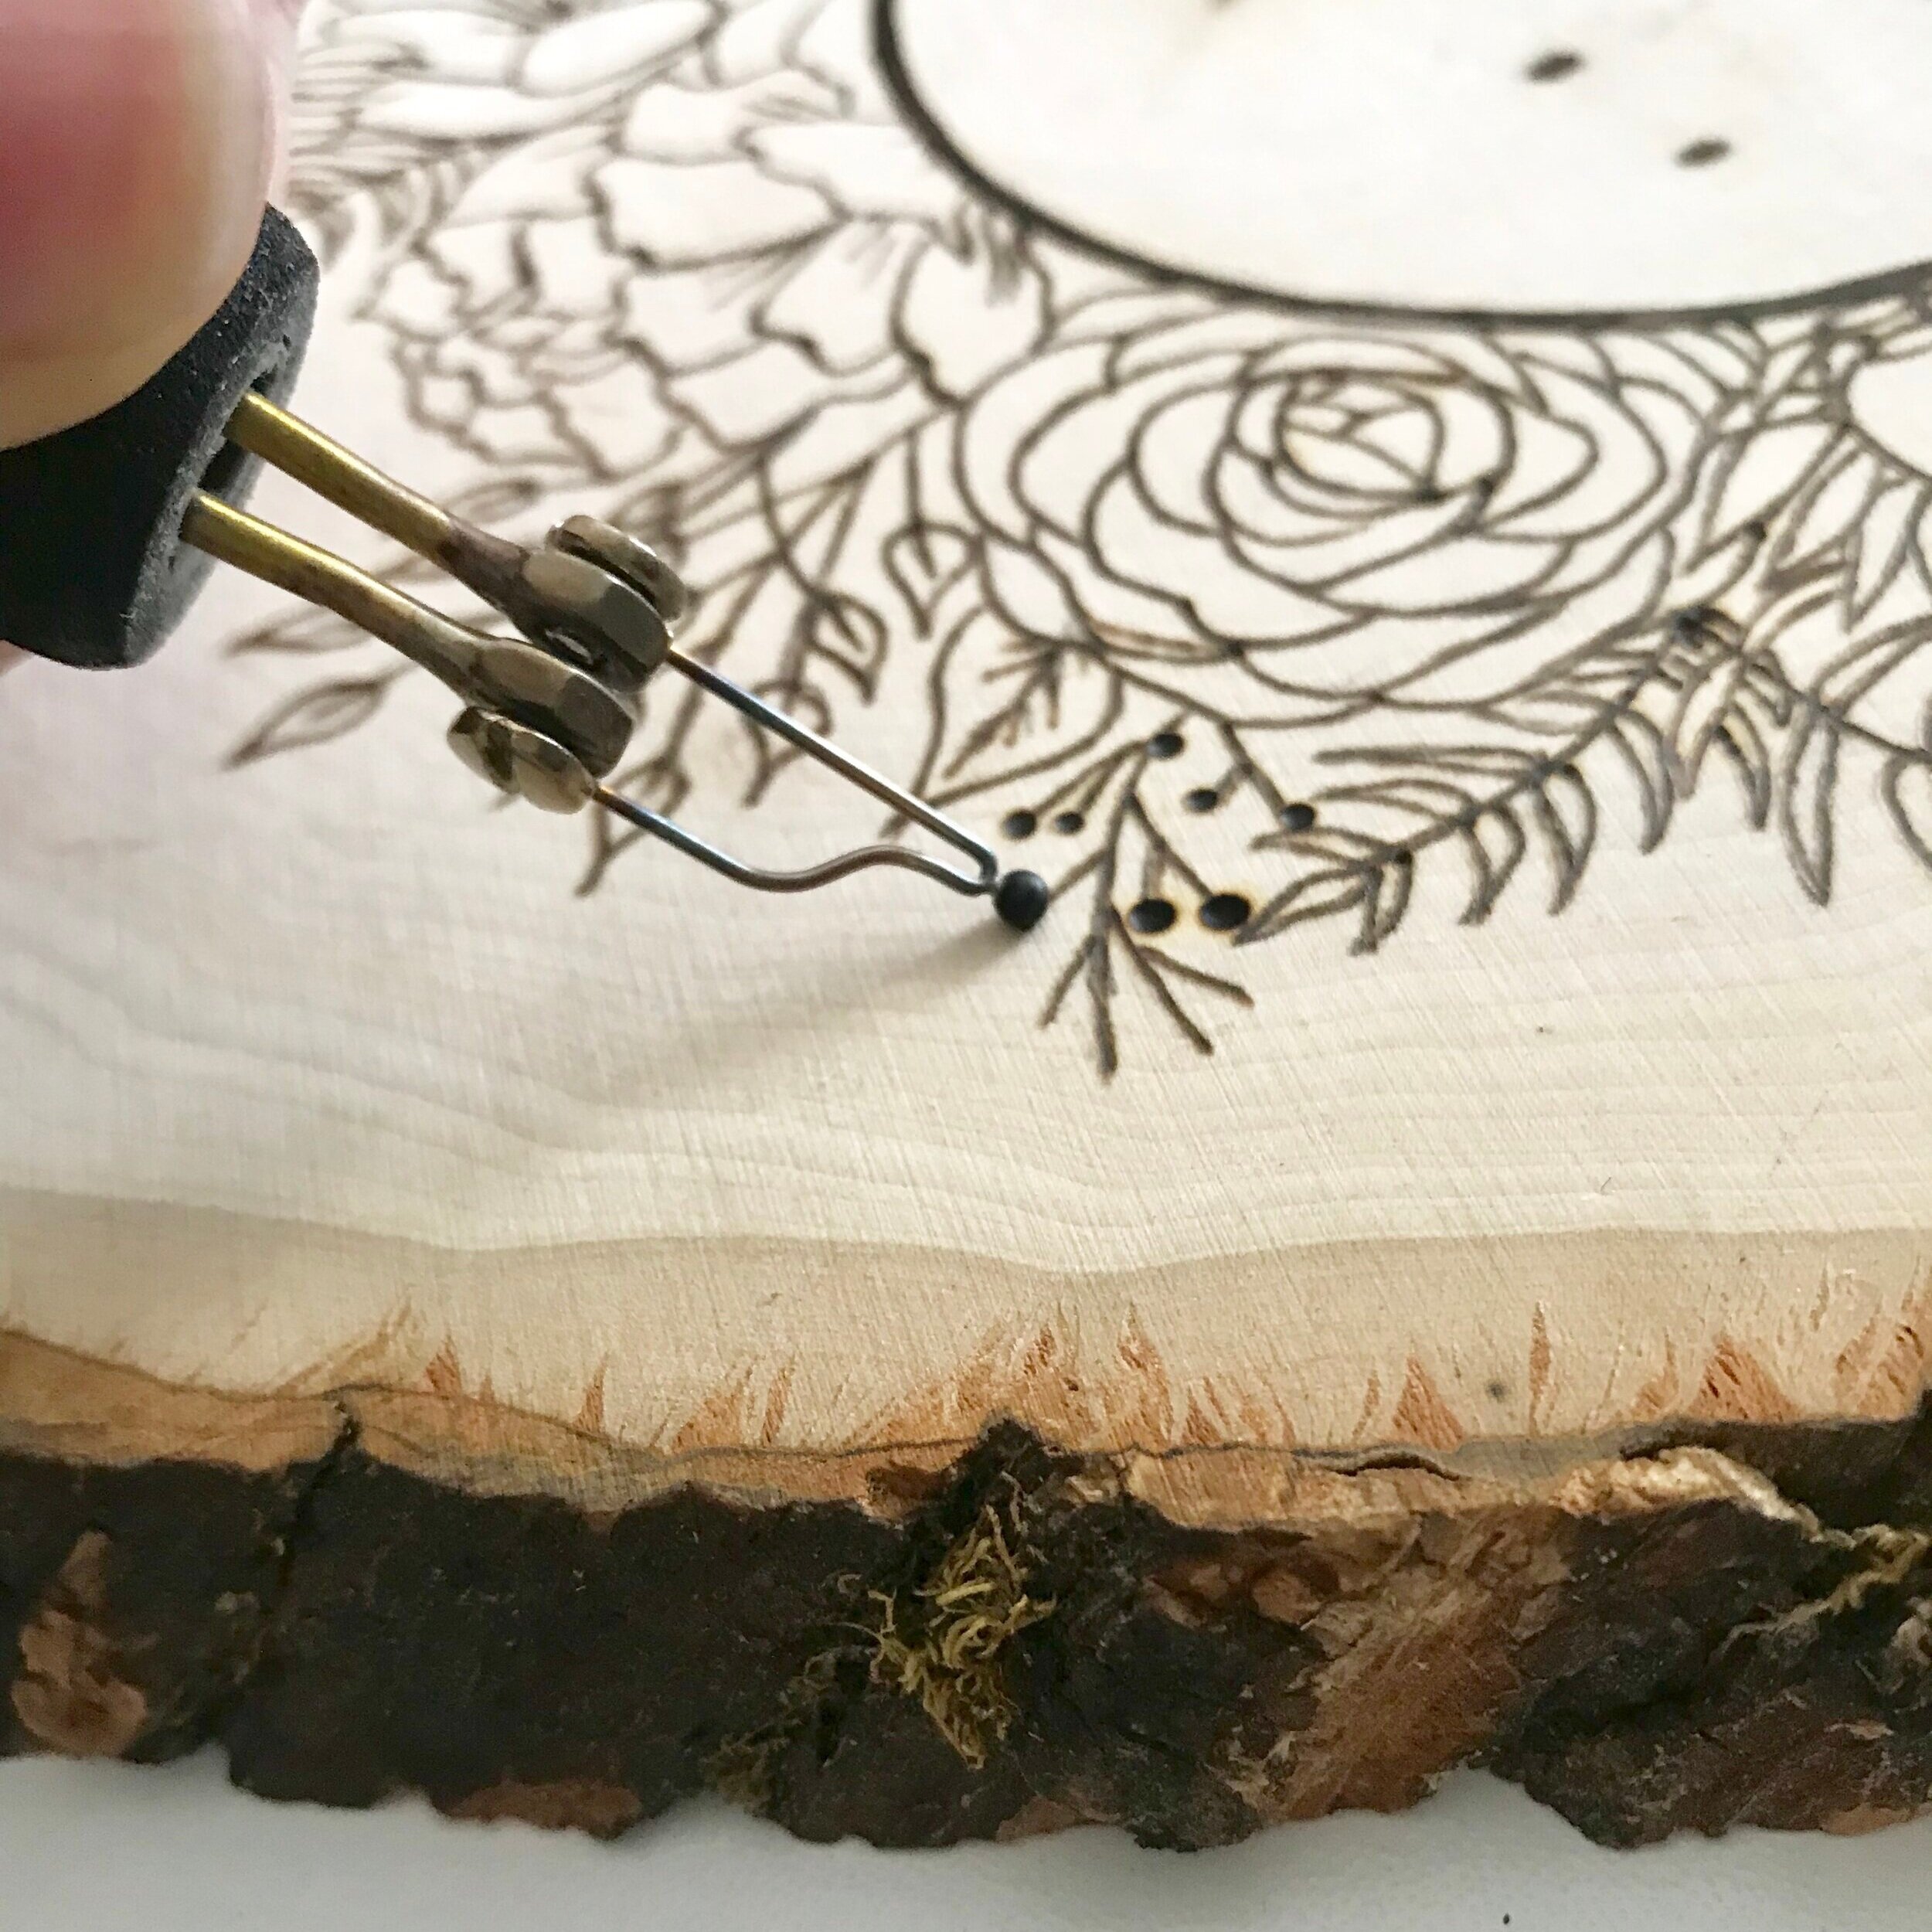
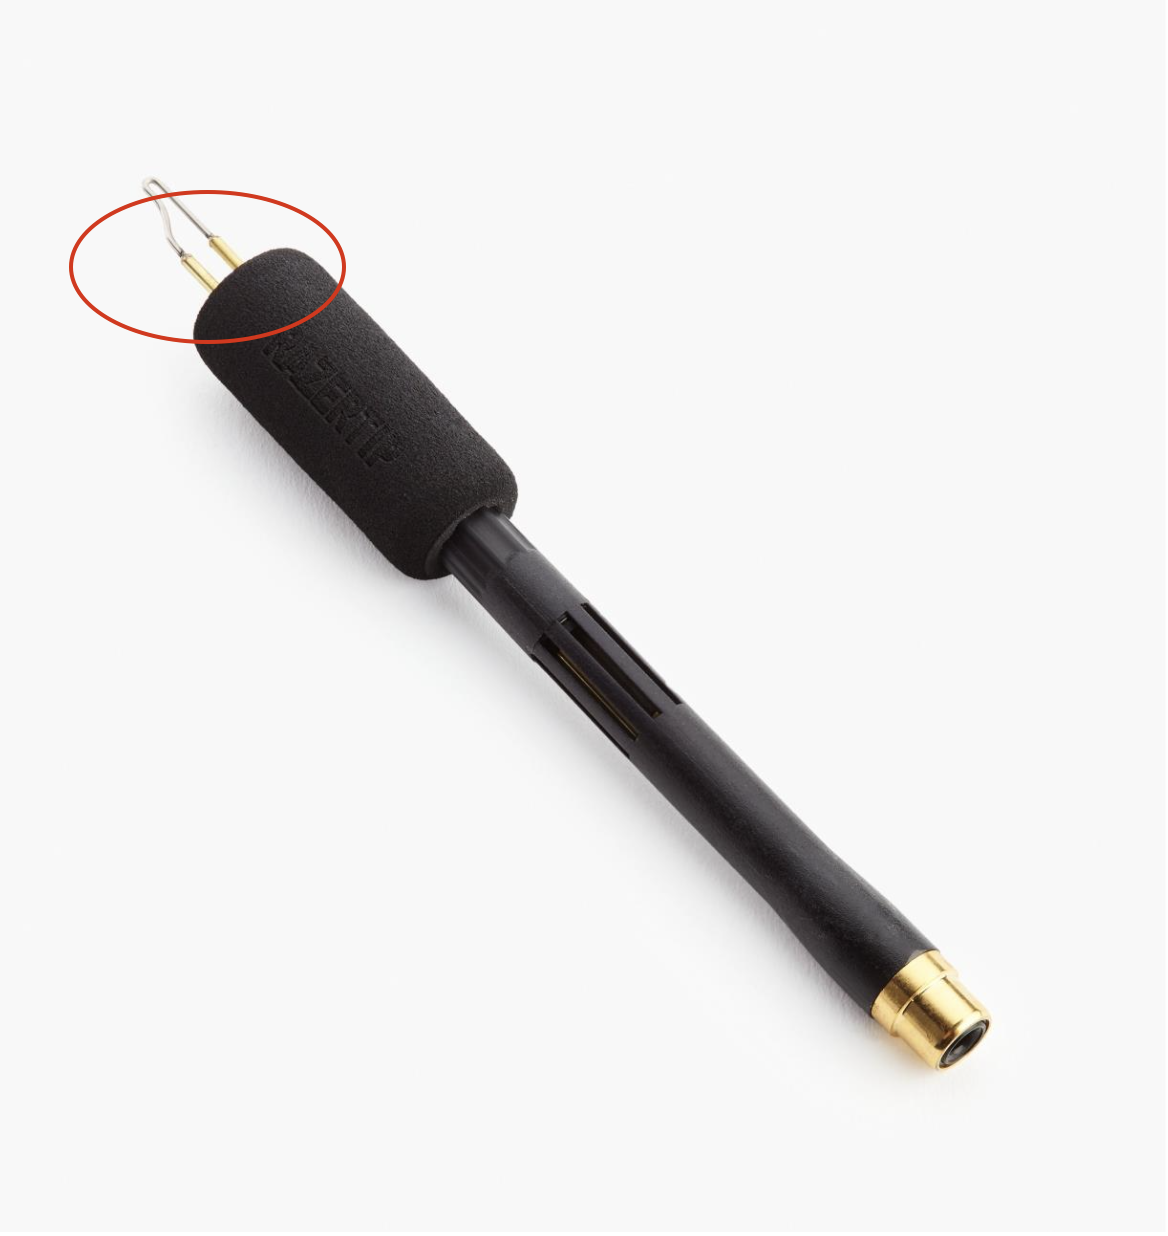
WIRE: A wire nib burner, or often called a professional burner, generally has a more pen-like appearance with a wire at the end that heats up. Your hand placement is much closer to the surface burning. The machine heats and cools quickly. These usually have a solid docking station, great temperature control, and a wide range of nib options.
The different nibs can be changed in a variety of ways for these wire nib burners.
1. FIXED NIB - Some people prefer to have the entire pen switch out. It does decrease the chances of having connection issues, because changing nibs is so easy. These pens with a fixed nib usually just plug in quite quickly and easily. This is a more expensive option than the interchangeable nib, but more convenient and they tend to last longer than the interchangeable nib pens.
2. INTERCHANGEABLE NIB - This can be done in a couple ways. Sometimes the wire nib is in its own housing, and the housing switches out. Other times, you will fine that you are unscrewing the actual wire, and replacing it with a different wire. The ones in their own housing can be changed quicker and easier with less issue. I have found that when you are changing out just the wire, you need to be careful to make sure that all the connections are solid or your burner wont heat properly. Always test your temperature after switching out nibs.

Choose your Burner
Now that you know the different options, and what you should consider, it’s time to choose a burner. Here are some burners that we have personally held in our hands:
Here are some websites and Amazon Affiliate Links to the companies I trust: (Wood Burn Corner receives a small portion if you purchase through these links, or look below to visit the individual website’s of each manufacturer.)
Lower End Burners:
The Walnut Hollow Versatool for quick projects
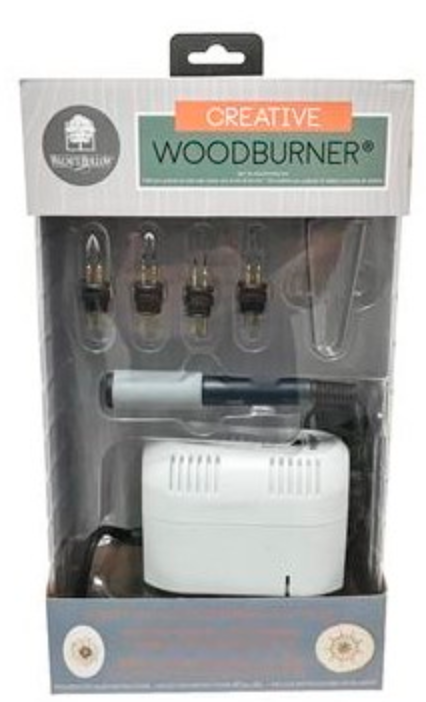
and The Creative Wood Burner for a more comfy grip.
Higher end burners:
Razertip:
Take a look at the Razertip’s options and their wide selection. They have new digital burners with a bit of a higher heat, but even their older models are one of my favourites. They also have options to join multiple burners together but I like to keep it simple. Since it’s really easy to change out the pen while I burn, I don’t need anything more than the basic version. Personally I don’t like the digital machine either.
If you want to watch a video where we review this company and what we like and don’t like about each of their machines, join Burn Club+ and head to the Open Studio Recordings Channel!
🔥 Use the code BASIA at checkout to grab yourself a discount! 🔥
Yes, I am an affiliate! I have been using my SK and SSD-10 for almost 15 years now and it still works like magic. Razertip has great customer service and an excellent warranty as well!
Tekchic:
Check out Tekchic - this machine is powerful, compact and has a decent grip on the pen. Not the best grip - the pen is still a little thick, but otherwise it heats up quickly.

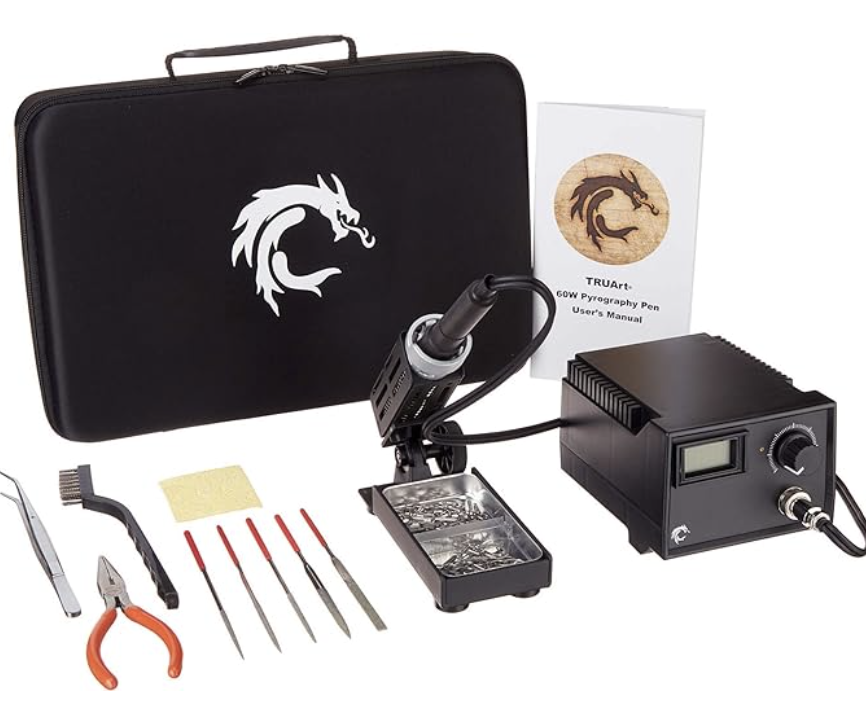
TruArt:
This machine is also really reliable and gets nice and hot. A bit thicker on the hand grip but works well.
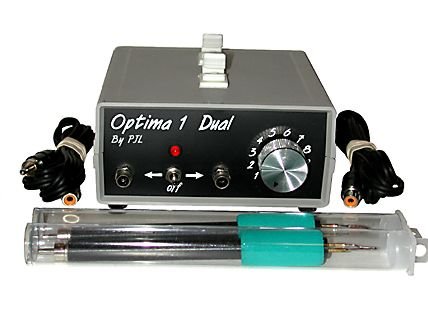
PJL Enterprises - Optima 1:
Visit PJL Enterprises to see their collection of tools. These pens are more pen-like, machine gets hot and the switches are very satisfying.


Want to learn more about Wood Burning and improve pyrography Skills?
Join our FREE community of pyrographers in Burn Club where we share tips, tricks, pyro resources, and free templates and coupon codes for pyro materials and accessories.