Wood burning is such a versatile craft. Once you know the basics of pyrography, you can add pyrography embellishments to so many things. The options are endless.
You can make wall art, a personalized sign, a baby gift, a wedding present, a housewarming gift, and functional art… For some inspiration on what to burn next, check out this blog post: 160 Ideas of Things To Wood Burn Next


join the FREE Burn Club
Connect with a community of Pyros, grab templates, get inspired and learn all the tips and tricks when it comes to making your own wood burned art!
This is your quick-start 10 step guide to get you wood burning!
You will only need safety gear, a piece of wood, and a wood burning tool.
To get started with these, check out:
Oh and you will also need an idea of WHAT you want to burn! If you are not free-hand burning, start off with drawing your design on the wood slice with a pencil and burn over your lines with the hot tool.
If you want to transfer a design you will need a couple more things: the design, tape, graphite paper, a pen or embossing tool, and an eraser (preferably a sand eraser).
With these basic tools you can wood burn almost anything.
Designs and Templates:
If you want a design to practice with, check out our freebies page, grab a one of our Community Template Books or visit the templates store full of individual patterns for sale.
10 Steps for Wood Burning By Hand
For a more detailed list of tools you will need, check out our DIY Wood Burning Kit or learn more about What Wood Burning Tool is Right for Me.
1. Choose your wood and the design you would like to burn on it. Ensure the wood is dried, unfinished, and sanded smooth before you begin. Know your woods. Basswood, poplar, or birch are a great place to start. Click here to see the BEST WOOD FOR PYROGAPHY.
2. Work in a well-ventilated, clean, and flat workspace. Be sure to follow all safety precautions (check out our free safety guide) for quick and easy access when you burn). Always wear a mask and turn off and unplug your burner when not in use.
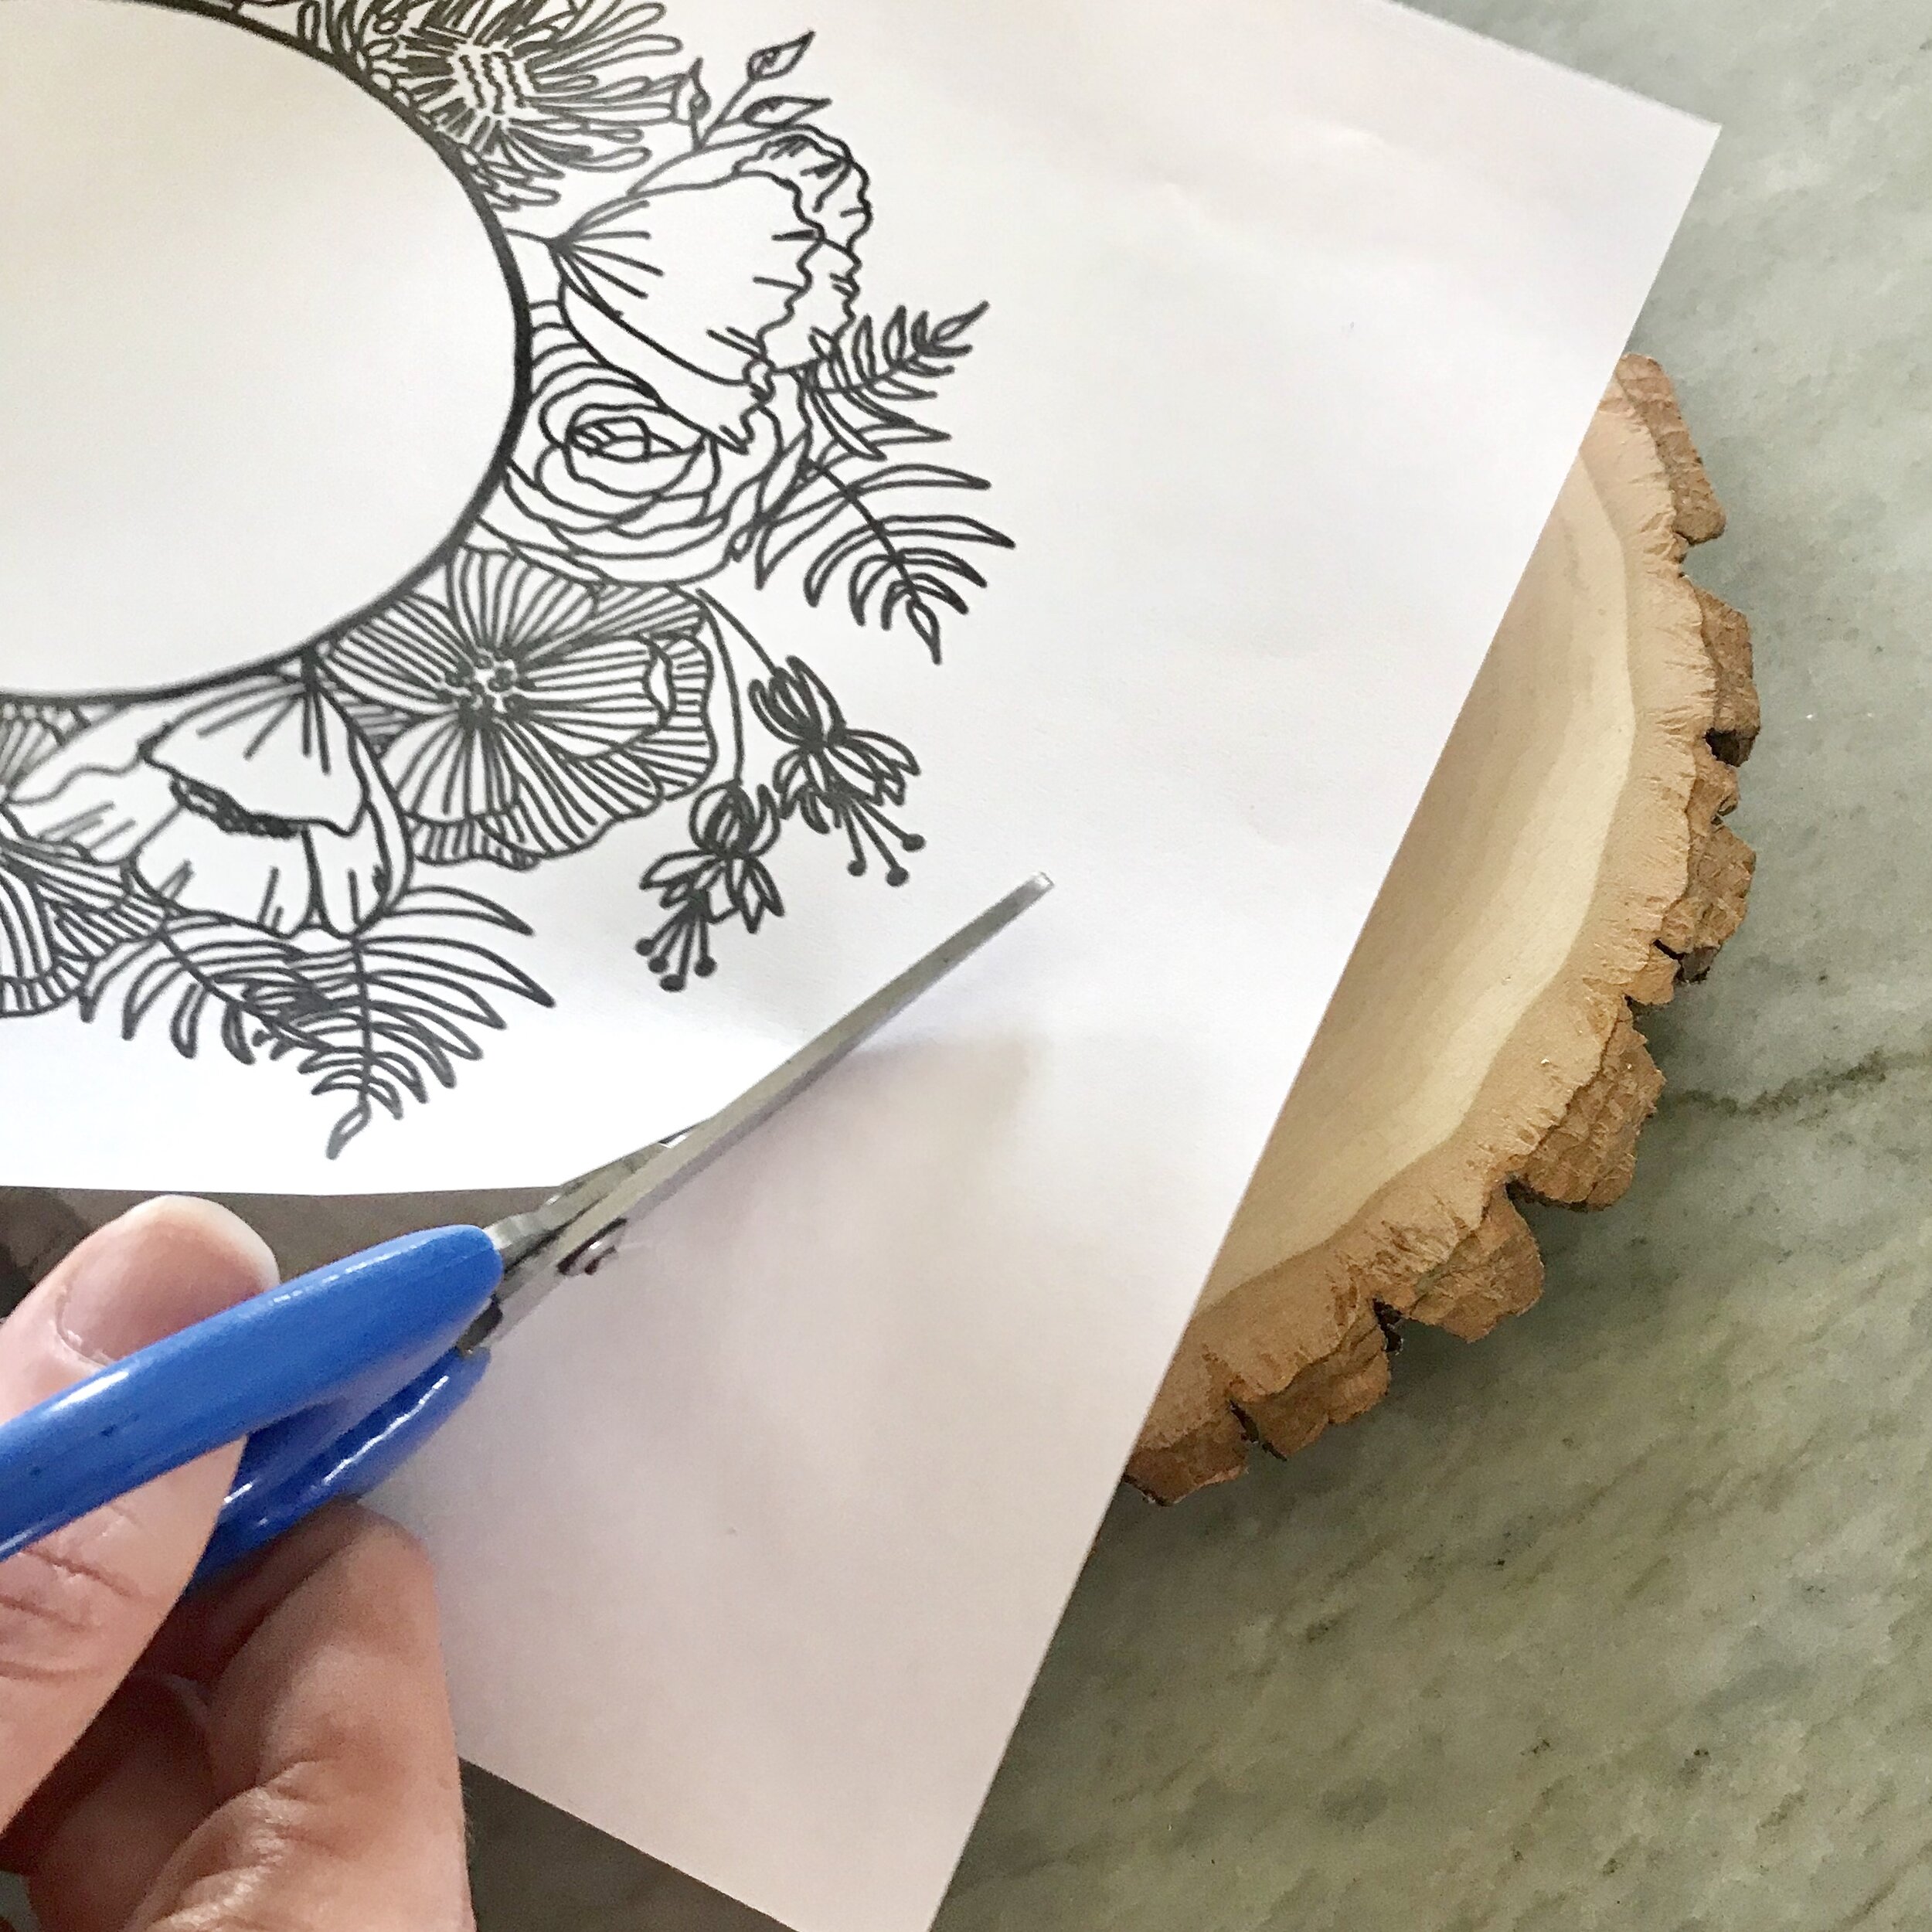
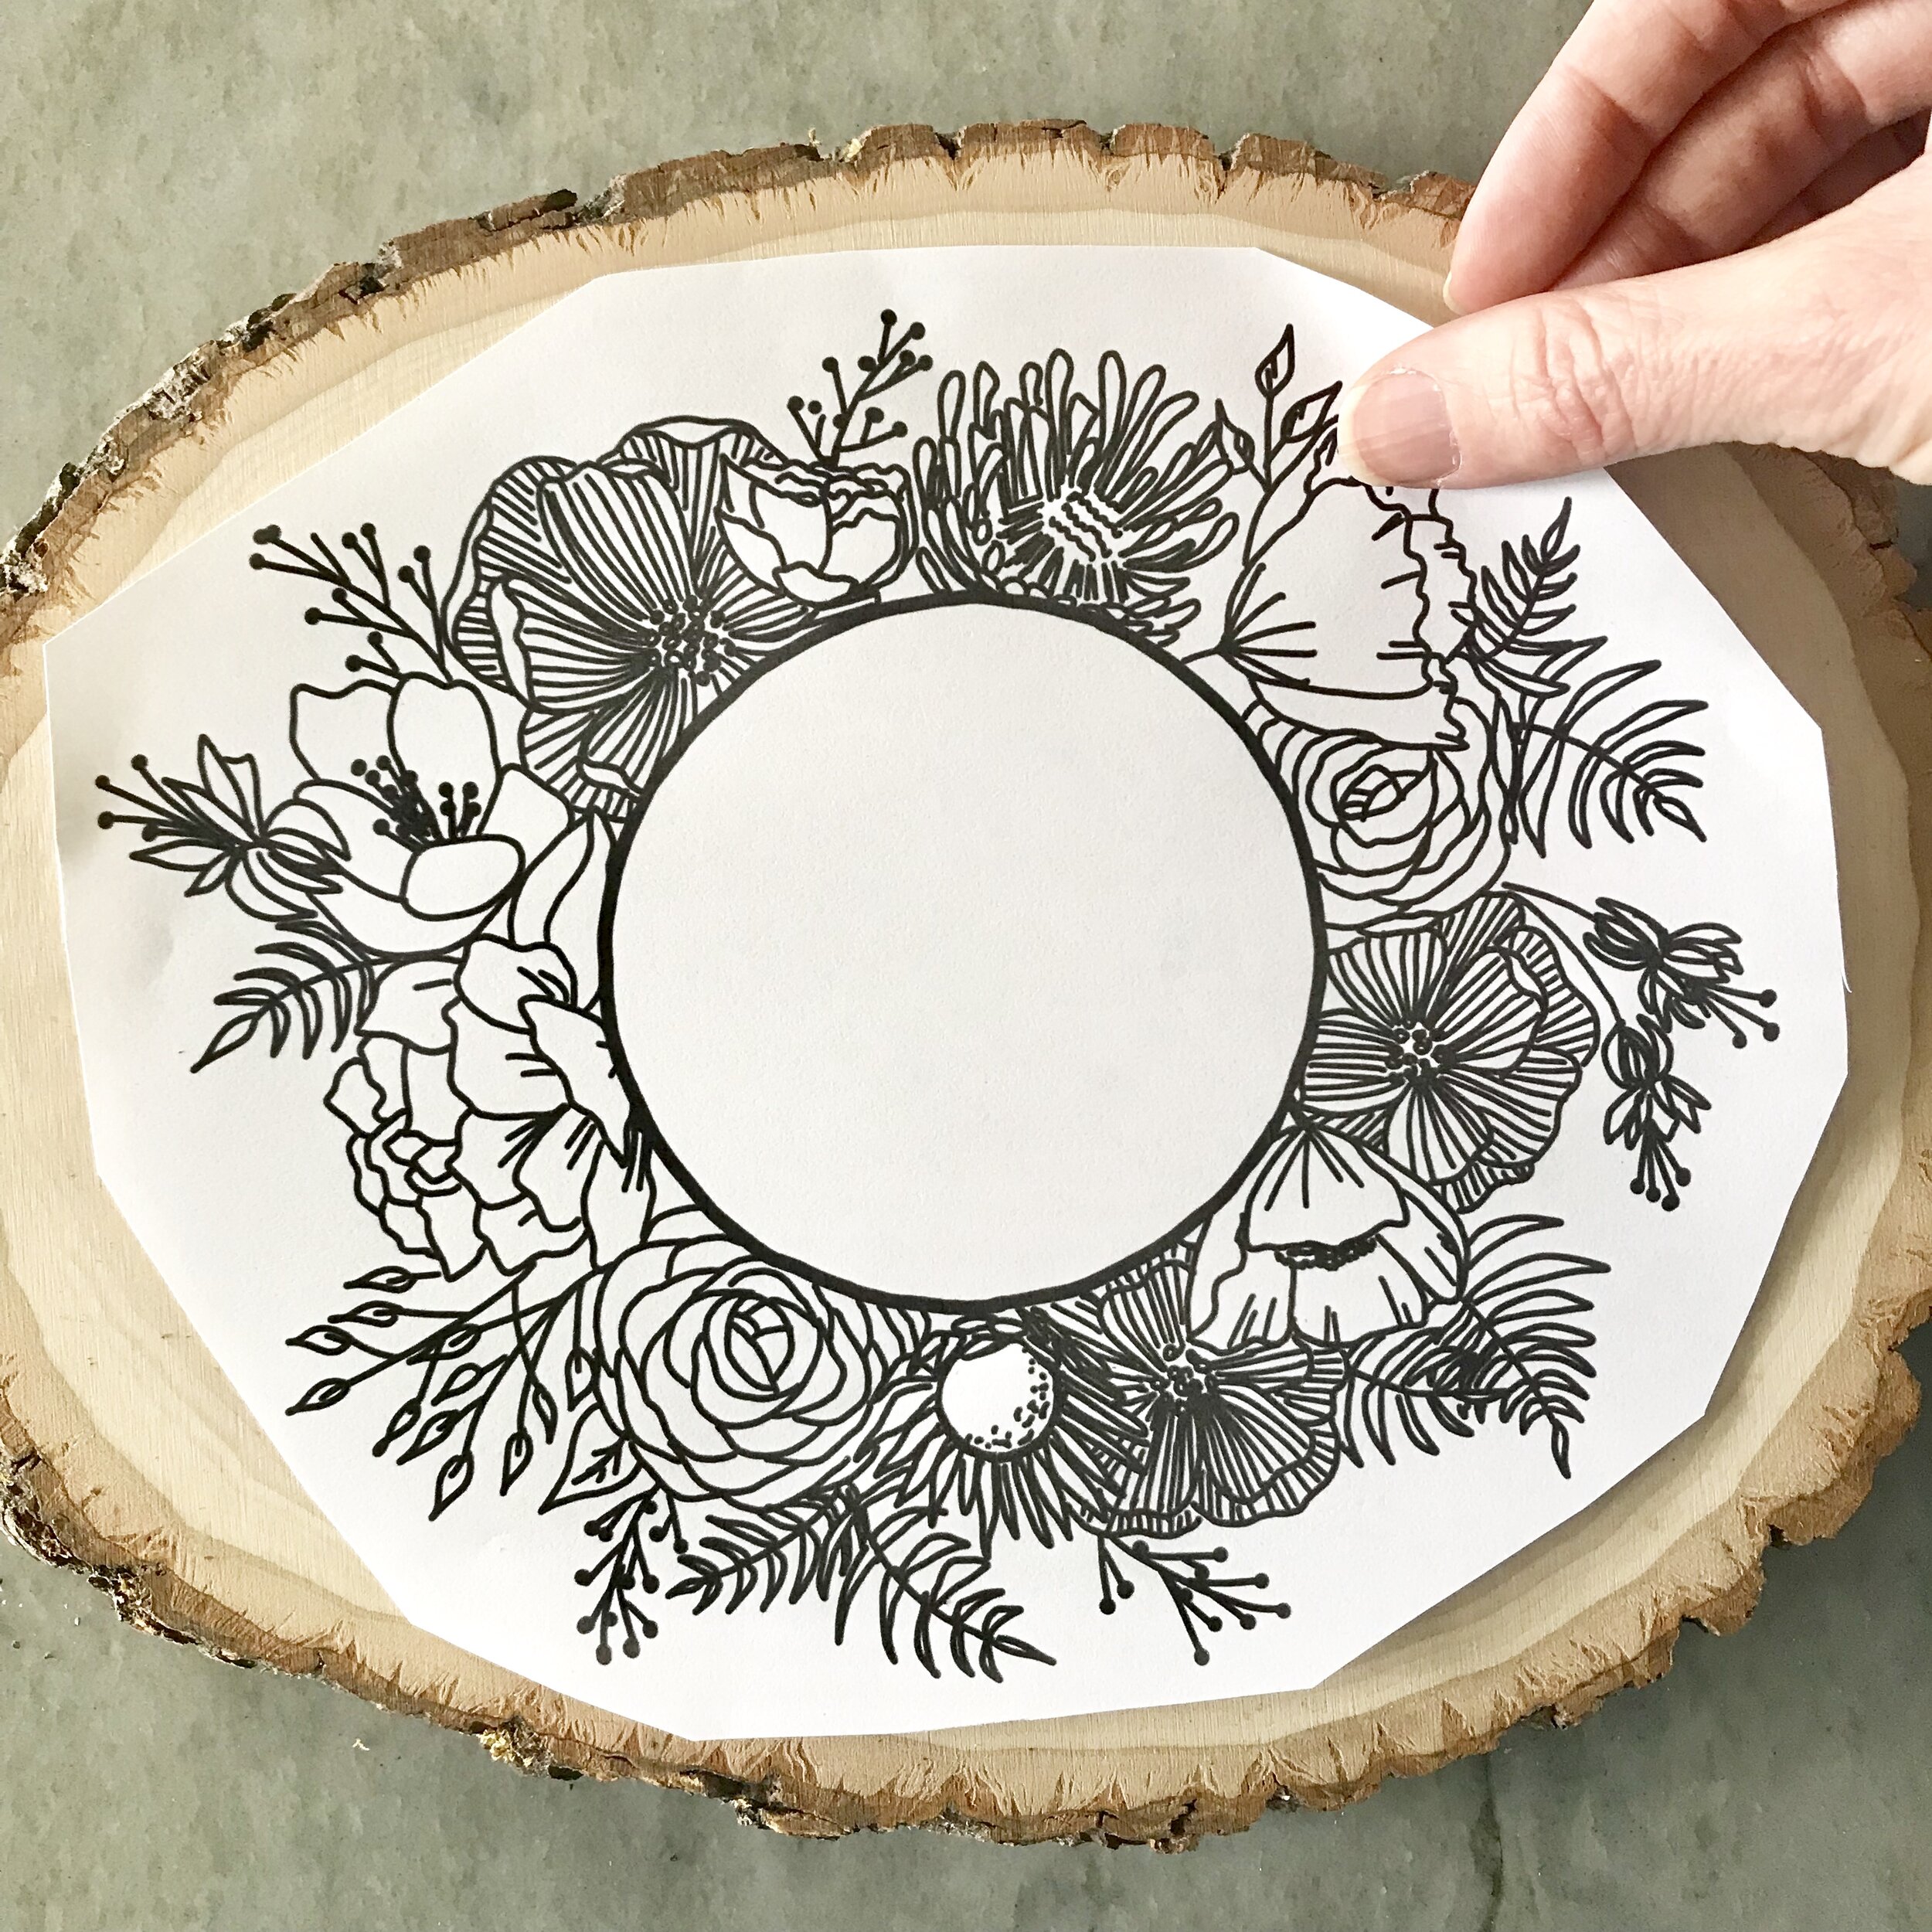
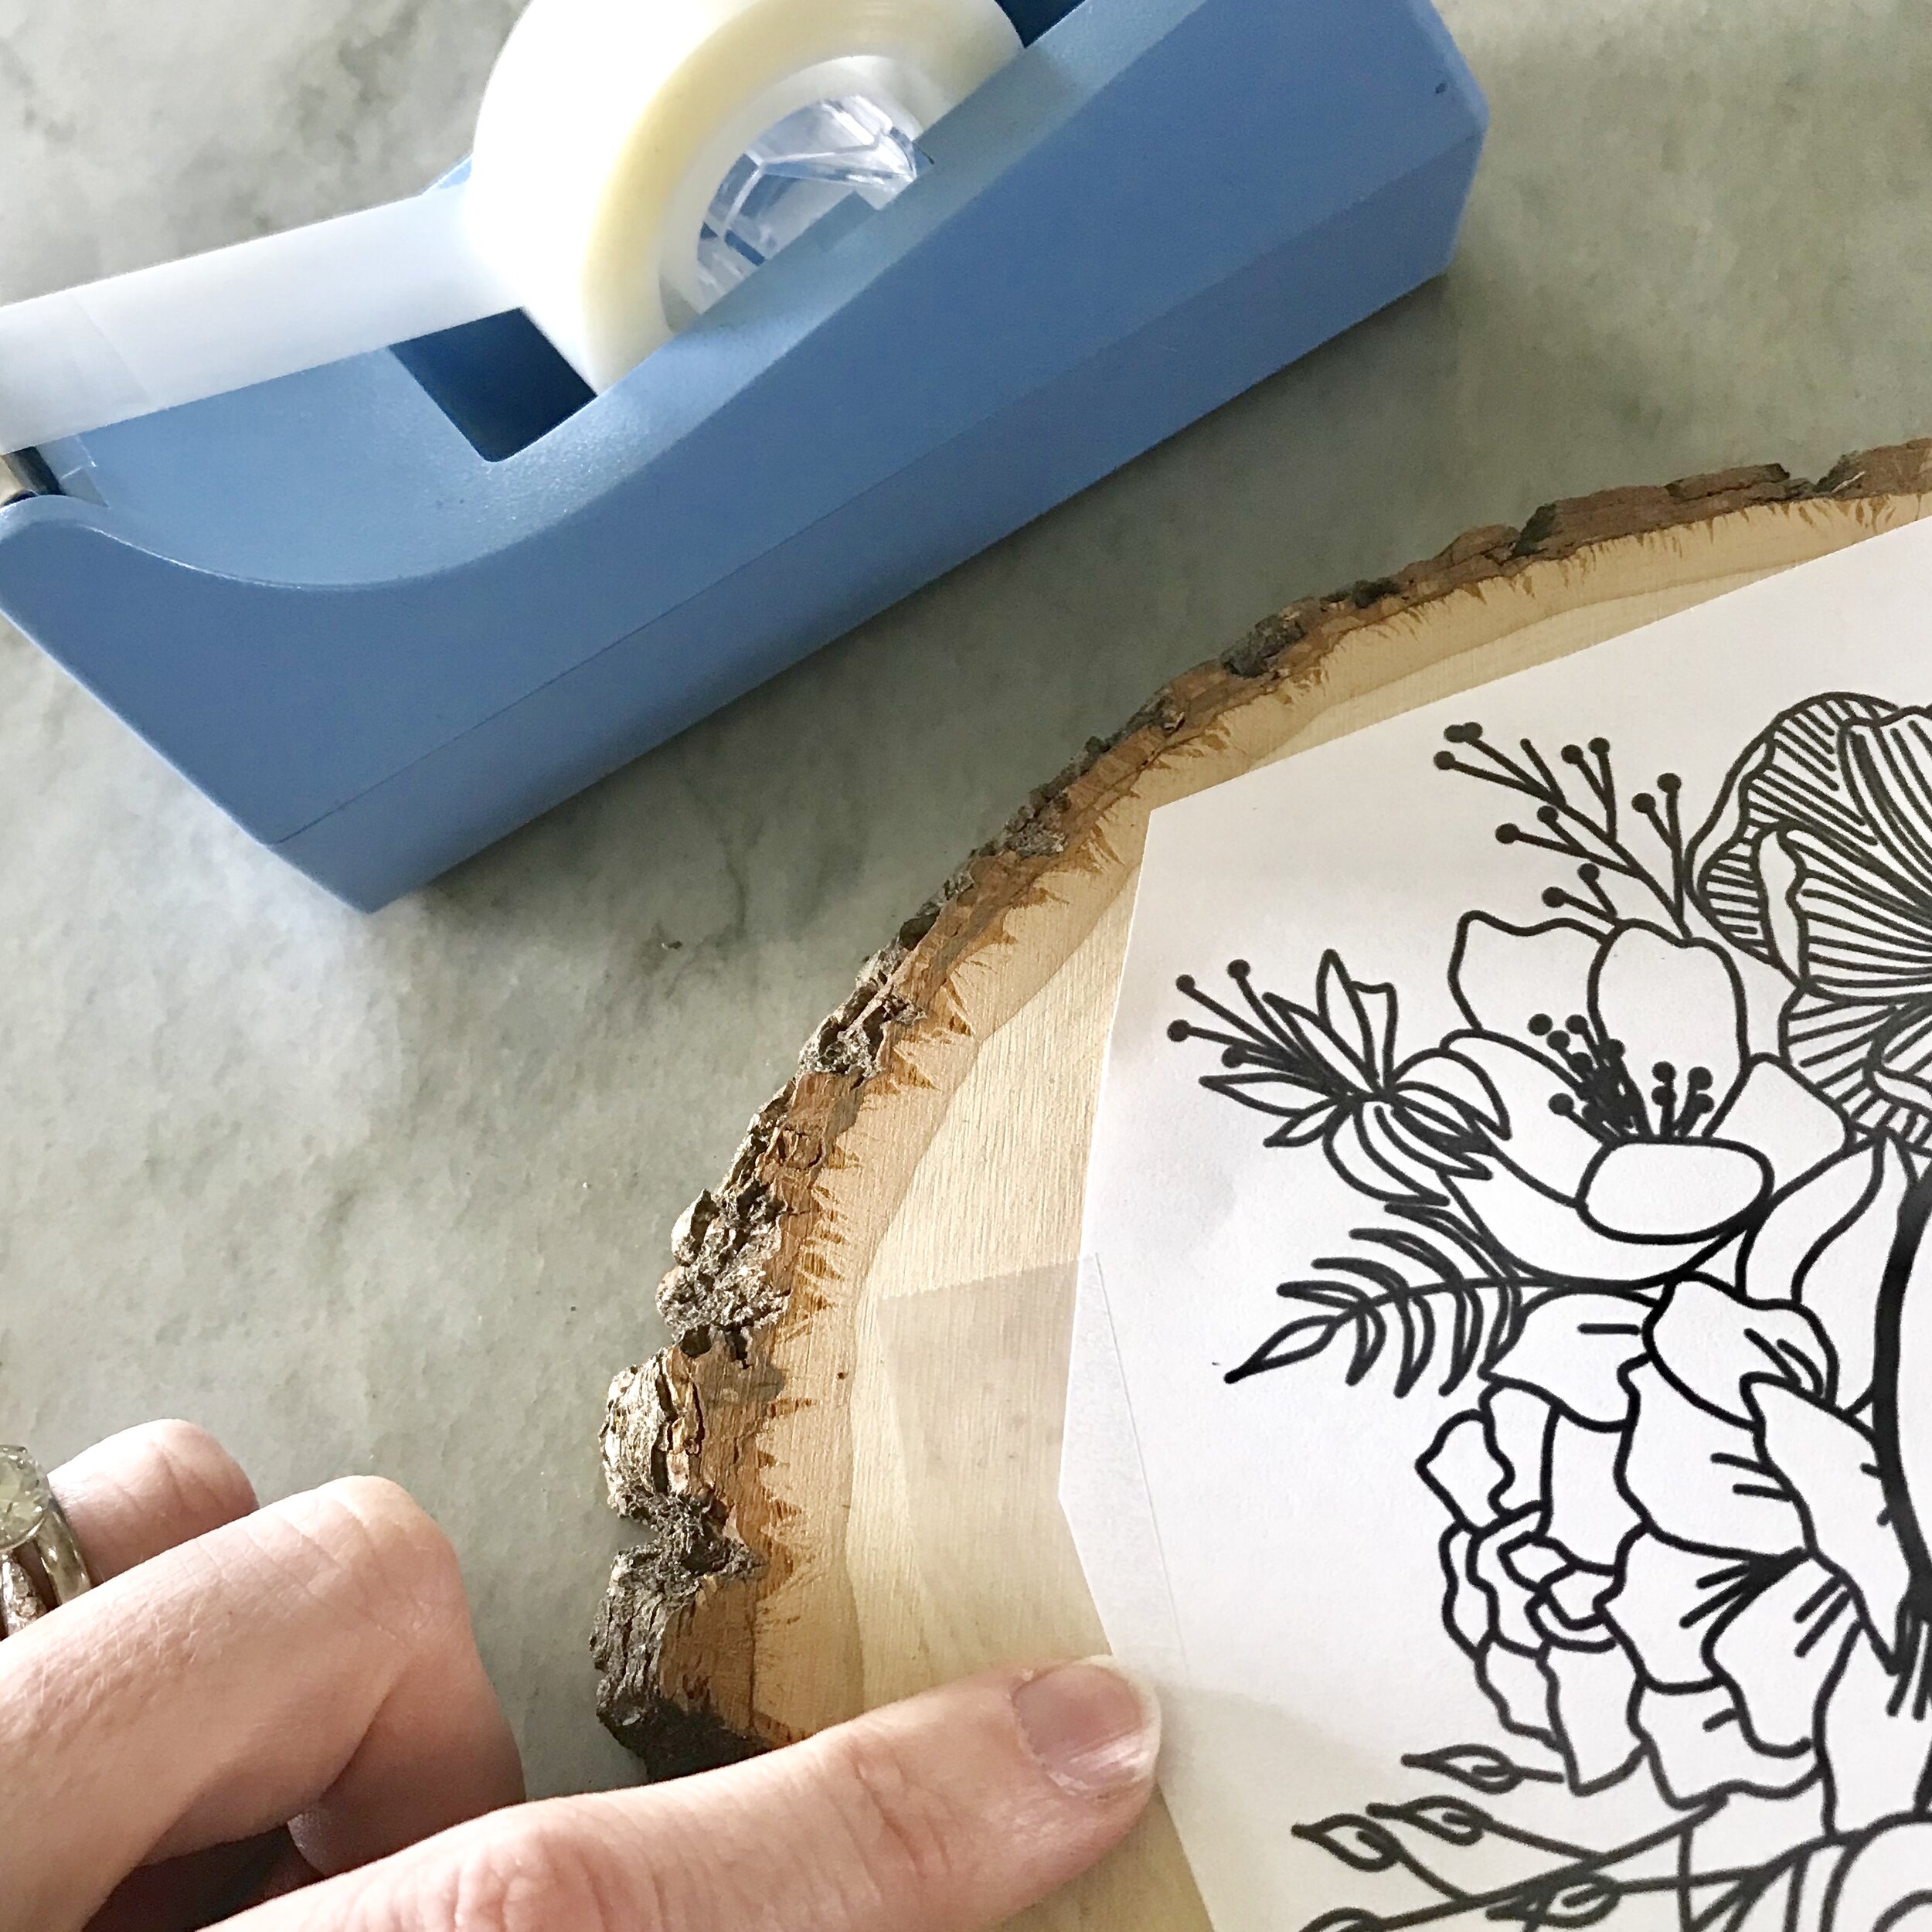
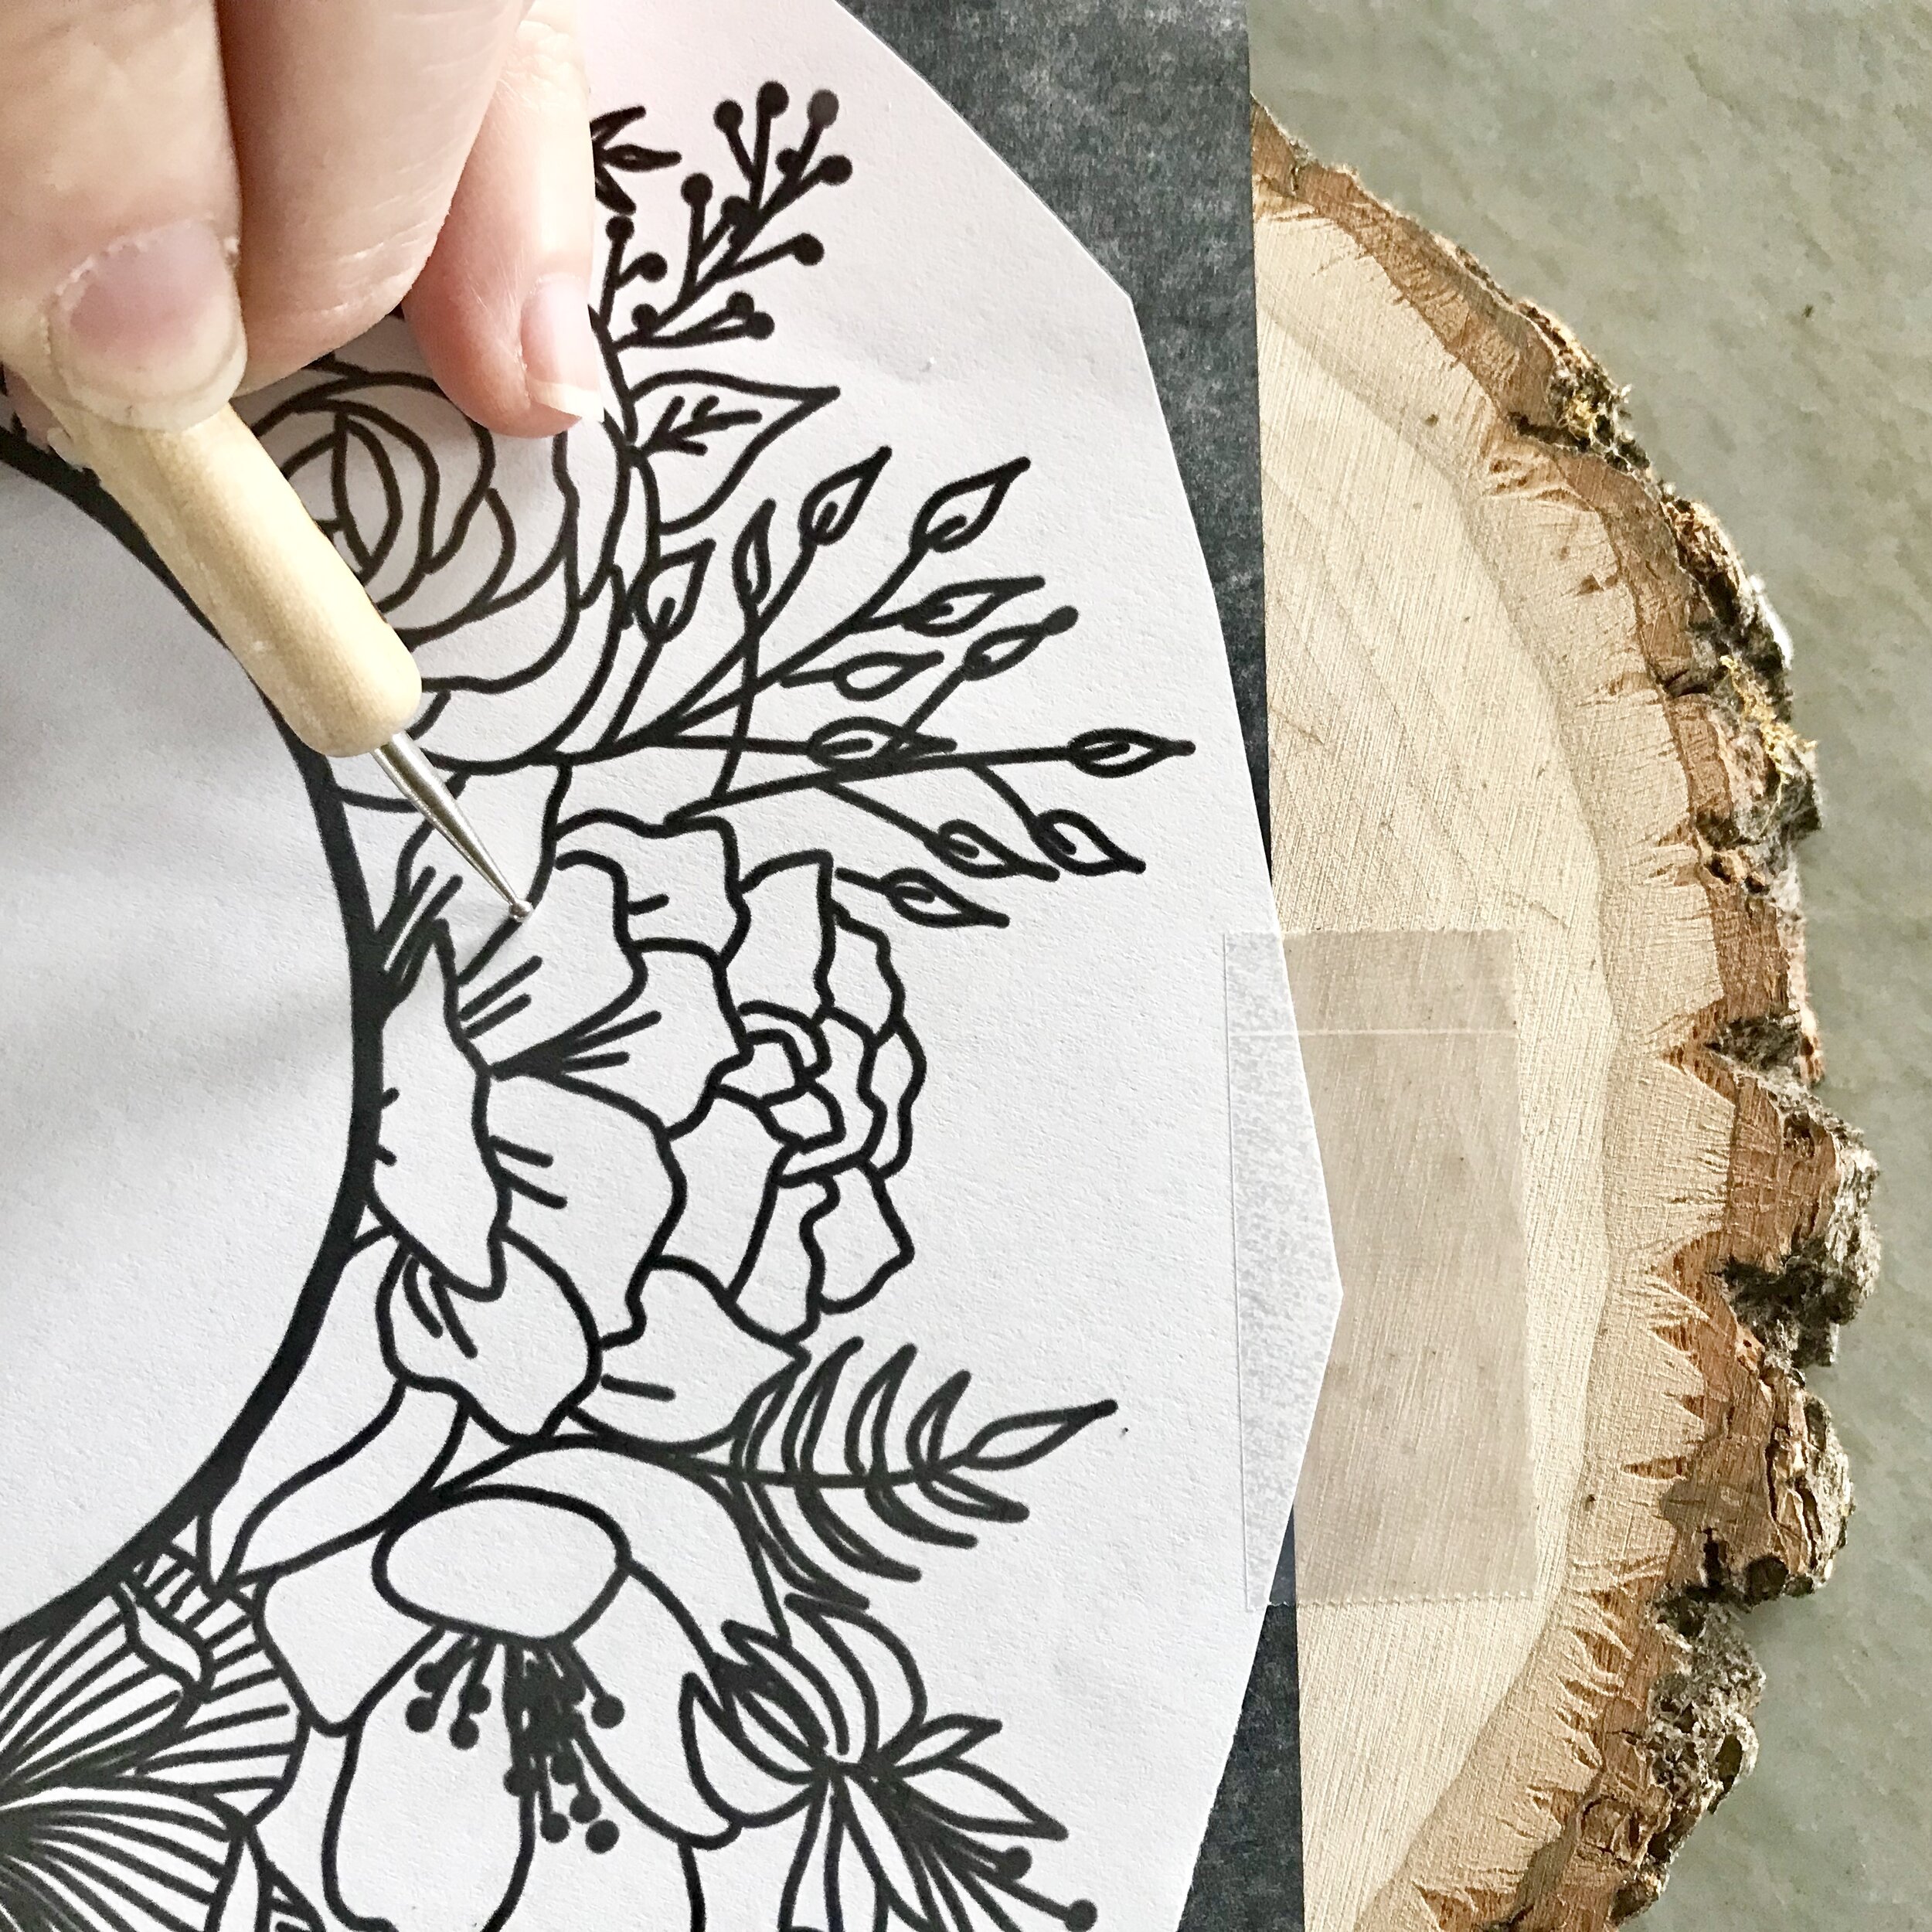
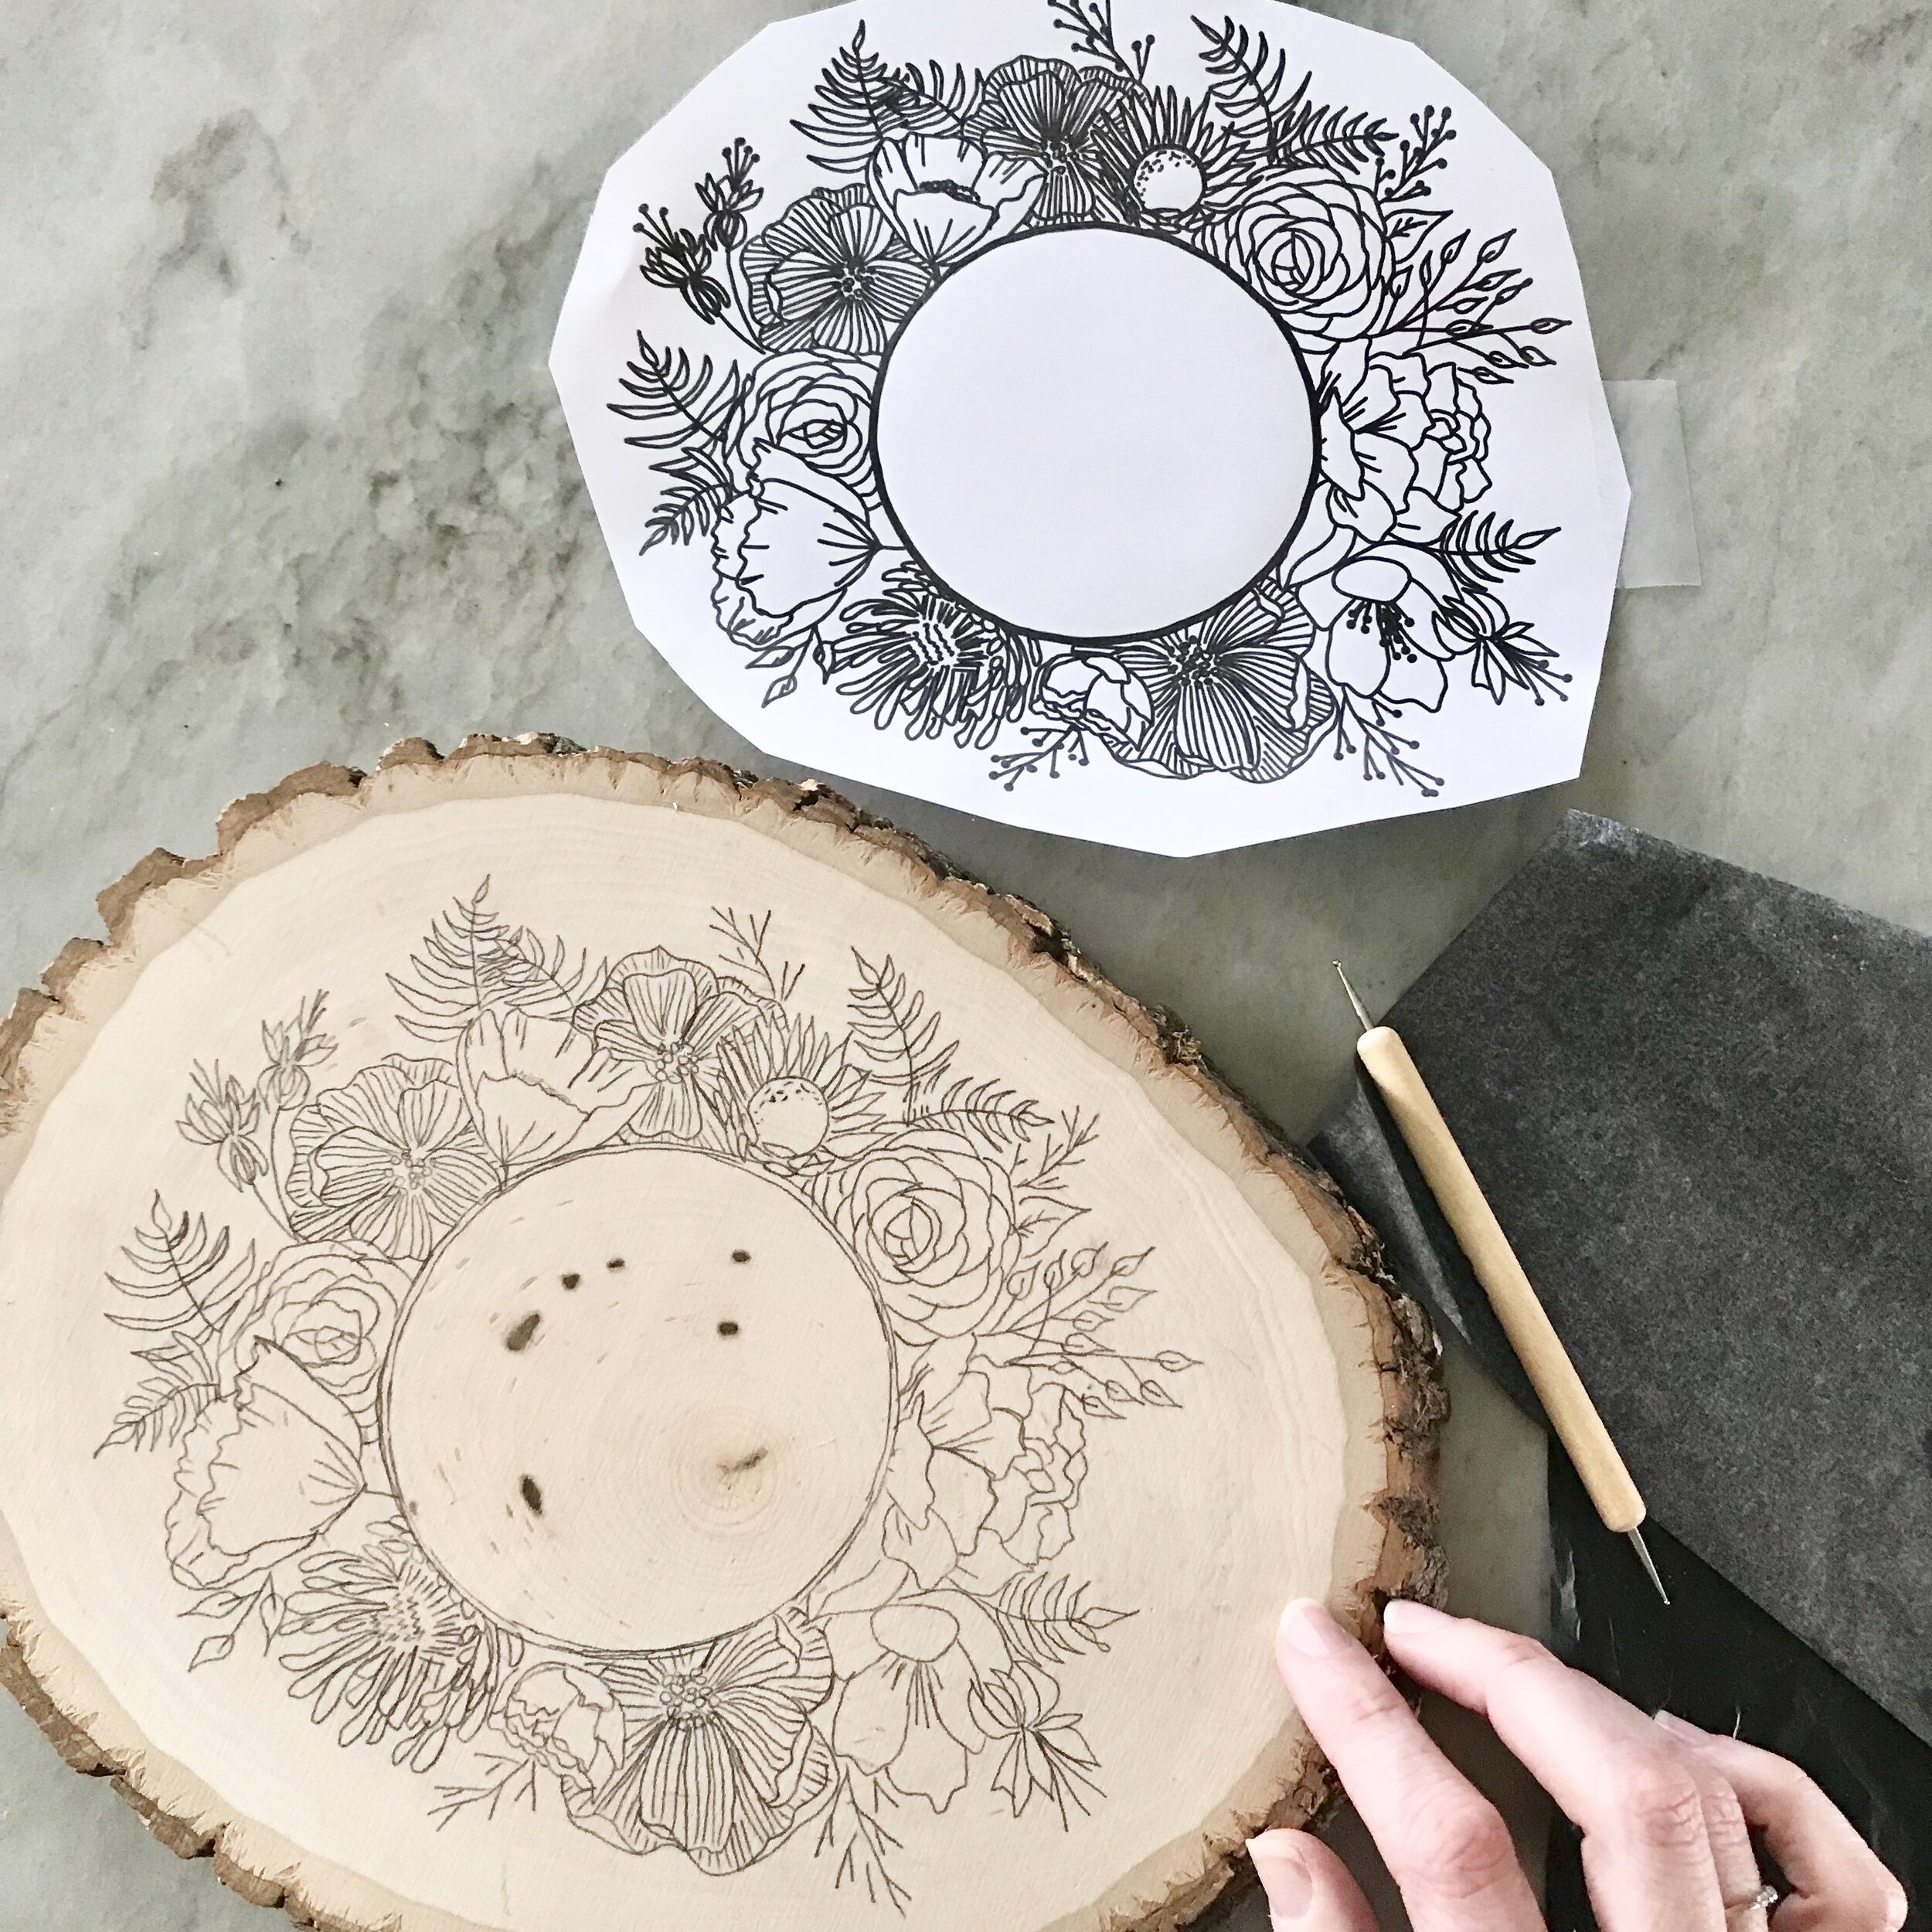
3. Size, cut, carefully position, and tape your design of choice to the wood.
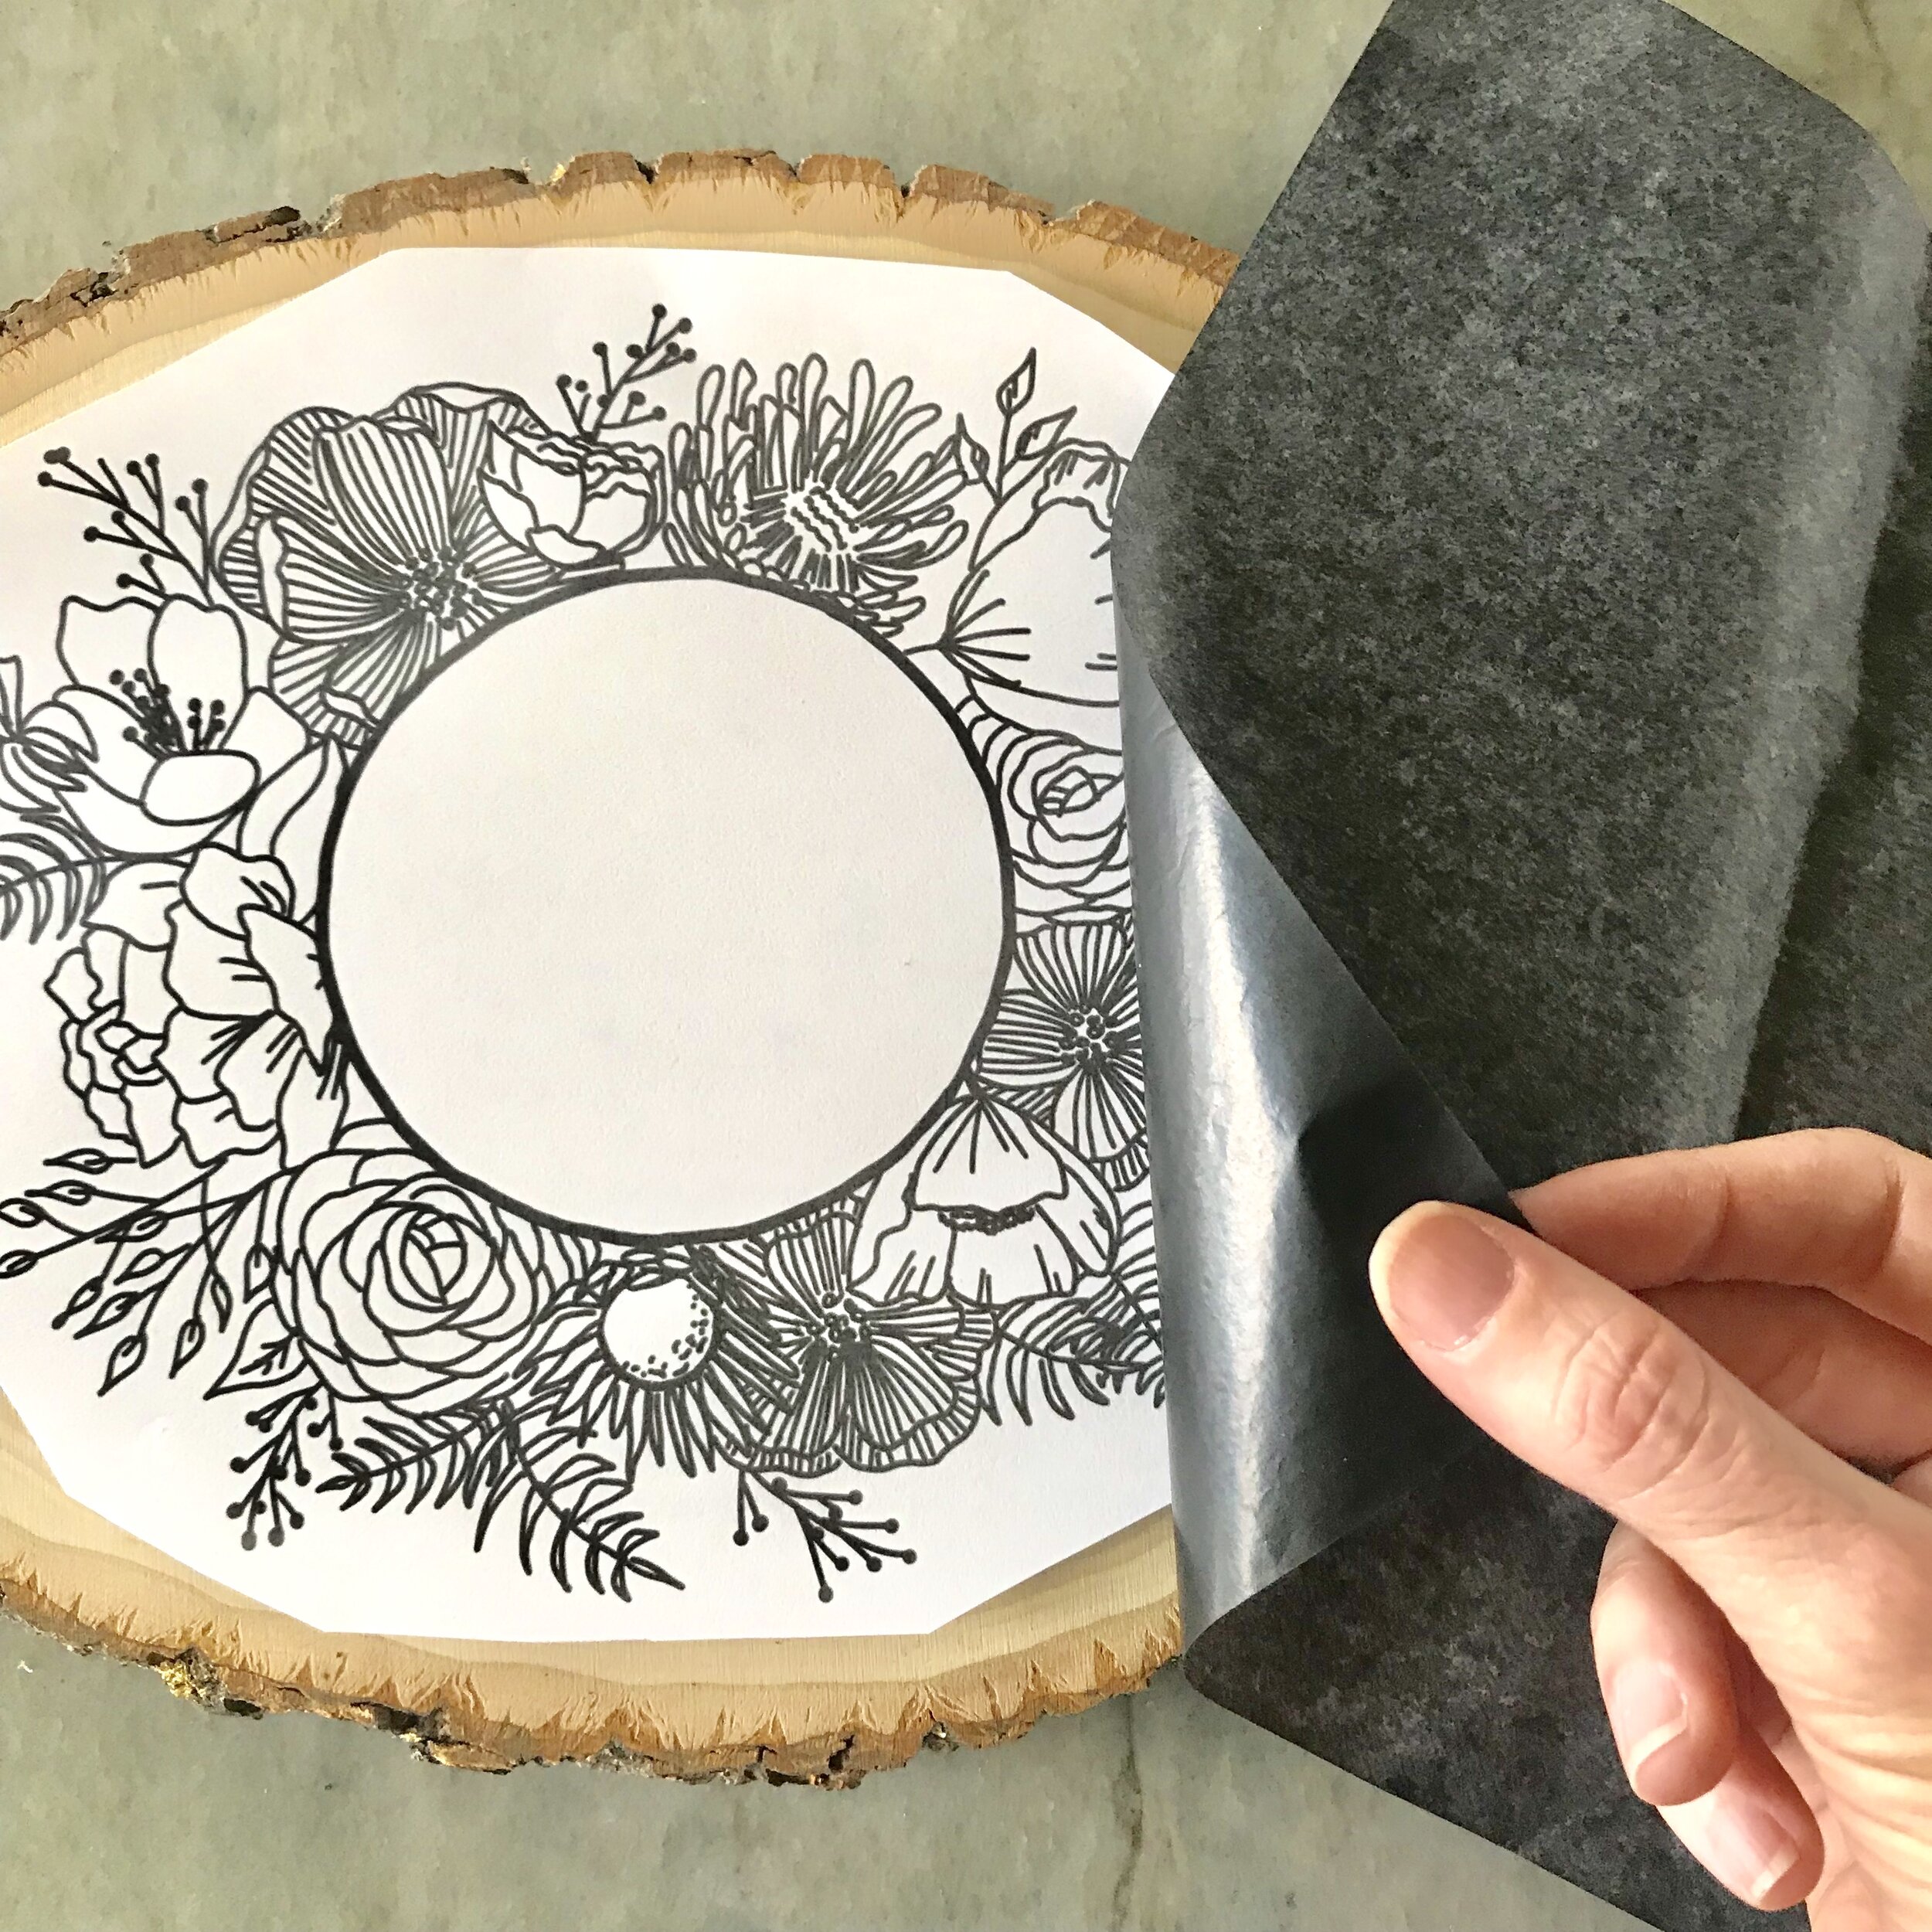
4. Slide graphite paper under the design with the darker/shinier side touching the wood.
5. Carefully trace the lines on the artwork, using your embossing tool or ballpoint pen with light-medium pressure. Don’t press too hard, otherwise the graphite lines will be hard to remove if you dont end up burning exactly on top of them.
6. Peek under the graphite and design to ensure all the artwork has been transferred before you remove them. Try not to move your design around until you are sure everything has been transferred over.
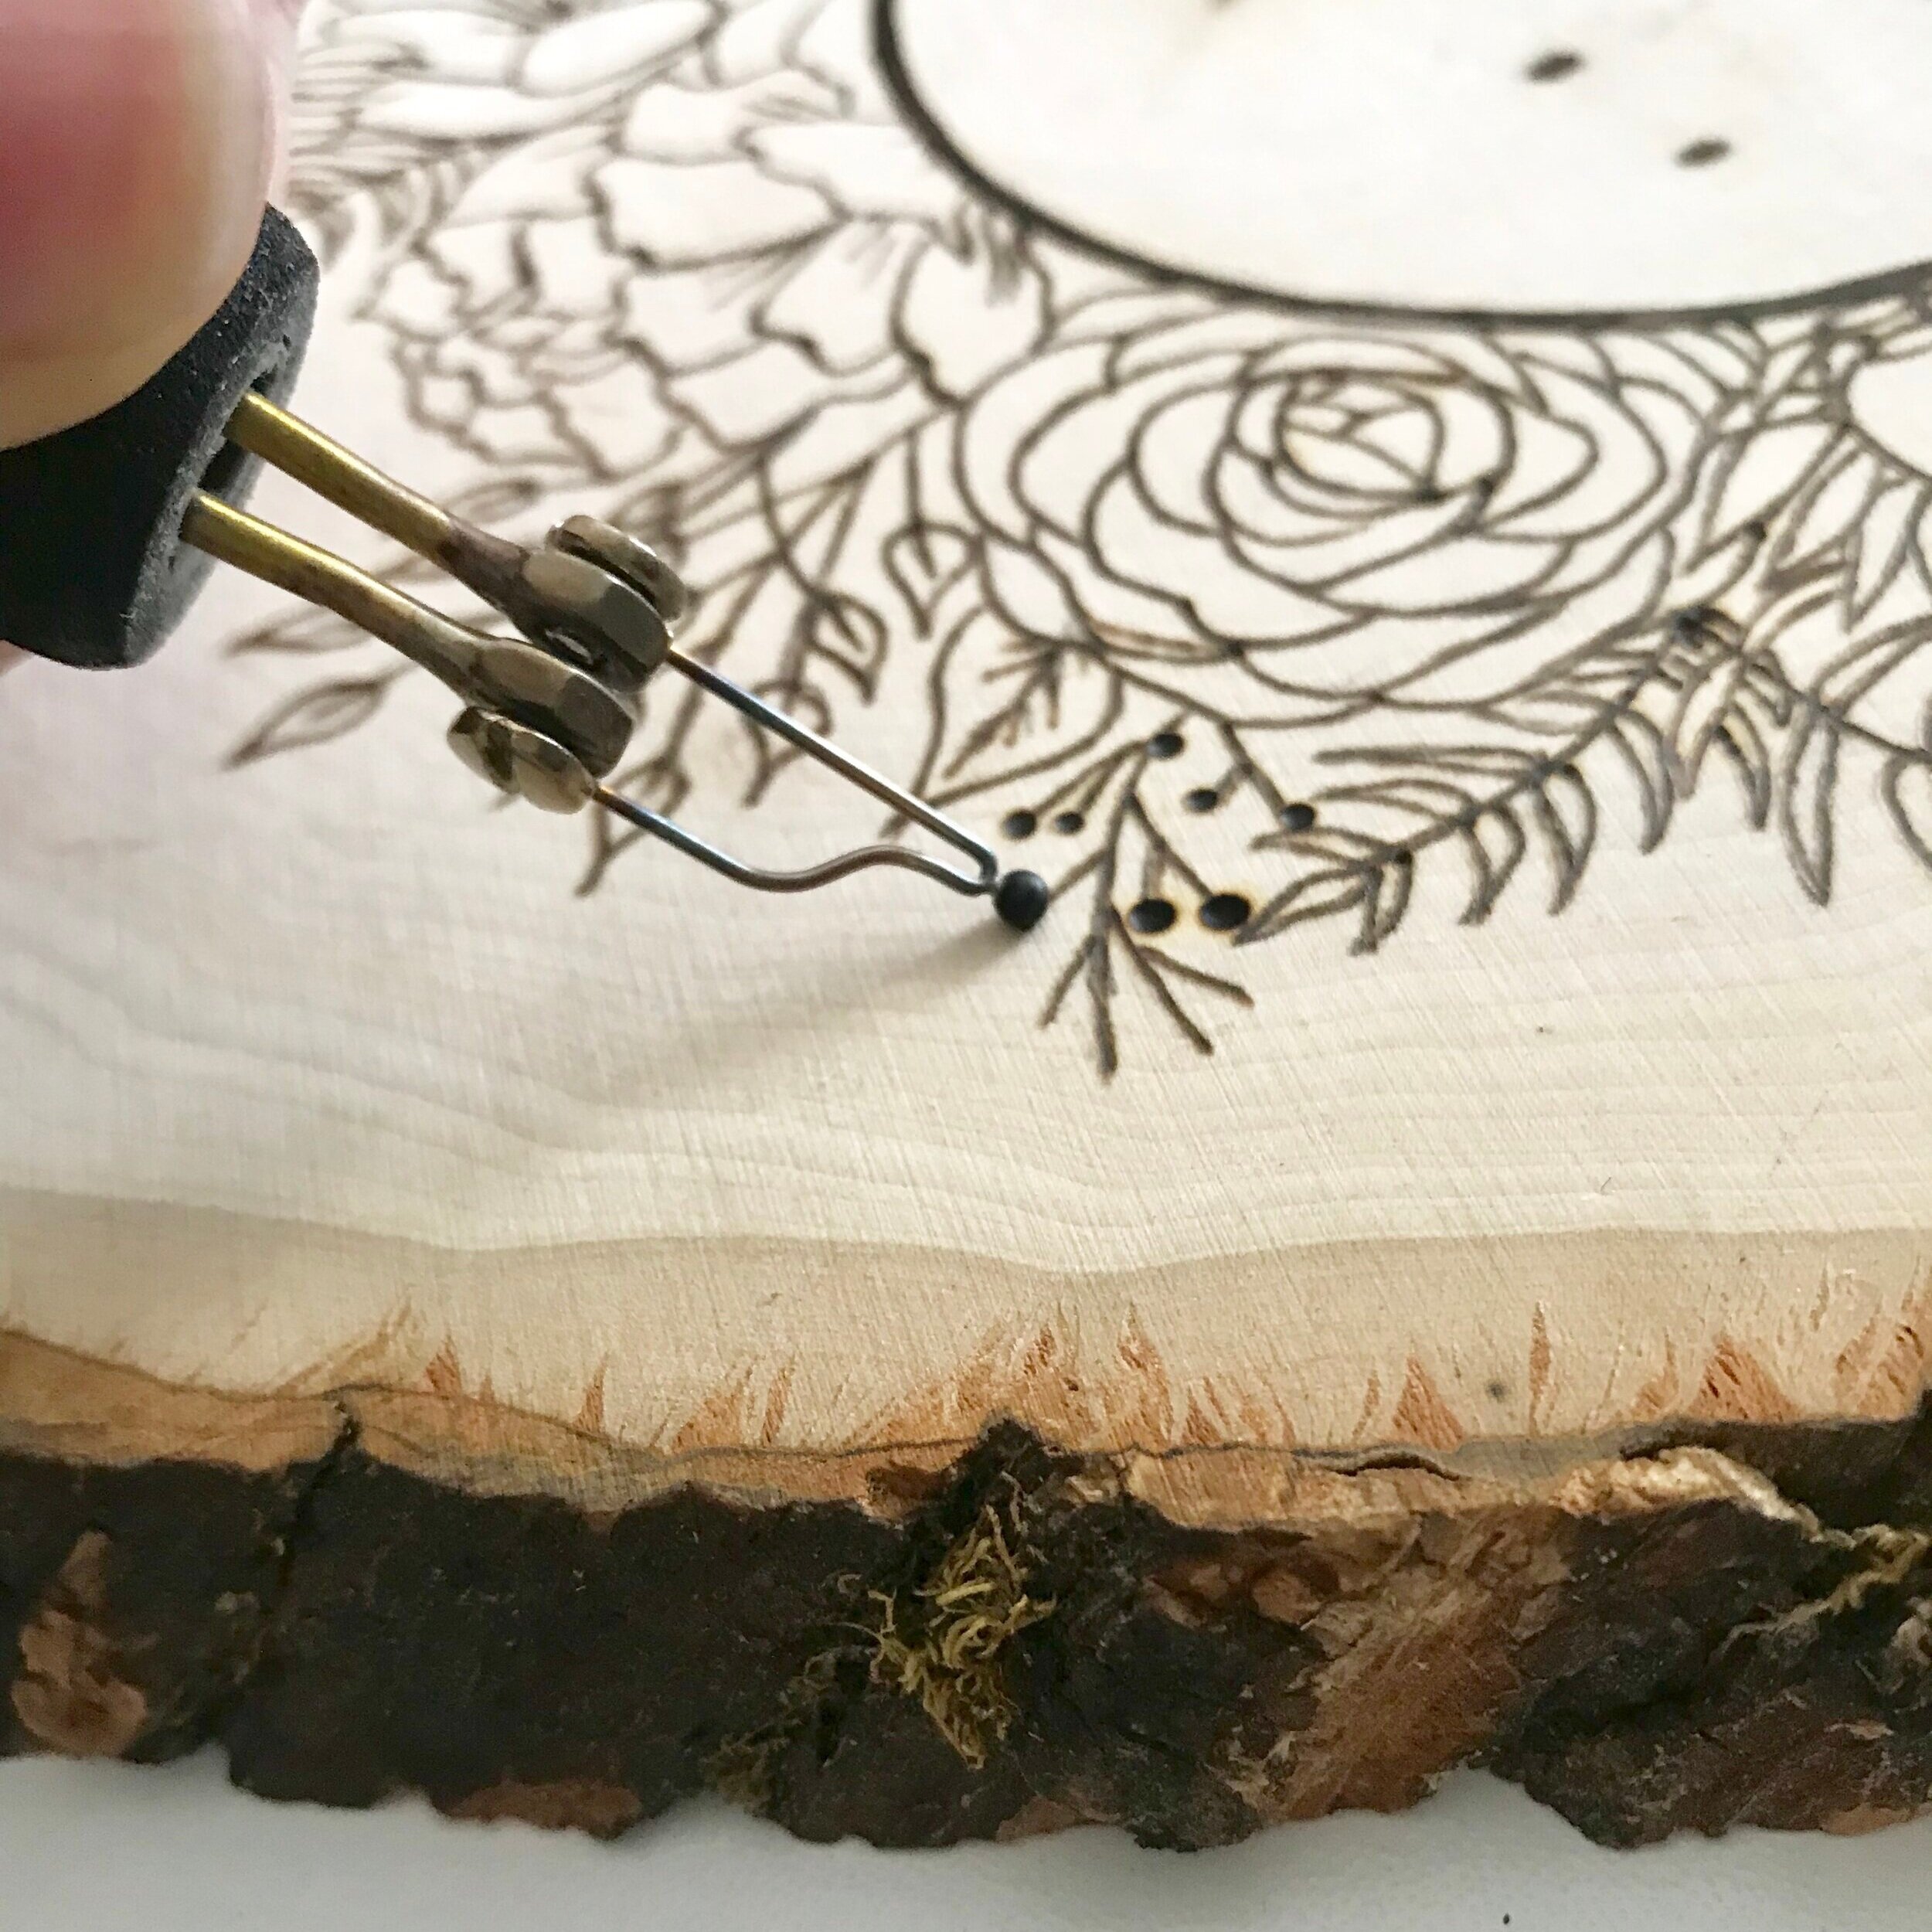
7. Choose your burner nib, screw it on, and heat up your wood burning tool. Once warm you are ready to burn! Check out how to choose a tool to learn which one will work for you.
8. Test your temperature on scrap wood, or the backside of your piece before you start. Go slow!
9. Pull don’t push. Let the burner do the work for you. Apply light, even pressure. Start with a lower temperature, because you can always add heat and always add more burn. Just glide. Really, go slow!
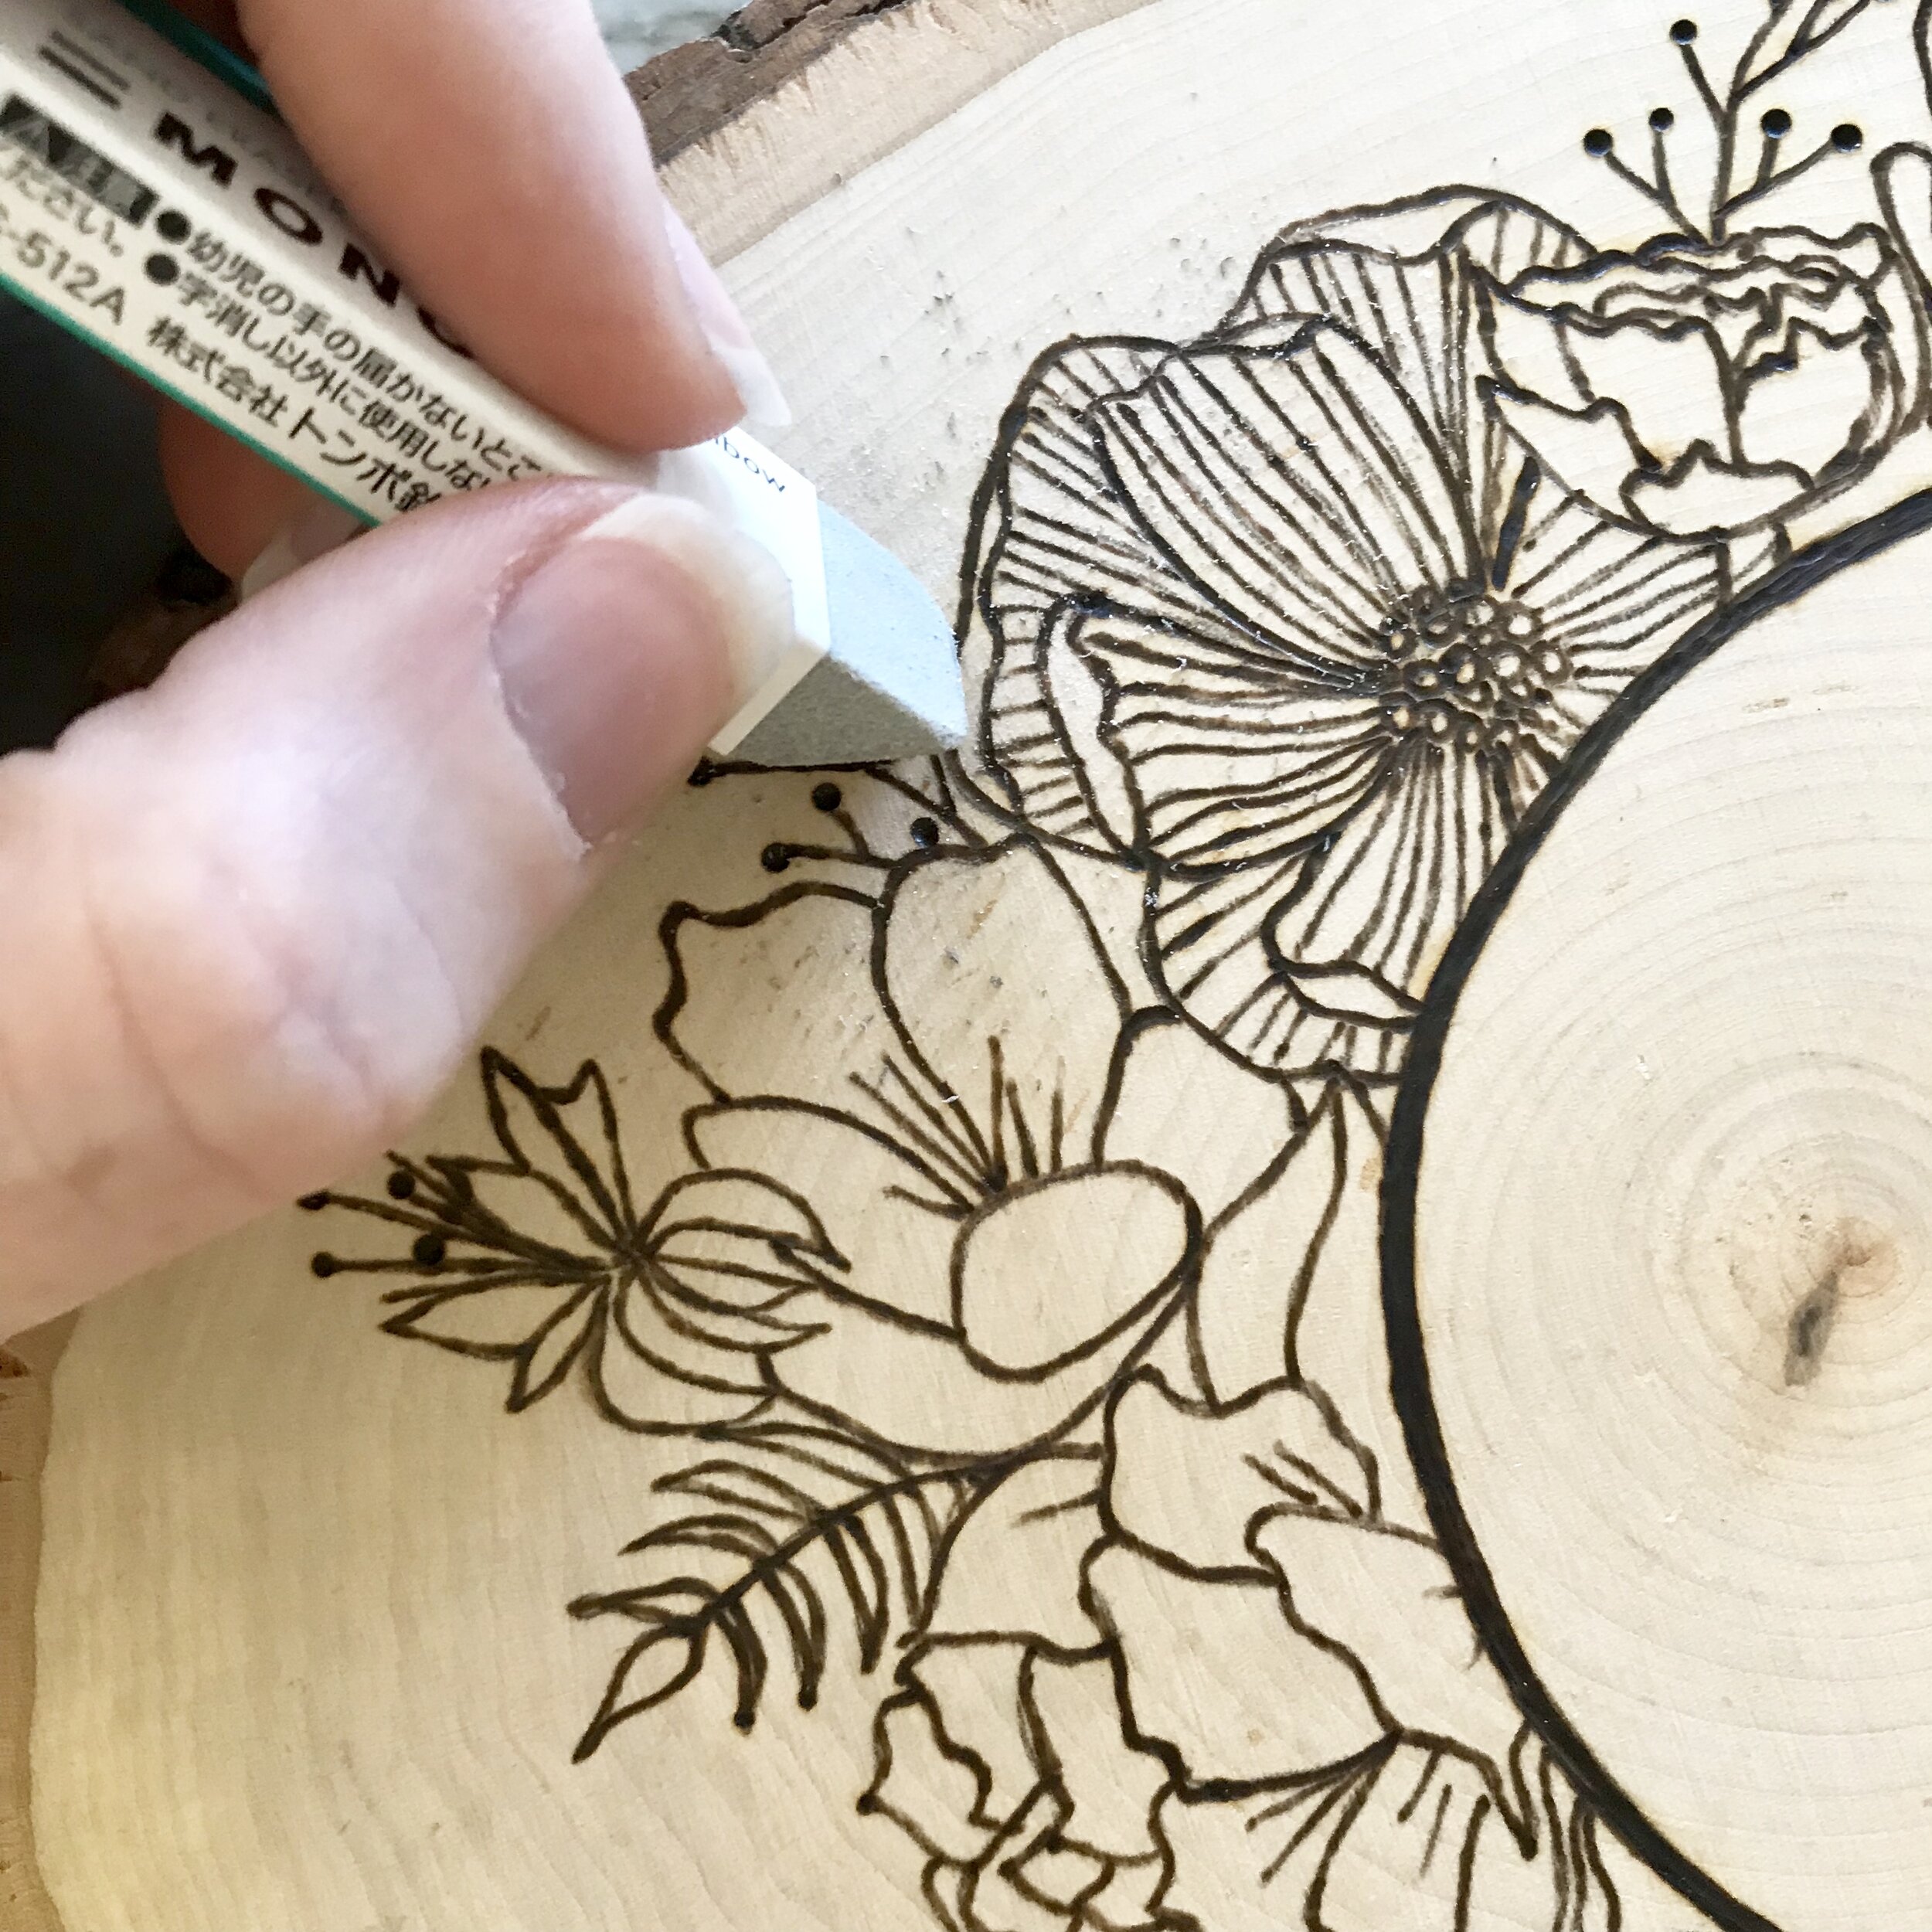
10. Once wood burning is complete, use a sand eraser to remove any graphite lines still showing. Check out: How to get rid of mistakes and graphite/pencil lines.
Add color or a finish, if you so please, then post a photo and tag @woodburncorner in it! We want to see what you create!