Wood burning is such a versatile, relaxing, useful and wonderful hobby, and we’re so excited for you to discover it all.
For all the beginners who want to try out this craft, we created The Wood Burn Box, which is basically a starter kit that has everything we would use when completing a pyrography project and all the basic tools and supplies you need to make beautiful wood-burned pieces of art.
We love The Wood Burn Box but wanted some more customizable aspects. We put together The DIY Starter Wood Burning Kit where you can choose the supplies and materials depending on your project choices and budget!
Please note: A majority of the items on the list are affiliate links. We would never recommend something that we didn’t believe in or haven’t tried, so you can be sure you are getting the right tools and materials to complete the job!
Download you Guide to Wood Burning and then scroll down to choose your materials and supplies!
The DIY Starter Wood Burning Kit
The Tool
There are many options to the tools one can use to complete a project. The prices vary widely but so does the quality, function and comfort level when using the tools. Below are three options from least expensive to more professional:

We recommend The Walnut Hollow Versa Tool when starting out. The price point is affordable and the tool is a quality burner (especially for the price).
This tool allows you to get an understanding of pyrography without dishing out a bunch of money. You can really create any piece with this variable temperature burner, especially larger pieces requiring a lot of coverage.
This tool is bit bulky to hold and the electrical wire on it is a bit stiff. The handle is far away from the nib making it a wee bit awkward to hold (not ideal if you are spending hours of burning time). However, many professional artists can get past this and never upgrade to a different tool. Some artists use gloves or a little bean bag cushion under their hand to give them more support and comfort.
Even with these drawbacks, this is a good tool for beginners and one I enjoy having in my tool bag. My favorite part about this solid point tool is that you can get a separate transfer point nib that will allow you transfer images onto wood quickly and efficiently.
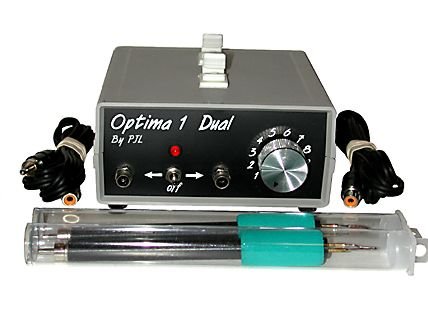
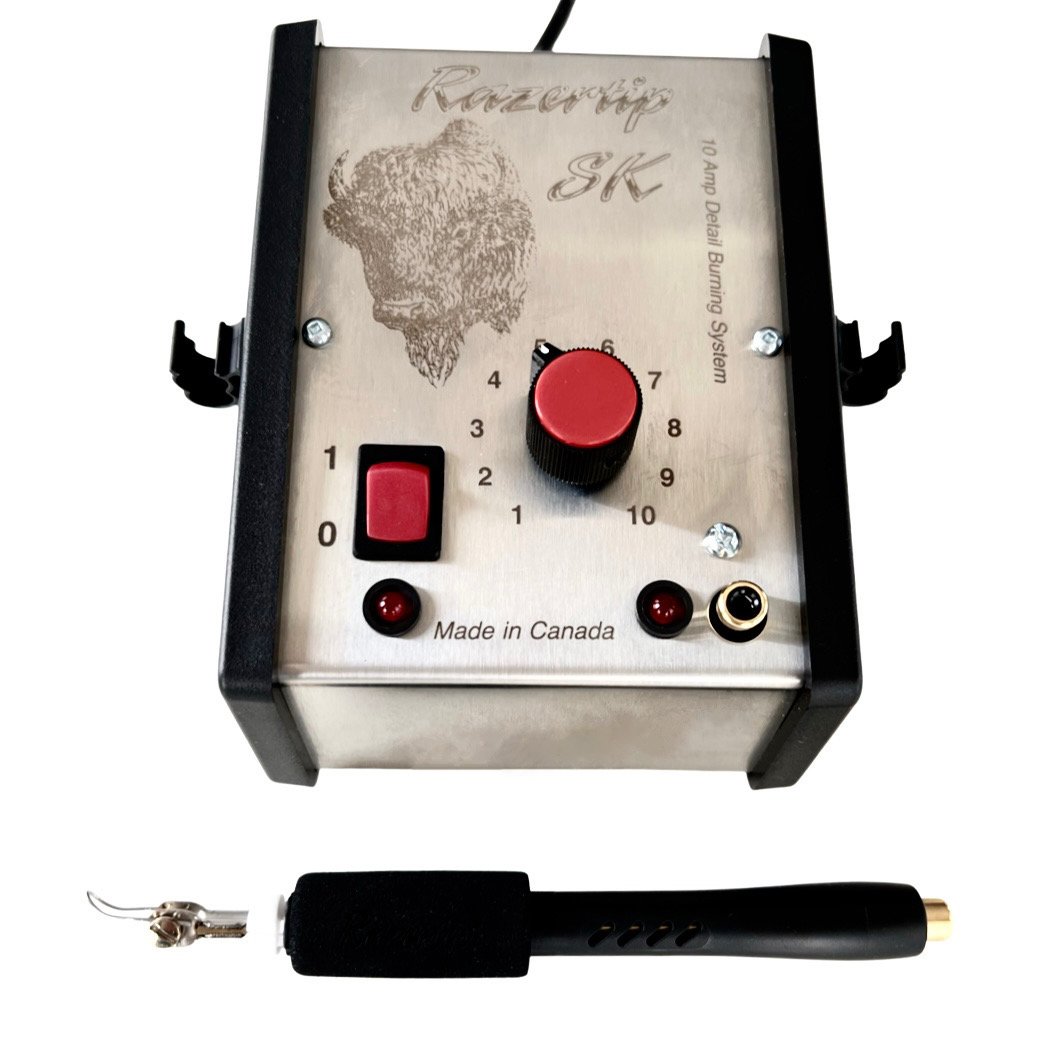
The higher end tools we recommend are professional wire tip burners. These can be quite expensive, but are fantastic for frequent users. They heat up and cool down quickly, are more comfortable to hold, and have many different nib options which are generally easier and faster to changeout while burning. We recommend either the Razertip or the Optima 1 from PJL Enterprises. They are both quality tools.
Head over to the following blog post: What Tool Is Right for Me, if you want to learn about a variety of pyro tools, uses and price points for each.
2. The Burnable surface
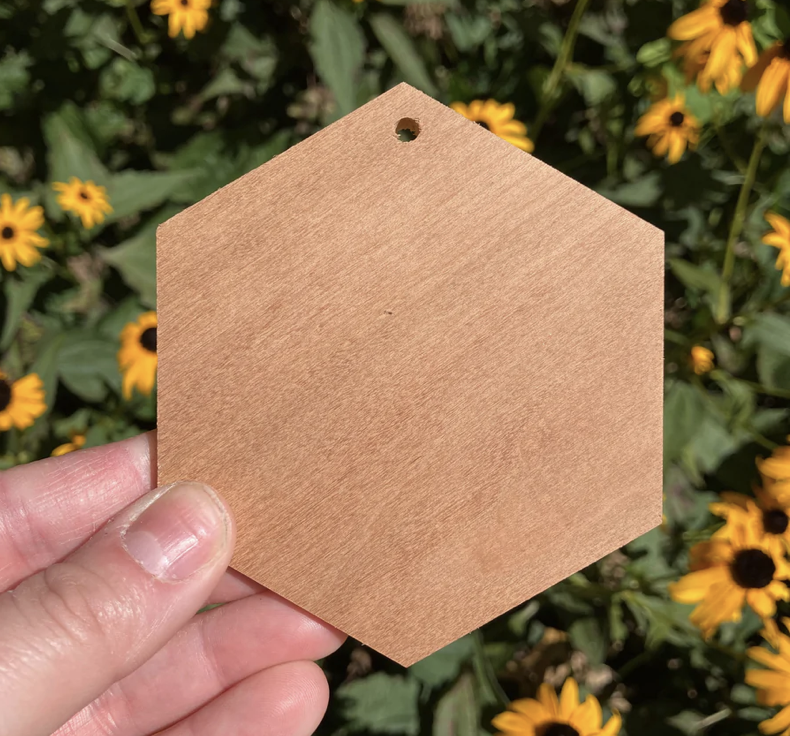
Most commonly, wood is the surface choice for pyrography artist. The list of other items you can burn on is long but wood is a good place to start because it is usually flat, easily available and affordable.
Check out our Top 9 Wood Surfaces to Burn On
Where to get wood:
You can source wood from many different locations. From your local lumber yards, renovation and kitchen cabinetry shops, Facebook market place and even online classifieds like Craigslist and Kijiji.
Often times wood is being given away or sold at a super low price (especially for offcuts and scrap pieces). You don’t always have the luxury of choosing what you will get but can save a lot of money and push your creativity.
Please, always ensure you know what you are burning on! Check out our Guide to Burning Safely blog post to stay safe while burning. Never burn on anything with a finish and always utilize safety equipment.
We love Walnut Hollow for their sustainability efforts, variety of wood styles as well as their quality. Their woods are pre-sanded and ready for crafting. They primarily have basswood, birch and pine and some have a live edge and some do not. We recommend for beginners to start with Basswood.
Look for their basswood and birch options. Stay away from pine for your first burn at pine can cause some frustrations when burning.
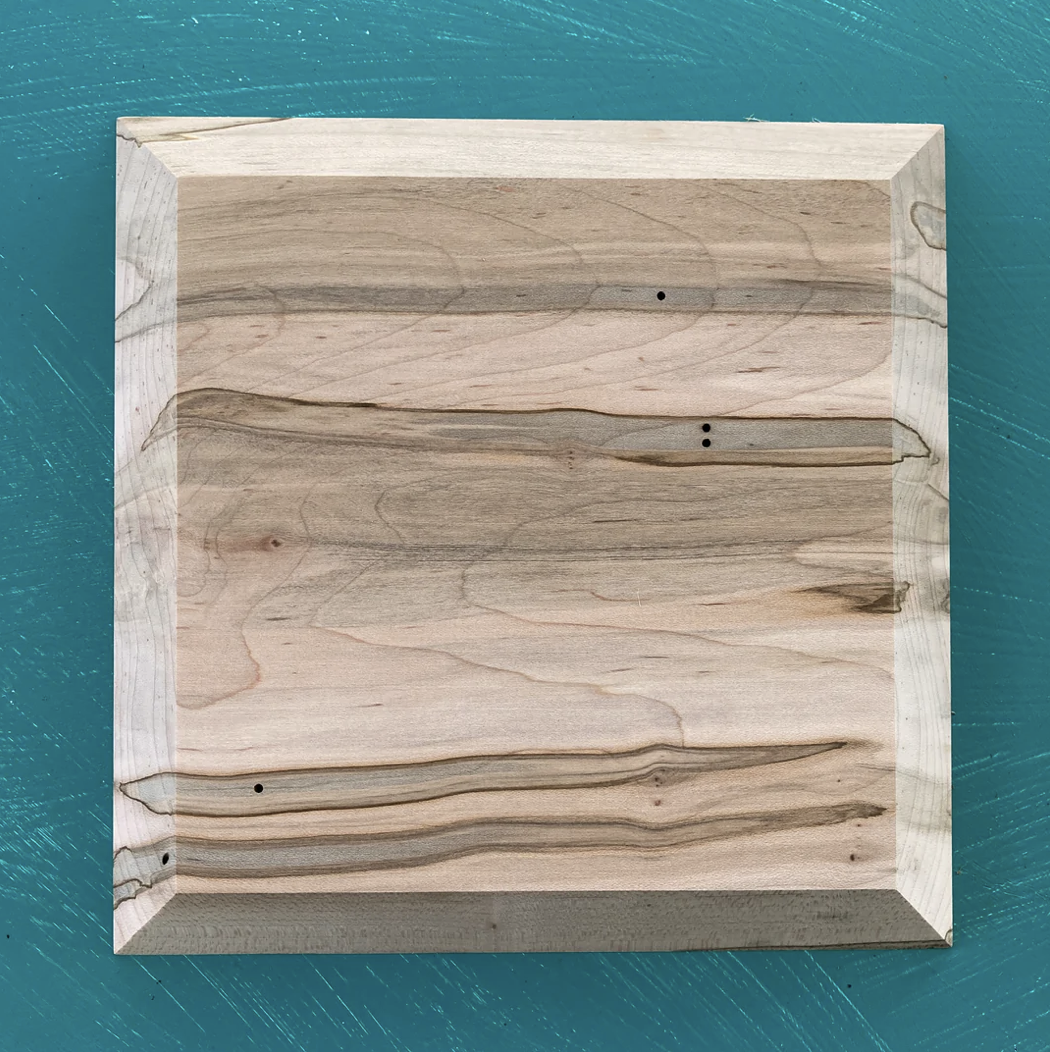
Another company we love for wood is It’s David and Renee. Their wood is butter smooth! They are a small business and all their slices are hand made with loads of care and attention to detail. They offer a sample pack, a burnable box package and other fun and unique woods to burn on like cutting boards and a whole bunch of differently shaped ornaments!
It’s David and Renee have a Patreon group called The Timberdoodle, where you can get access to bulk orders, first dibs on now stock, and coupon codes/discounts!
You can also check out these other wood suppliers: Rustic Wood Supply, Woodpecker Crafts, and Aspen Rustic Creations
Uk people, check out Waney Woodworks
People in Canada, check out Lee Valley Tools and Exotic Wood
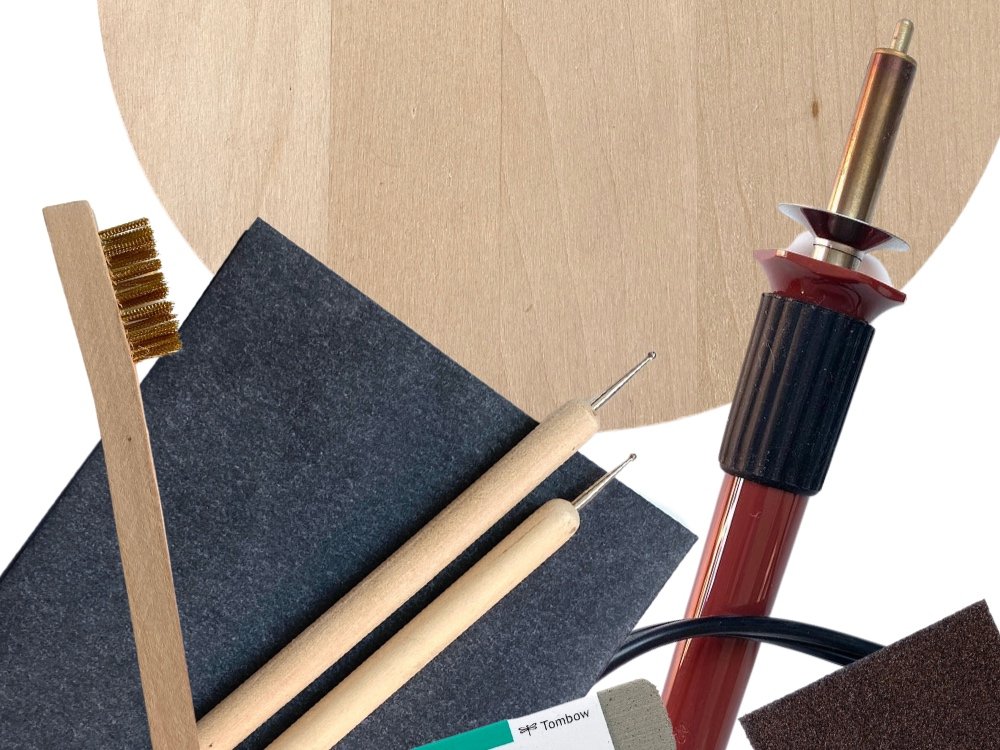
3. Optional Tools for Wood Burning
You can do just about anything once you have the machine and a surface to burn on. There are a few items to make the process more enjoyable, quicker and easier.
Graphite paper provides a cheap and quick way to get designs you drew on paper or printed out onto your wood. Not as fast as the heat method above but definitely much cheaper.
Check out this blog post to learn how to use this paper to transfer your design.
You can simply use a pen or pencil (a red pencil crayon helps you not to miss any lines) with your graphite paper or you can use an embossing tool.
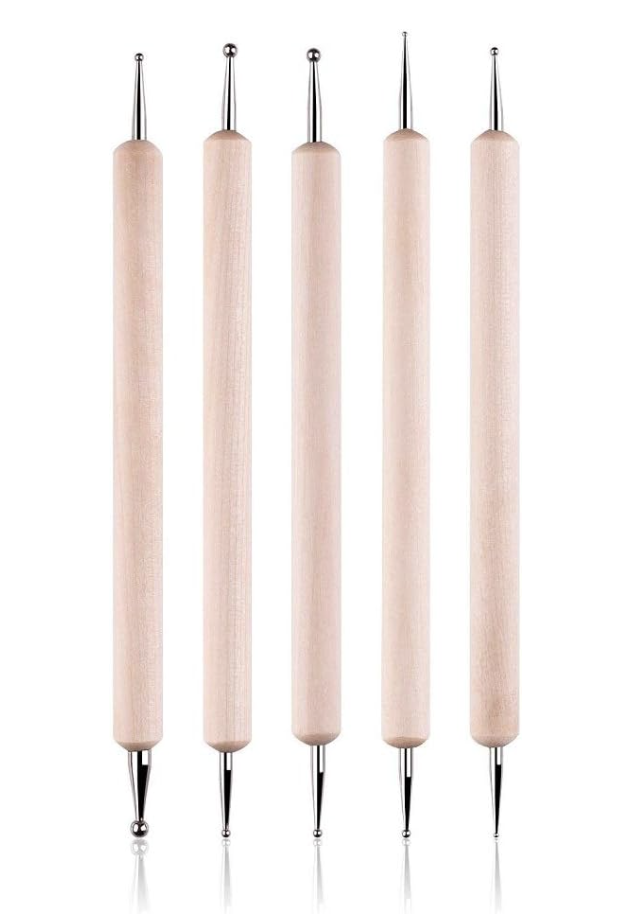
Embossing Tools allow you to transfer your design without completly damaging the original artwork (tracing over it).
Washi tape holds down your design without damaging the surface or the original artwork.

The Tombow Sand Eraser! This little guy is a great options for removing leftover tracing lines and possibly one of Wood Burn Corner’s greatest discoveries.
Click here for a blog post with more information on removing lines or mistakes from your wood.
Another option for removing leftover lines from your pencil or graphite is sandpaper! Sandpaper is also a go to for making your surface smooth and ready to sand on. The smoother the surface, the more pleasant your burning experience will be! This pack has all the levels of grit.
Learn more about sanding your wood here.

I use a brass brush for cleaning my nibs. These ones I suggest lay flat so they are convenient to use mid burn.
Click here to see other ways to keep your nips and tips clean and functioning properly!
Patterns to trace
Grab some patterns to trace! Following a line will make it easier to focus on the function of your tool versus where you will be burning next, especially if you are not comfortable with drawing free-hand. Below are two FREE templates to get you started.


Check out our Community Template Books for even more patterns to practice with or visit the templates store full of individual patterns for sale!
More Resources
Grow with the community: Join the Burn Club mailing list. There are monthly giveaways, a place to ask your burning questions, links to resources and so much more!
Grab The Wood Burn Book for projects and inspiration plus more information about pyrography including creating textures, finishing your piece and mixed media!