Tools

Interview with Basia from fine line pyro

Name: Basia Chmielowiec

Burning since: 2009

Location: Innisfil, Ontario 🇨🇦

@finelinepyro and www.finelinepyro.ca

20190429_Pyro_251.jpg

Can you tell us a little about your art, your life, and you!
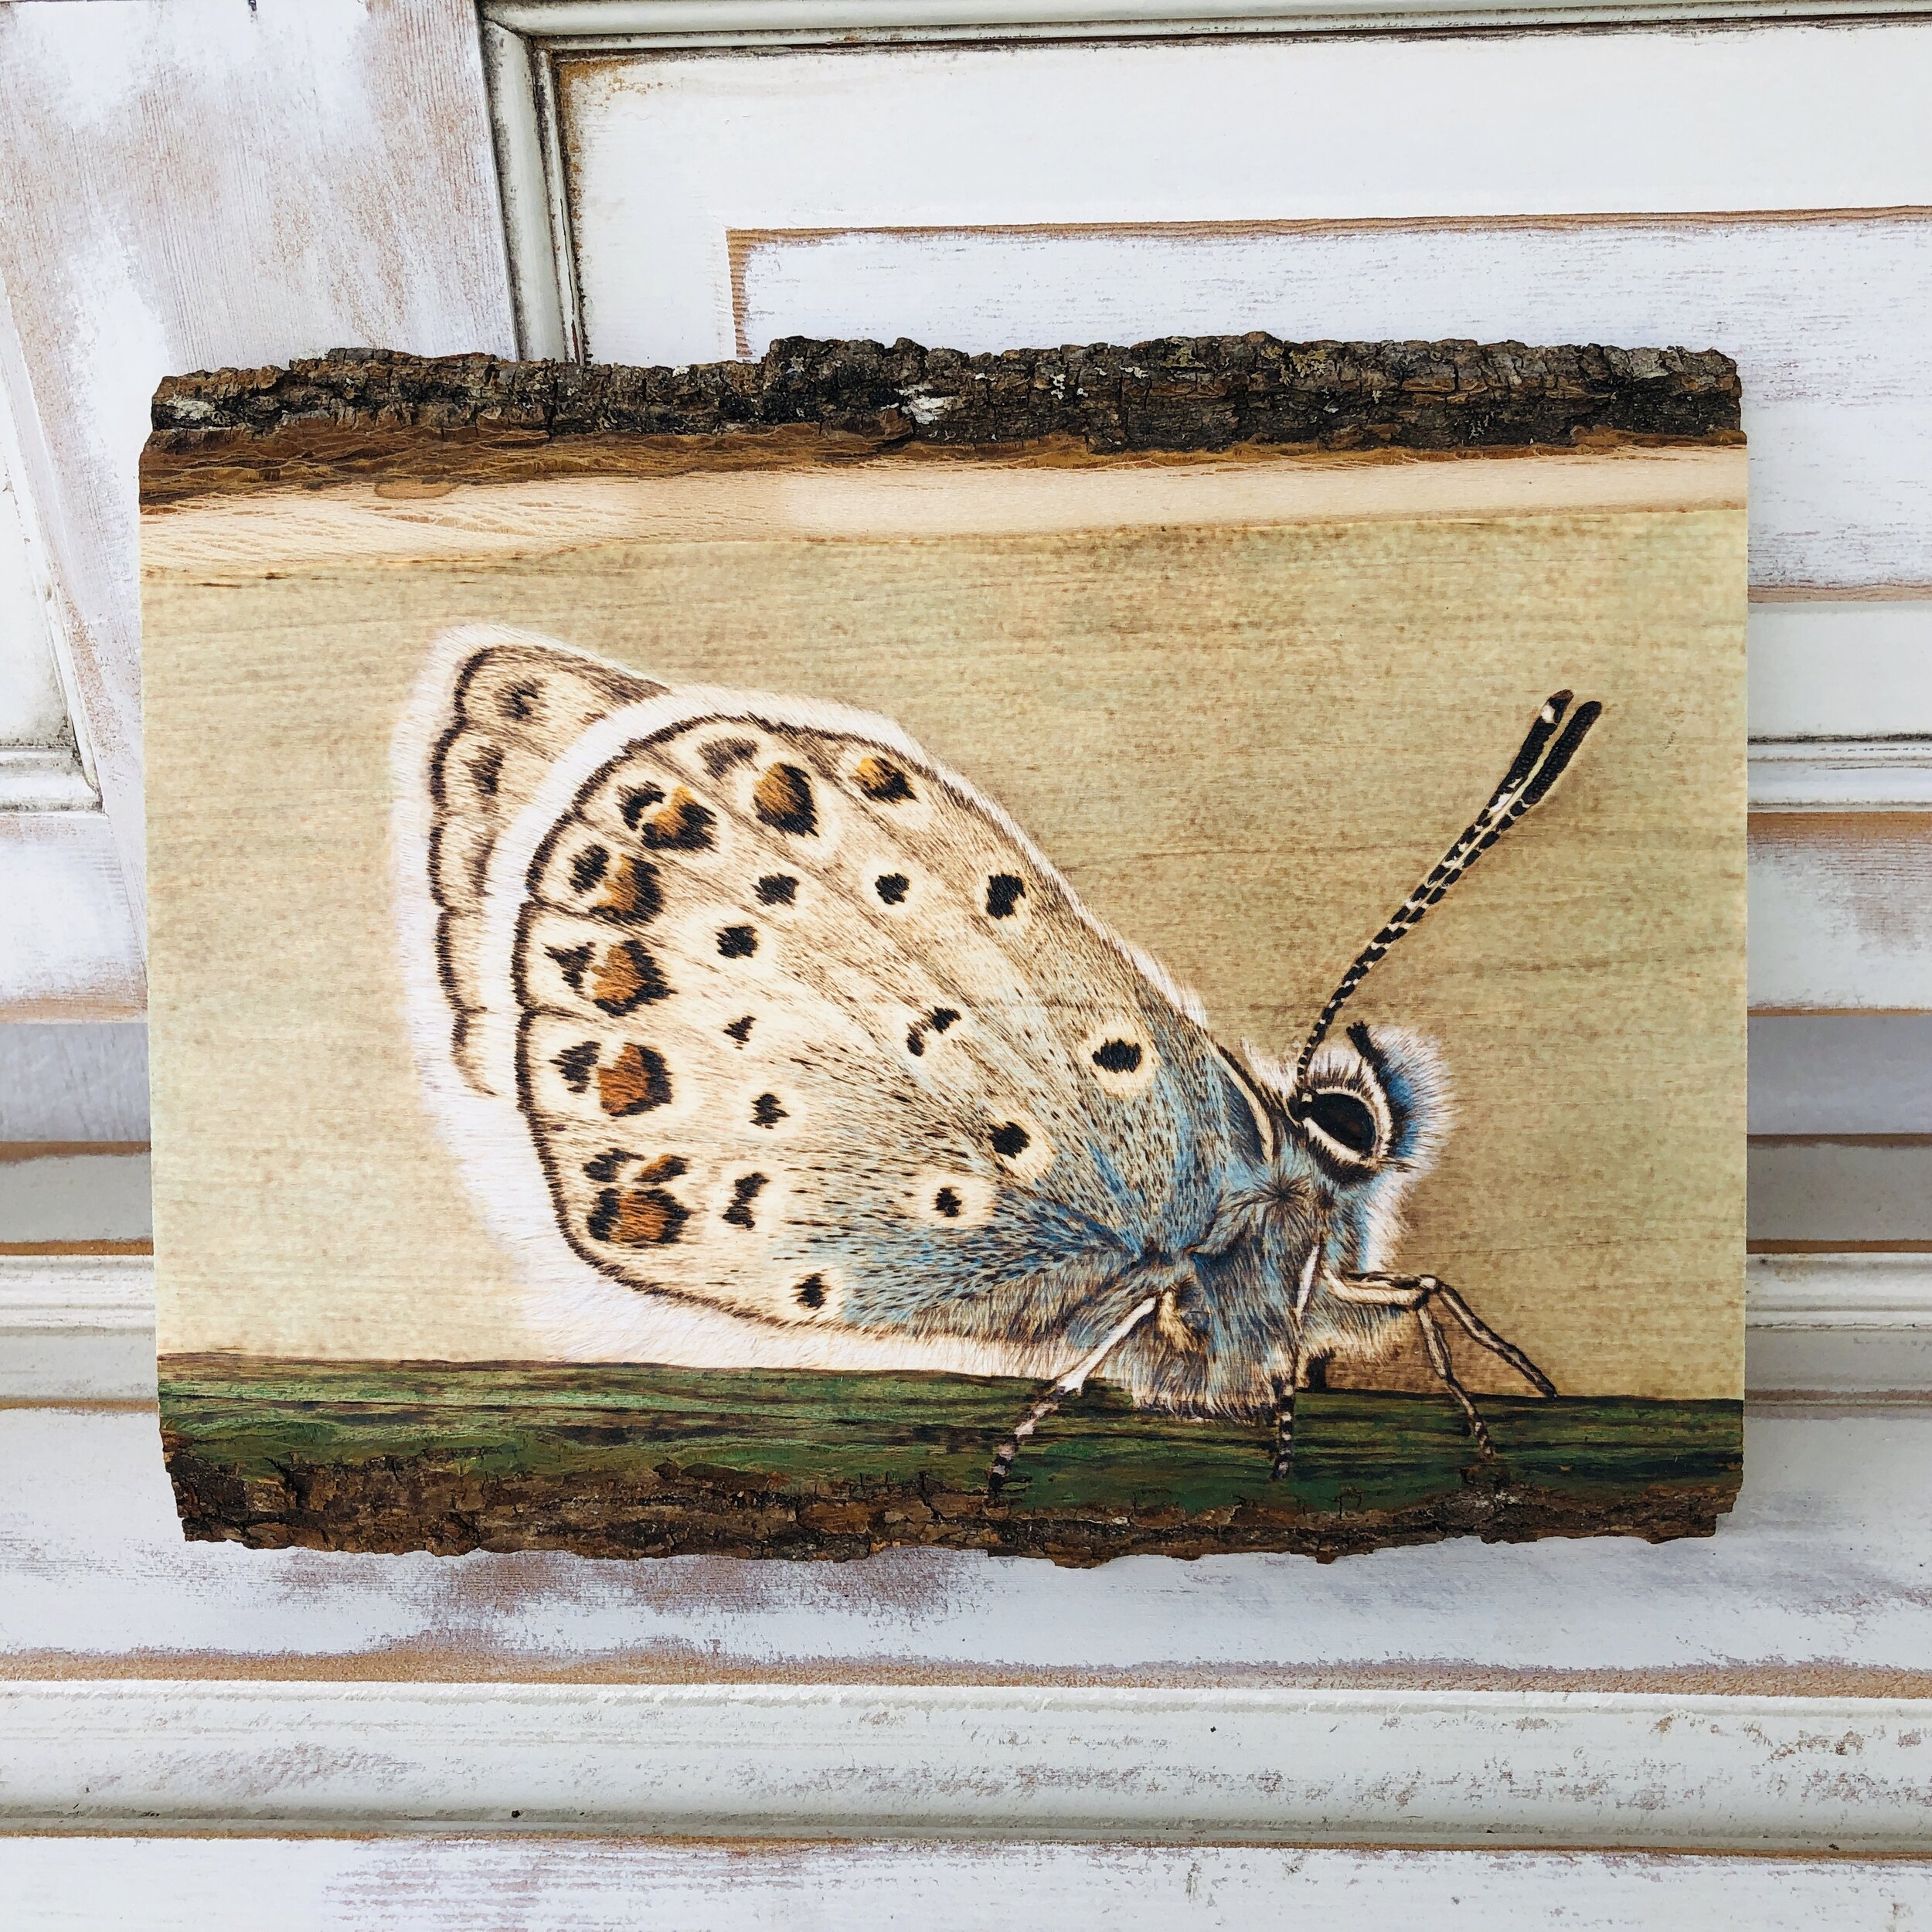
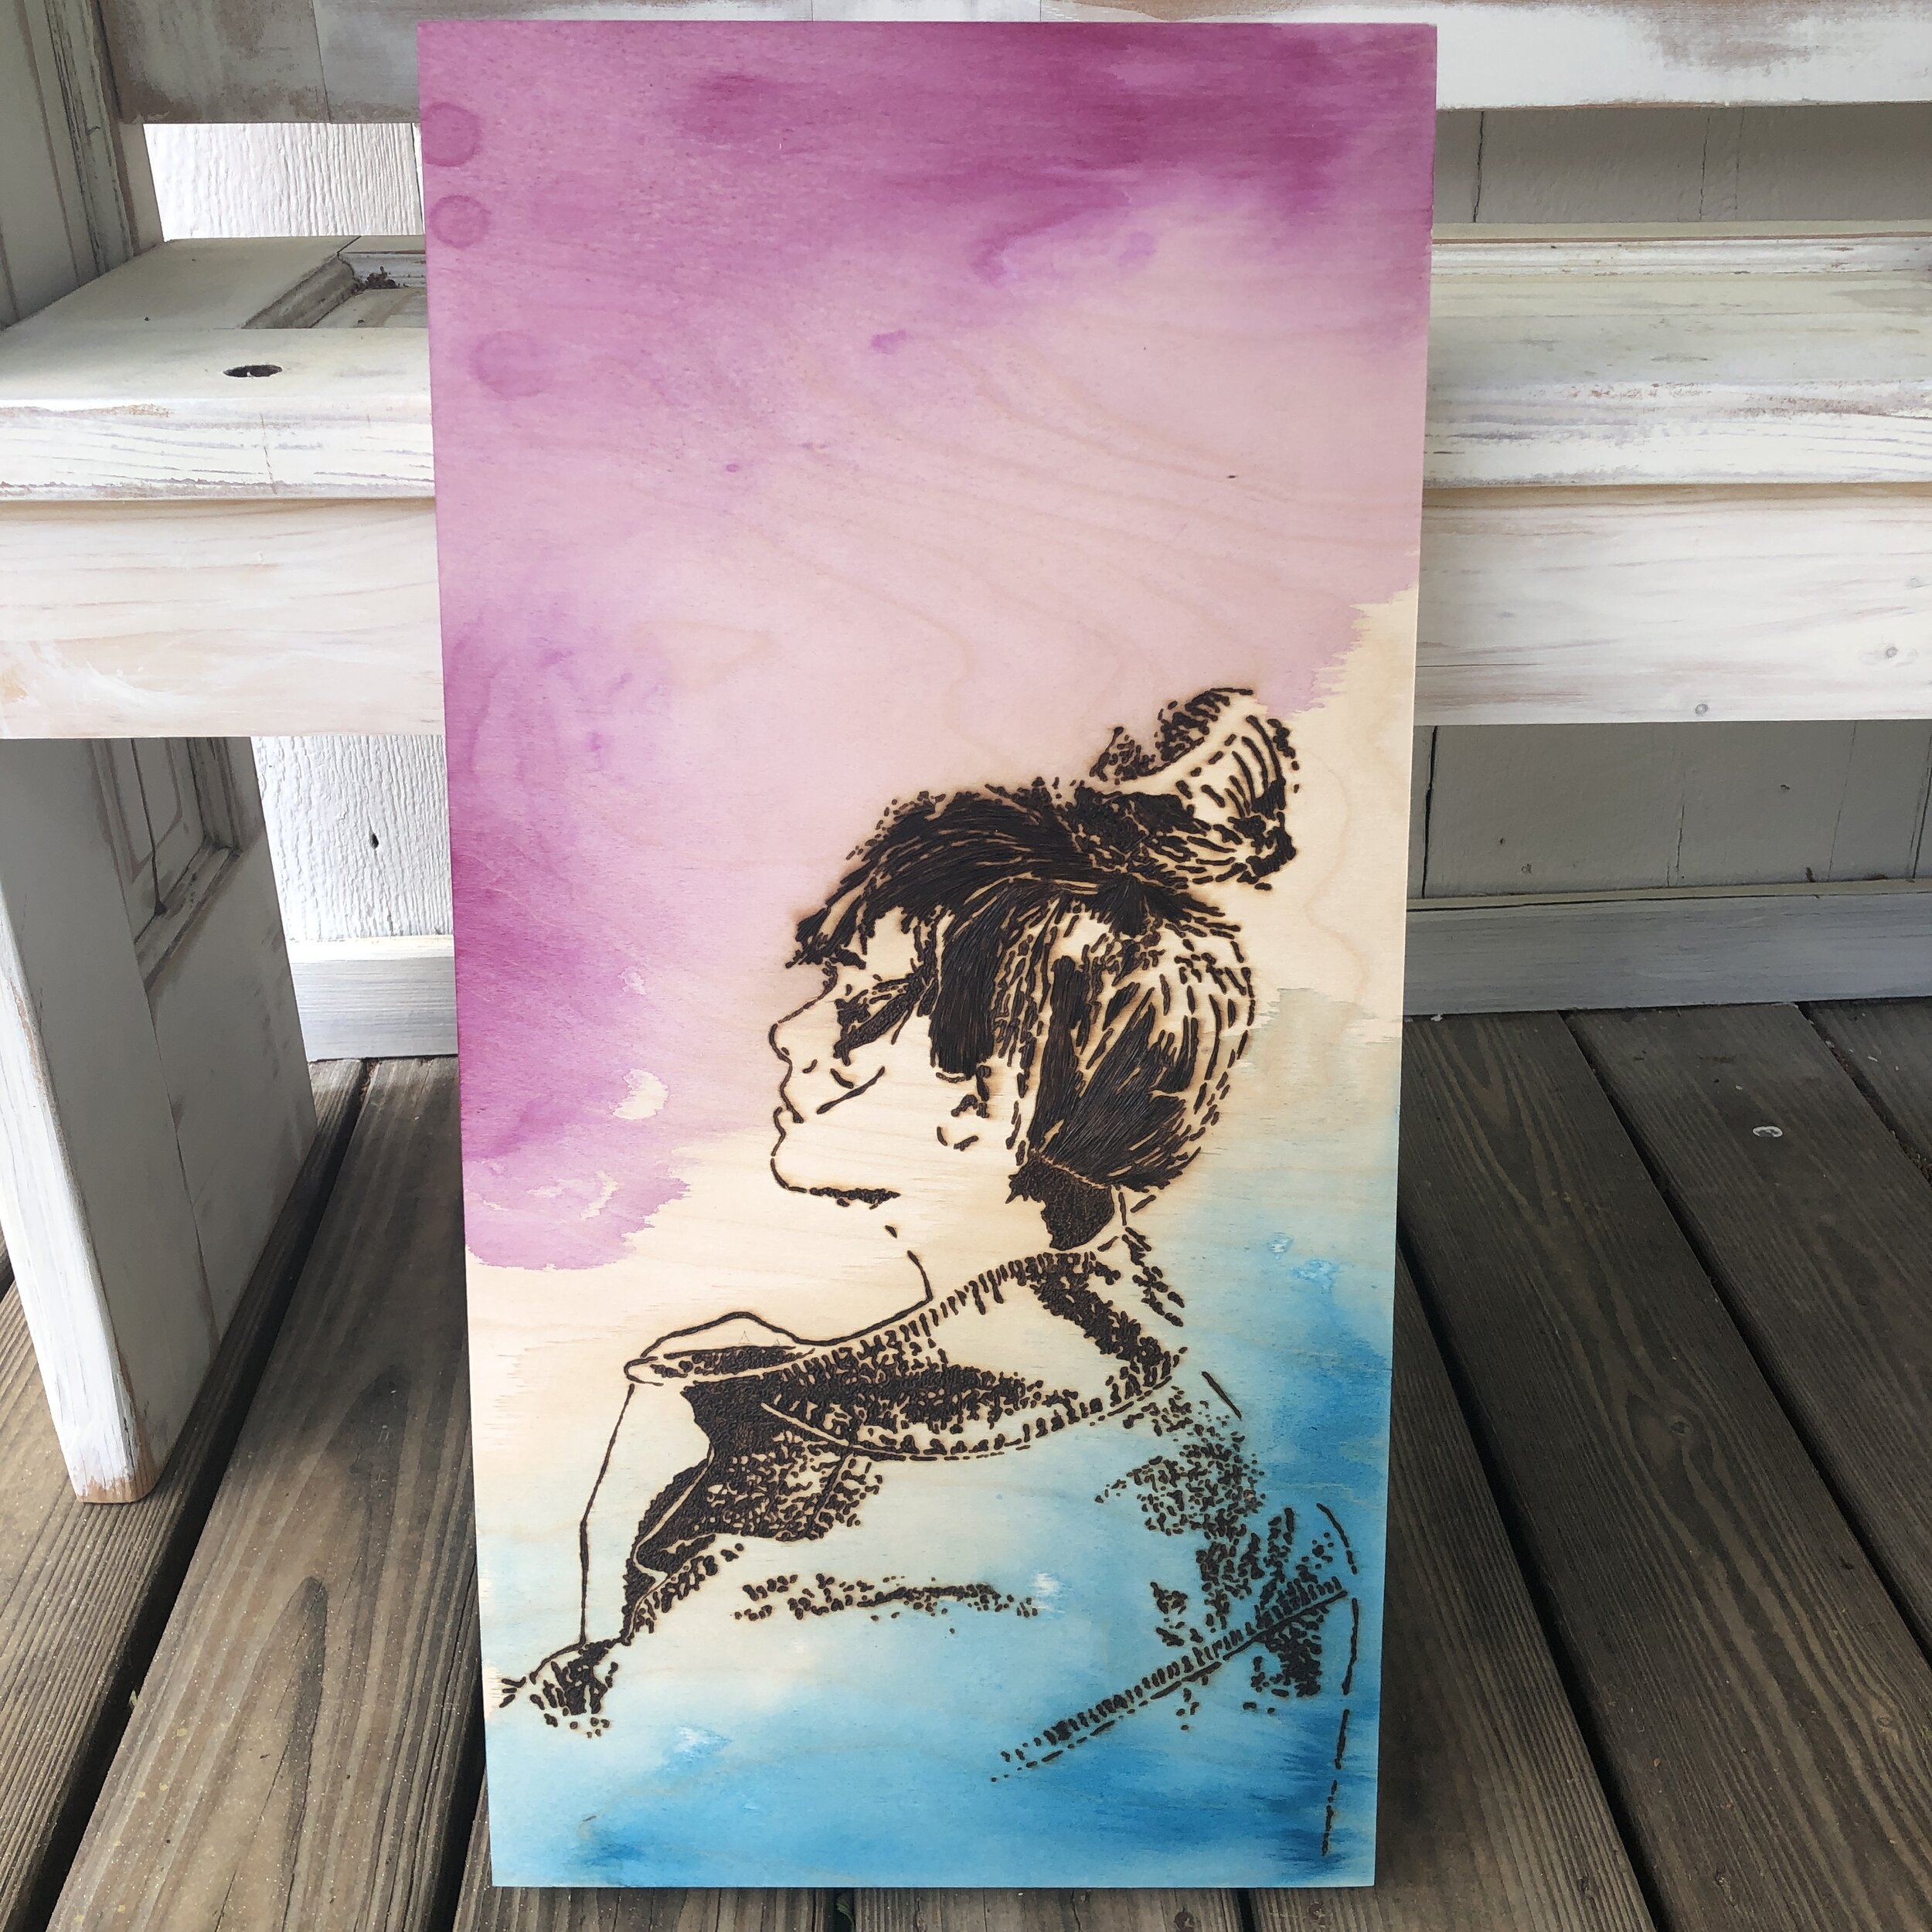
my name is Basia, the wood burning artist behind fine line pyro. One of the craft mediums I enjoy is pyrography and creating sustainable high end art that is inspired by nature!

mandalas are my jam but i also love trying new things and collaborating with other artists.

IMG_8087.jpg
95FEEA90-EB56-4390-878F-92F99803E349.JPG


How did you find wood burning, and when?
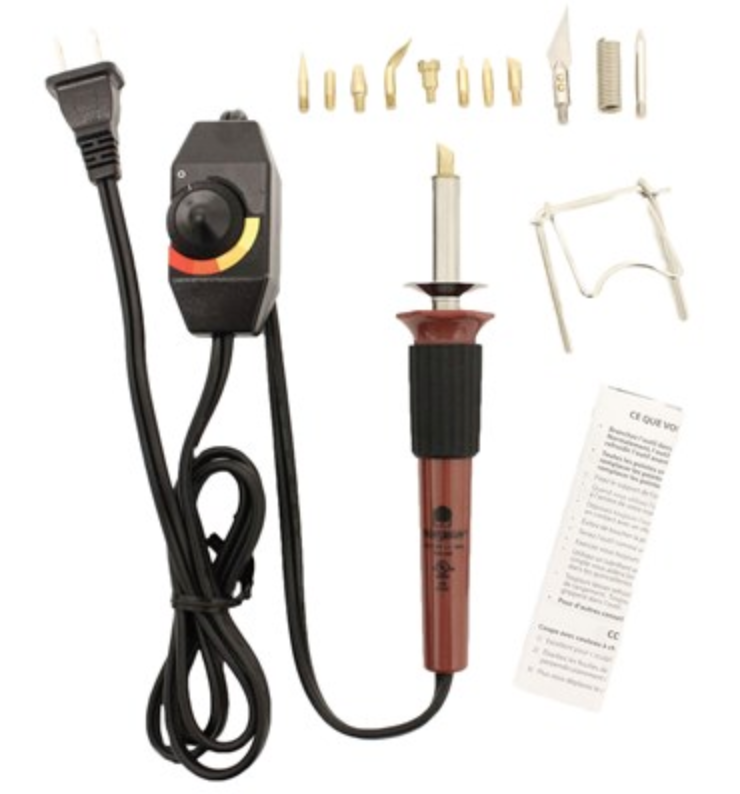
in 2009, I got my first wood burning machine as a payment for creating some artwork on a bus!

i lived in Calgary for about 6 years and during that time I met this wonderful group of people who, at that time, started a business called bass bus. their idea was to create a moving platform for artists and musicians that would travel to different music festivals/events and perform. this amazing community grew and grew and I am very happy I was able to see it blossom.

since the bus was always moving, they needed artwork inside the bus that was permanent. they had transformed the entire interior with wood and discovered the art of pyrography. they trusted me enough to burn their bus and i am so honoured they did. i haven’t stopped burning since and am still using the same machine they gave me!

IMG_0902.JPG
Screen Shot 2020-05-12 at 2.03.13 PM.png

I will always have a special place in my heart for these amazing people, the mountains and the wonderful 6 years spent out west.

Screen Shot 2020-05-12 at 1.48.09 PM.png


How did you find this fine art, fine line style? 

practice, practice, practice. 

doing the same thing you love and varying it and tweaking it over time allows your style and your art to have a character that is organic and your own. it took me a while to realize this. i was often putting myself down for not being as good as others, or not being able to create something amazing the first time i try. being an artist and having your own style is a journey that has to be taken. one of my favorite podcasts by Rich Roll (featuring Chase Jarvis): Creativity Is Our Birthright, sums it up nicely!

Have you always created art? 

art has always been part of my life in one way or another. in high school i took all the art classes that were available. i never had any formal training afterwards but a solid family foundation which supported and encouraged all varieties of creativity. I often draw with pencil and ink, mostly mandalas, as well as play with digital mandalas, i dabbled in scrapbooking, i really got into pastel, and also dove deep into making feather earrings and accessories and so many other random things… I really like to make stuff.

52BBEC9F-8546-4886-AFF1-753D4D05058F.JPG

What is it about mandalas that you love so much?

the meaning of the word mandala in Sanskrit is circle. mandala is a spiritual and ritual symbol in Hinduism and Buddhism, representing the universe. the circular designs symbolizes the idea that life is never ending and everything is connected. mandalas can be simple or intricate, big or small and no two i make are ever exactly the same. creating them is my meditation, no matter the medium. drawing and burning mandala’s make me zone out and escape the clutter in my mind.

 
61E79662-468A-47E2-BA32-364E8246FA05.jpg


Any new techniques you are hoping to try?

I can’t wait to add some gold leafing onto my work but I want to work with adding colours, aiming for sustainable paints and natural elements to keep my work earth friendly.


How much time is spent wood burning versus the rest of the business? 

the ratio is about 80-20. i spend about 80% of my time wood burning and 20% on my business. I would like to invest more time onto the business end of things but have to juggle a full time job and a family. perhaps one day…


If people want to teach classes, what do you suggest they look for? Any pieces of advice? 

teaching classes brings me so much joy. i really enjoy when i can show people something new that can provide some peace and calmness in their lives. the best way to start, especially if you are short on time, is with a company.

i started teaching at Lee Valley Tools. they did all the work gathering students, providing materials and tools, and receiving payments. all i had to do was show up. this was huge since i didn’t have time or money for advertising and looking for students. now that i have more followers and know more people interested in learning, i invested in a few extra machines and am able to host small classes from my home!


Deserted Island, with power question. You can choose ONE:
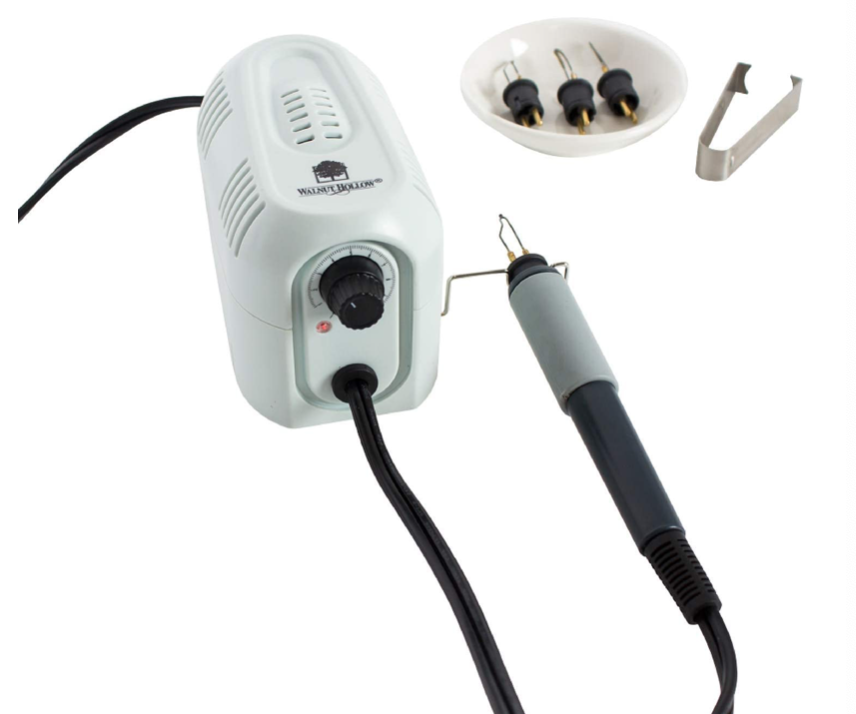
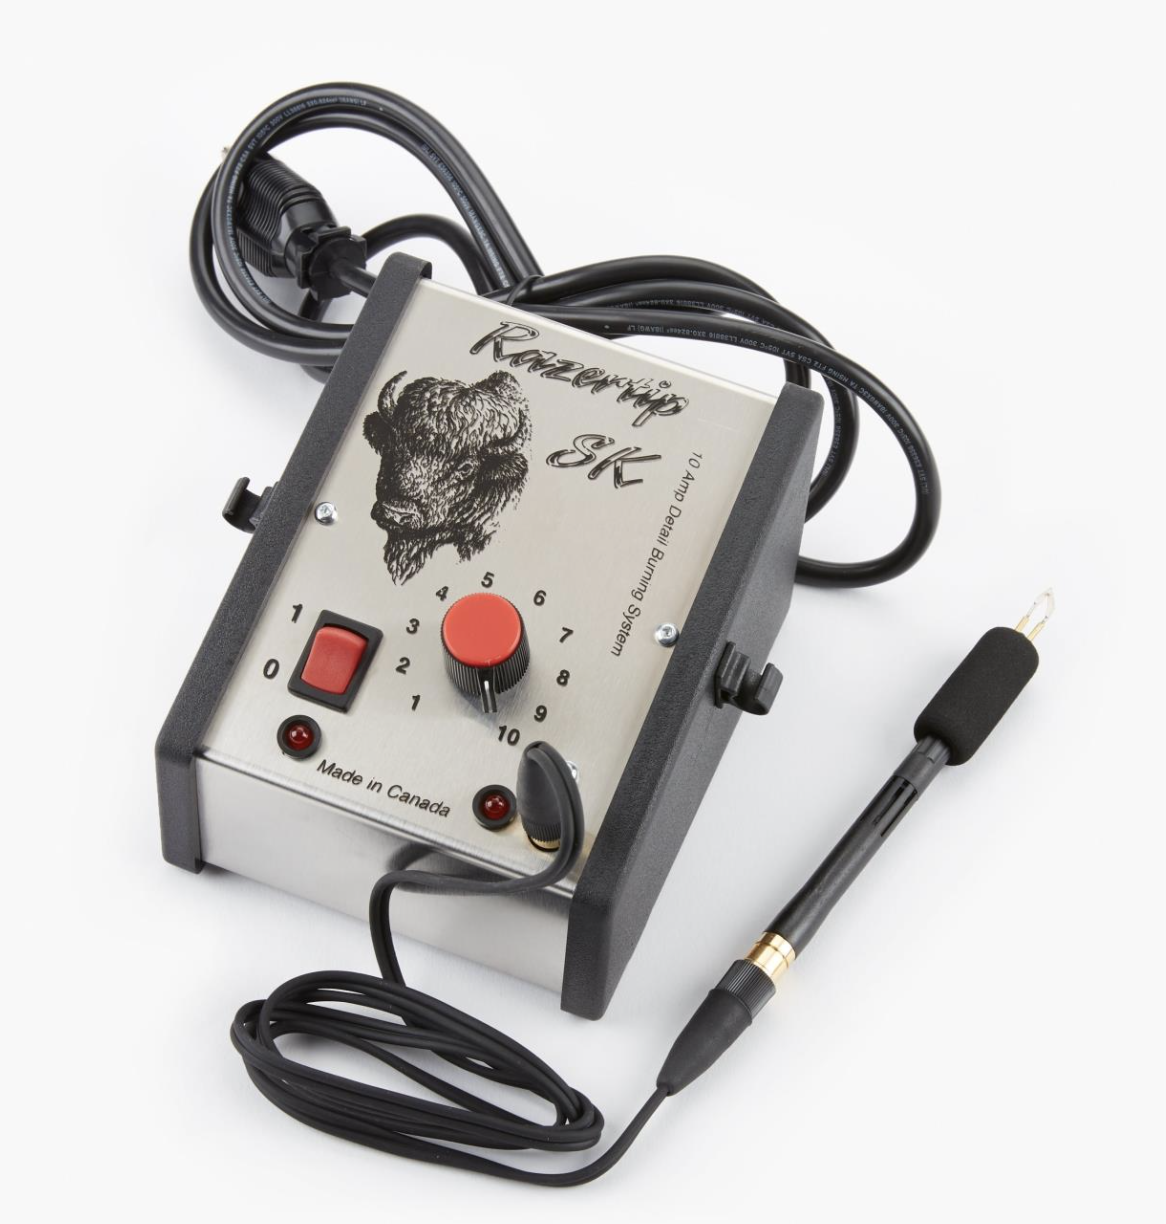
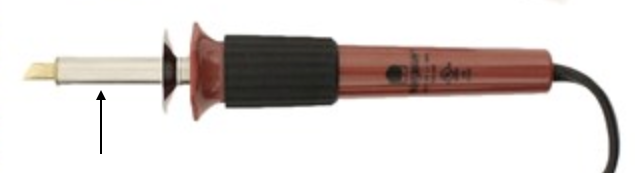
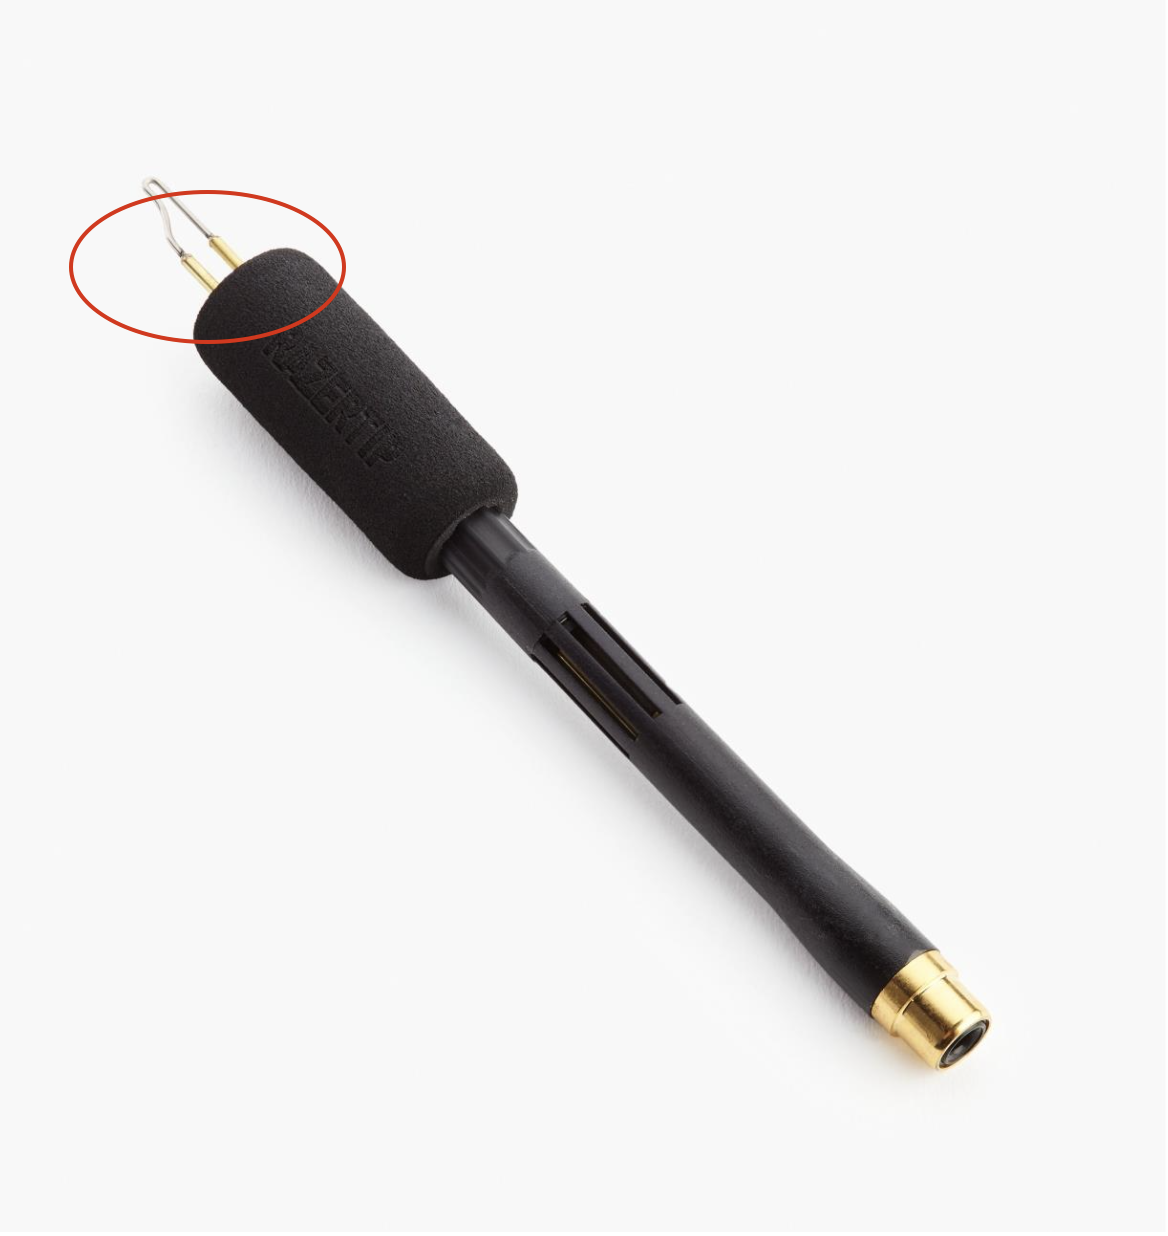
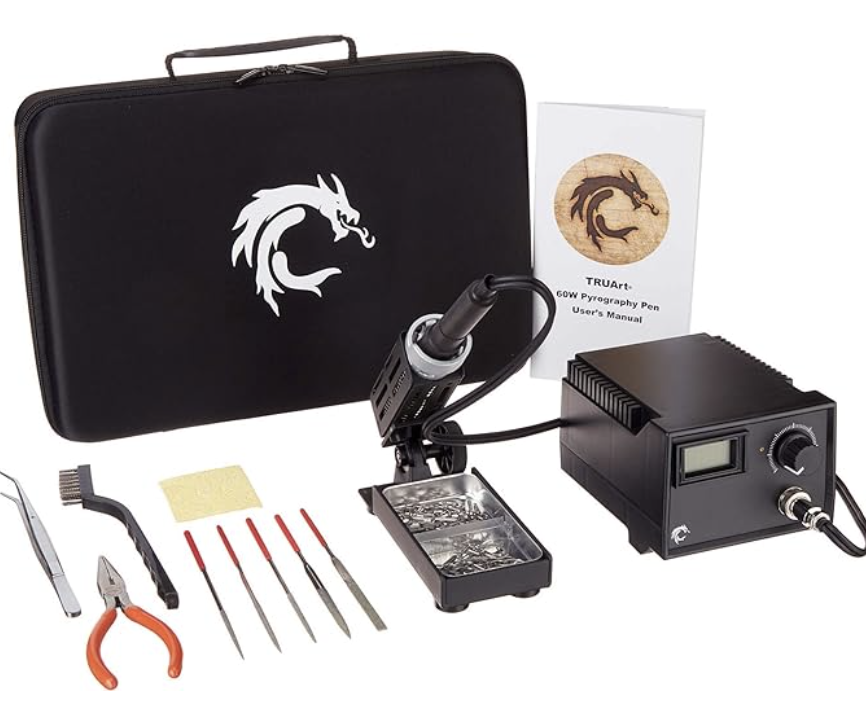
Burner: any razertip brand burner. I have the SS-D10

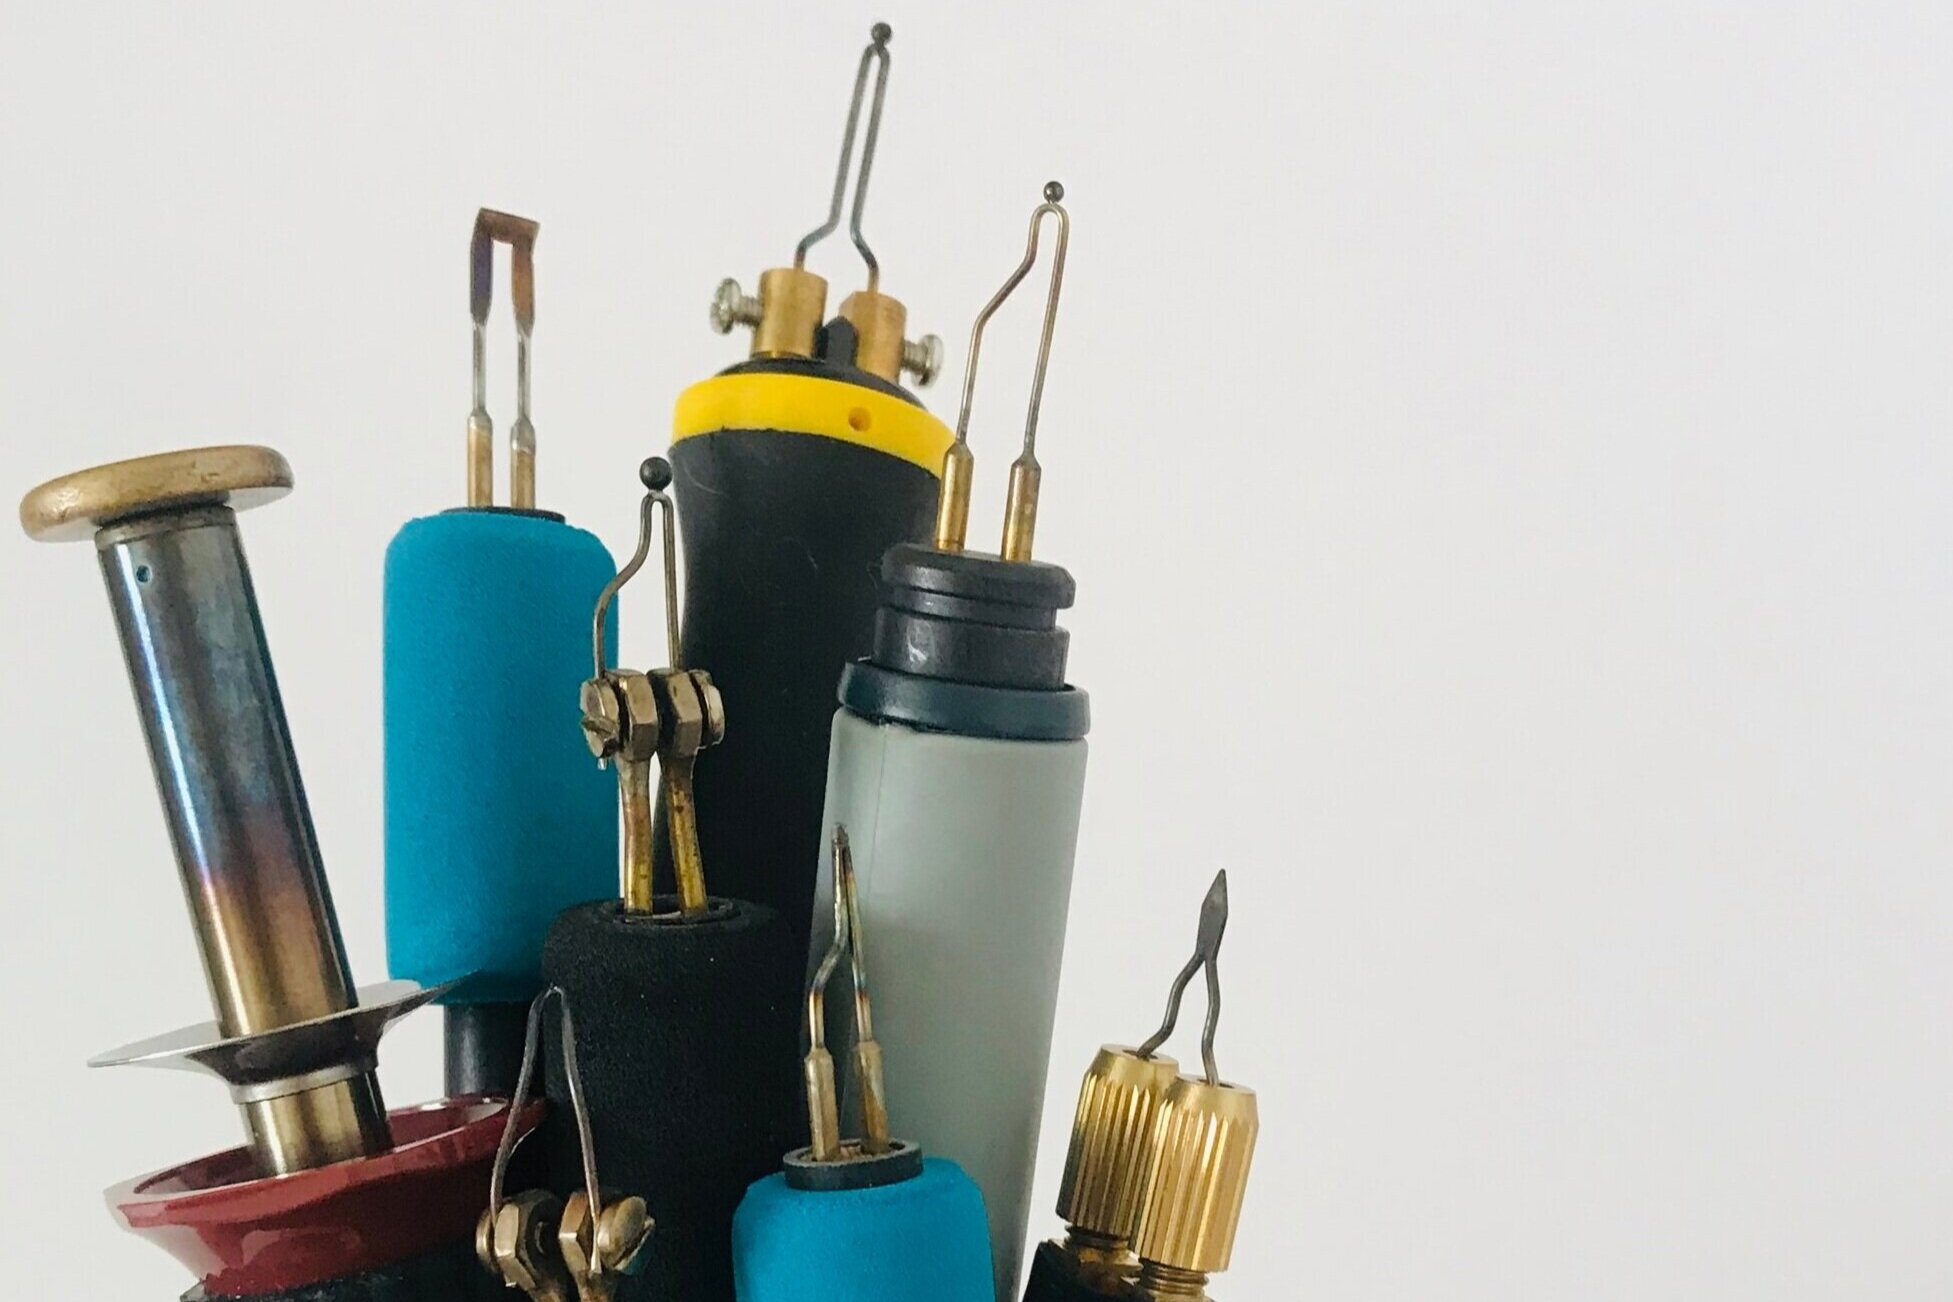
Nib: the chisel tip (a.k.a. the sexy tip!)

 
IMG_8410.jpg
 

Type of wood: cedar 🤤

Non-essential tool (but basically essential to you): sandpaper - i very gently sand most of my pieces when i am finished burning them to get the very fine lines i love 

What other tools are essential for you? 

I can do without (if i really had too) but i do take my compass everywhere i go. this helps me get the perfect circles and general shapes for my mandalas.


What apps, and programs do you find yourself using? 

planoly is great for organizing instagram photos and the order i post them. i am able to see my feed and insert new photos and move them around. this really helps plan ahead of time. i also use the mobile version of adobe lightroom for editing before they go into planoly. Canva is a game changer for all things digital! and of course, Pinterest is always my favourite to get inspired as well as market myself for free.

How do you stay organized? 

i really love using google keep. its basically like a digital sticky note hub that i can colour coordinate, tag (level of importance), label (business or personal), add photos too, make into checklists and share (ie. grocery store list) and edit with others. I always have it in my phone and its connected to gmail so setting alarms or scheduling e-mails is really easy! This is great because even those looooong term ideas can be stored away but also can be easily found anytime i want.


What wood do you use, and what suppliers do you prefer in Canada?

i often go dumpster diving in nearby wood shops. many companies who make kitchens or generally work with wood cannot use little pieces so their scrap wood and cut off’s go into the landfill. i divert as many pieces as i can and make them into art! I recently scored on a whole lot of cherry, which i love using and it has a gorgeous warm color with beautiful grains throughout. if i need to purchase a specific kind or shape, I go to Exotic Woods in burlington or look online.


What parts of the business do you absolutely love and what parts are hard? 

of course i love the actual art process, trying new things with wood burning and evolving my style. the part that is difficult for me is the whole selling process. i have a hard time pricing my art… i just started selling and am hoping to improve on this as i grow.


Any advice for newbie wood burning artists?

keep on creating. as i mentioned earlier, make it till you make it. the more you do the more you know what and how to do it. also, understanding that we all have a journey to go through is important. don’t compare yourself to others and their work. compare yourself to who you were yesterday and just keep moving forward.

Where do you find inspiration? 

nature! i love nature and everything it has to offer. i go portaging as often as i can and during those times, and also when i am taking care of my own plants in my home and backyard, i get a wealth of new ideas and inspiration. being in the forest grounds me.

What goals do you have for Fine Line Pyro?

i have something very exciting in the pipelines. i want to take nature and being in the forest and mix it in with mandalas so i am creating a sketchbook fit for traveling, guiding people of all artistic levels to make their own mandalas. stay tuned in my fine line pyro instagram feed for an announcement coming soon!  


Watch the recorded live video:


Interview with Aney from Pyrocrafters

Me6.JPG

Name: Aney Carver

Burning Since: 2016

Location: Prattville, AL

www.pyrocrafters.com and @pyrocrafters


How did you start your pyrography journey?

In 2016. I started burning just for fun, then we started making things for friends and family and the next thing you know we’re taking orders. Then I started posting on social media and it just kind of took off in unexpected ways, which continues to this day. 

Do you do any other art forms/crafts/hobbies?

I love to make everything. Just making in general lights my fire. But specifically, I love to make things with cardboard. I’m not necessarily good at it especially when you see what other people are able to make. But I just love the idea of reusing a material in a completely different way in which it was intended and turning it into something functional.

cardboard-table2.jpg


Best piece of advice when it comes to owning your own wood burning business?

I really thought about this question a lot and it’s hard to choose just one piece of advice. This could apply to wood burners or any business at all. Learn. Learn as much as you can about what your business is, how to improve it, how to improve yourself, how can you help others, how can you can you be consistent, courageous, creative, inspirational, what you want to accomplish, why you’re in business. It all comes back to learning and taking in as much info you can on how to be better for yourself and for others. You can listen to podcasts, follow people that will teach you, read or listen to books, or just plain ole google searches. A lot of what you want to learn can be found for free if you do the work to find it.


Tell us about your book, Drawing with Fire, it such a beautiful book! Where can we find in it?

My book process took place from early 2019 to mid late summer. It’s a wood burning project book that focuses more on the projects themselves. The publishers and I brainstormed about what the book should be about from complex detailed portraits to lettering only to beginner projects. We ended up creating a lot of lettering projects for beginners, a few crafty projects and then a few more detailed intermediate projects with shading techniques.  


The goal was to get right to the projects and have the book focus on giving the reader a book full of projects they could make. In the early stages, we had a lot of setup stuff about tools, but we decided to narrow that down and make it more about projects. I wanted to create projects based on supplies that were easy to find. So I tailored the projects around what materials I could easily get my hands on, so that the reader (a beginning wood burner) would be able to easily find what they needed. I wanted them to be able to focus on the projects, learning wood burning and creativity instead of trying to figure all the tools. That was the fun part.

The process was fast and a bit stressful. From the time the publisher approached me until it was written was about five months. So if I had to change something about the process it would have been having more time to put into the creation of it. Overall, it was an amazing experience. 

Check out the book Drawing With Fire!


You are going on a deserted island with power. You can only bring one of the following:

Burner: Colwood.

Wood type: Poplar

Nib: Straight Edge/Skew tip

Favorite non-essential tool, but one you love to have: My shop. When we first moved into this house, I didn’t have a work space, i was constantly moving around and working where I could. I wrote my book and worked through all the projects on our dinging room table because I didn’t have a space to do it. We had to do a lot of work on this shop and I am so incredibly grateful for this space, I don’t have words to express it. I come in here every workday morning and meditate to the gratefulness of having this space. 


What do you love about doing Youtube videos? What have you found difficult?

I love being able to show people how to do this art. I love connecting with people and reading the comments about how they are learning this new craft and that the videos I’m putting out are helping them. That’s the best feeling. 

The hardest part is being in front of the camera. I just get nervous and forget how to talk. But I think I’m doing better. Again it comes back to learning and doing things that make you uncomfortable at first, but pushing through until you get better. Einstein said, “Anyone who has never made a mistake has never tried anything new”.  

What percentage of your time and energy goes into YouTube, Instagram, facebook, woodburning, and computer office stuff? How much does each piece of the pie get?

Oh gosh, I don’t really have a percentage, but I would say the large majority and then I weave in my wood burning into it. So when I have a new wood burning piece idea, I film it along the way so that I’m creating content for all those spaces while I’m creating my art. It’s all woven together into one collective effort. 

If you could give one piece of advice to someone who is brand new and starting out, what would that be?

Don’t be afraid to mess up. You’re brand new, so spoiler alert, you’re going to mess up. You just need to know that up front and be okay with it. I’ve been doing this for a while and I make mistakes all the time. A lot of mistakes can be corrected and if they can’t, just sand it down and start over. Just try stuff and see what happens.


What are you working on now?

Right now, I’m working on new art pieces, and switching those over to my website instead of the Etsy site. I have a lengthy course planned that I have been planning forever and it’s been delayed a bit because I was going to have a videographer come and film it, but we’ve pushed that back because of all this virus stuff. 

I have a new Pyrocrafters Membership service coming out soon! There will be LIVE courses, pre-recorded courses, and more content exclusively for members.

And I’m also working with Chandler tools to build a course around using their tools, so that’s super exciting too. That’s also been pushed back because of the virus. It’s coming eventually, just delayed a bit.


Favorite thing to watch or listen to while you burn?

Sooo many things. Schitt’s Creek, The good Place, How Did this get made podcast, Don’t keep your day job podcast by Cathy Heller, Rachel Hollis’s everything, Brendan Burchard’s anything and everything. I’m listening to his book High Performance Habits right now. 


What are your favorite tools?

So, I’ve been working with an array of tools lately and there are so many great burner tools out there. Here are a few of my favorites.

Chandler Tool


Screen Shot 2020-04-29 at 7.17.24 PM.png
 
 
Screen Shot 2020-04-29 at 7.18.02 PM.png
 
 
Screen Shot 2020-04-29 at 7.18.34 PM.png
 
 
Screen Shot 2020-04-29 at 7.19.24 PM.png
 

*Some are Amazon Affiliate links for easy shopping. Hope they help.


What Woodburning Tool is Right for Me?

Choosing a burner can be quite difficult. There are so many brands, so many options, so many nibs and it can all be a bit confusing. When you are looking into a wood burning tool you need to think about a couple things.

  1. Price

  2. Use

  3. Style

Price - What will my money get me?

Wood burning tools can range in price from $15-$200+, and more money does not necessarily mean you will get a better burn.

I like to think that there is 4 different levels in price.

$15: These are value tools, that usually just have an on/off switch. Recommend only if you are doing one project. They will come with several nib options but take some time to heat up and are a bit bulky to hold. This one from Walnut Hollow has been tried, tested and true. Get 15% off your order using the coupon code: WBC15

If you can invest a little more money, especially if you want to continue pyrography, we recommend going up, at least one more level.

 
Screen Shot 2020-04-28 at 1.11.06 PM.png
 

$30: These are usually your solid-nibbed wood burning tools with temperature control. They usually come with several interchangeable nibs, are portable, but take a little while to heat and cool. Still slightly bulky, but for learning, exploring and understanding the art of pyrography, this price range is what you should be looking for.

Be weary of anything around this price or cheaper, especially off of amazon…

We love the Walnut Hollow Versa tool. This was our first burner, and after trying many many others, this is still one we recommend for beginners and large projects the most! Click here to get yours and make sure to checkout with 15% off your order using the coupon code: WBC15

 
Screen Shot 2020-04-28 at 1.16.49 PM.png
 

$80 to $120: These are considered professional level machines, or entry level wire nib burners. Most come with interchangeable nibs. They may be lower quality wire nibs, when they are interchangeable, that may need some gentle tweaking before use or with a limited number of nibs, but this option is good if you want to learn what nib you like best. The grip will be more pen-like, it will have decent temperature control, and it will heat and cool faster than the previous tools. They are lighter weight machines and are not meant for heavy use.

Again, we love Walnut Hollow. Click here to get yours and make sure to checkout with 15% off your order using the coupon code: WBC15

 
Screen Shot 2020-04-29 at 9.13.19 AM.png
 

$120+: These are your professional machines. These are sturdy, heavy duty, professional equipment. A lot of the time you will need to buy the machine separate from the pens/nibs. Many of the nibs are hand formed. There are options for pen choices(fixed pen and interchangeable options) and tons of individual options for nib choices (flow, spade, writing, shading transfer hot stamps). Some companies will customize nibs, and some offer such a wide range you wont need customization. (looking at you Razertip). The grip of these machines will be pen-like, it will have excellent temperature control(in some cases precise to the last degree), it will heat and cool in seconds, and in general these machines will reach much higher temperatures. Some great companies, our top three, include Razertip, Tekchic, PJL Enterprises.

 
Screen Shot 2020-10-05 at 4.44.58 PM.png
 

Razertip even has a little starter pack with 6 nib options, the tools you need to change them up and keep them clean, plus. quick start book to her you started. Click here to see it!

Use - How will I use my wood burning tool?

ONE TIME USE - If you are planning on using a wood burning tool for just one project, then go ahead and get yourself a single temperature, solid-nibbed value wood burning tool. A tool like the Walnut Hollow Value Tool is around $15 (Get 15% off your order using the coupon code: WBC15). It comes with several nib options and you will be able to complete your project.

HOBBIEST and PROFESSIONALS - If you plan on doing more than one project, or very large projects, then we highly recommend that you get yourself a solid-nibbed, temperature-controlled woodburning tool. The Walnut Hollow Versatool is our favorite. This tool is so versatile, inexpensive (around $30 - get 15% off your order using the coupon code: WBC15), comes with a bunch of useful nibs, and works like a dream. This could easily be the only tool you buy. The level of detail that you can achieve with this one tool is astounding. Just go look at the #versatool to see what I mean. There are many professional wood burning artists who only use this tool.

PROFESSIONALS - If you are burning more than a couple times a week, then you should invest or start saving up to invest in a proper professional machine. These machines will decrease your time wasted waiting for you tools to heat/cool, will allow you to have a more ergonomic grip while working, they will allow for quicker nib changes, and will just speed up your whole process. They are worth the investment. Some great companies include Razertip, Tekchic, PJL Enterprises.

STATIONARY OR MOBILE - Will you have a dedicated wood burning station, or will you be on the move? This is something to consider when choosing the right burner for you. Some do not pack or travel well, while others are made to be portable.

Style - Solid vs Wire Nibs

SOLID: A Solid-nibbed or solid-tipped burner has a long heated shaft, with nibs that screw directly into the shaft. Your hand placement is further away from the surface being burned, and is generally a thick grip that will take some getting used to. They can come in temperature-controlled and single temperature varieties. These range from $15-$30.

 
Screen Shot 2020-04-28 at 1.16.49 PM.png
 

Now, a solid-nibbed burner, like the WH Versatool does have its drawbacks. It takes a little while to heat up and cool down, the grip is thick and requires your hand to be far away from the surface you are burning (can take some getting used to), and the docking station is not very solid. But… this compact machine can burn! It’s great for covering large areas too as a solid nib burner will retain its heat better than a wire burner. We recommend this tool, or something similar be in every wood burning artists tool bag.

There is also an amazing nib called the Transfer Nib. It is amazing for transferring images to wood precisely and quickly. Check out this blog post on Using Heat To Transfer Images Onto Wood.

WIRE: A wire nib burner, or often called a professional burner, generally has a more pen-like appearance with a wire at the end that heats up. Your hand placement is much closer to the surface burning. The machine heats and cools quickly. These usually have a solid docking station, great temperature control, and a wide range of nib options.

The different nibs can be changed in a variety of ways for these wire nib burners.


1. WHOLE PEN/FIXED NIB - Some people prefer to have the entire pen switch out. It does decrease the chances of having connection issues, because changing nibs is so easy. These pens with a fixed nib usually just plug in quite quickly and easily. This is a more expensive option than the interchangeable nib, but more convenient and they tend to last longer than the interchangeable nib pens.

 
Screen Shot 2020-10-05 at 4.15.51 PM.png


2. INTERCHANGEABLE NIB - This can be done in a couple ways. Sometimes the wire nib is in its own housing, and the housing switches out. Other times, you will fine that you are unscrewing the actual wire, and replacing it with a different wire. The ones in their own housing can be changed quicker and easier with less issue. I have found that when you are changing out just the wire, you need to be careful to make sure that all the connections are solid or your burner wont heat properly. Always test your temperature after switching out nibs.

 
Screen Shot 2020-10-05 at 4.16.20 PM.png


Choose your Burner

Now that you know the different options, and what you should consider, it’s time to choose a burner. Here are some burners that we have personally held in our hands:

Here are some websites and Amazon Affiliate Links to the companies I trust: (Wood Burn Corner receives a small portion if you purchase through these links, or look below to visit the individual website’s of each manufacturer.)


Walnut Hollow:

Click here to visit Walnut Hollow’s site and below are our two favourite Walnut Hollow tools:

The Walnut Hollow Versatool


Tekchic:

Check out Tekchic - this machine is powerful, compact and has a decent grip on the pen.

 
Screen Shot 2020-04-29 at 9.29.19 AM.png
 

TruArt:


This machine is also really reliable and gets nice and hot. A bit thicker on the hand grip but works well.

 
truart-wood-burning-machine
 

PJL Enterprises - Optima 1:

Visit PJL Enterprises to see their collection of tools. These pens are more pen-like, machine gets hot and the switches are very satisfying.

 
Screen Shot 2020-04-28 at 1.38.04 PM.png
 

Razertip:

Take a look at the Razertip’s options and their wide selection. They have new digital burners with a bit of a higher heat, but even their older models are one of our favourites.

 
Screen Shot 2020-10-05 at 4.44.58 PM.png
 

Want to learn more about Wood Burning and improve pyrography Skills?

If you have any questions, don’t hesitate to reach out to us!

Come join our community of pyrographers in Burn Club where we share tips, tricks, pyro resources, and free templates and coupon codes for pyro materials and accessories.

Or you can learn on your own at your own pace from home with The Complete Wood Burning Toolkit.

Also check out these other informative blog posts:

Pricing your Art

160 Ideas of What to Wood Burn Next

Start Here if you are NEW to Wood Burning


Interview with Brad from Razertip


Company Name: Razertip Industries Inc.

Name and Role: Brad Merkle - Operations Manager

Location: Saskatchewan, Canada

www.razertip.com or @razertip


Can you tell us a brief history of Razertip? How/when did it start? 

razer.jpg

Razertip started in 1984 when Cam Merkle was burning feather detail onto a decorative decoy woodcarving. The tool he was using wasn’t cutting it so he made his own. Through requests from friends and students it grew from there. Since then Razertip has been innovating and improving how pyrography tools and tips are made.


How many people are on the Razertip team? How many Are family members?

We have about 20 people on our team along with some additional contractors that we have established great relationships with. There are 5 family members on the team.

Can you share with us about the different machines you offer? How do they differ?

SK, SSD-10 and the P80 (and P80x expansion modules) The SK and SSD-10 are very similar units operating at 10 amps and provide great heat recovery and results. The P80 is the newest machine, it features a universal power supply, touch screen interface for unprecedented control and tip heat consistency.

Screen Shot 2020-04-27 at 2.42.22 PM.png
Screen Shot 2020-04-27 at 2.42.31 PM.png

What is the temperature range of your tools? 

Our tips can operate at room temperature and many can exceed 800 degrees celsius. Depends on the shape and size of the tip. Tip temperature is only a part of the equation...Tip heat recovery is equally important to maintain a consistent and even burn.


What countries are your burners available in, and where can they purchase them?

We ship orders worldwide. Our burners are available from dealers widely throughout the US and Canada and also in many European countries as well as Australia and New Zealand.


Where are the machines and nibs made?

Our tips and machines are made in our facility here in Canada. We try to make as much as we can here and to deal as much as possible with local suppliers.


You offer both fixed tip and interchangeable tip options, which is more popular?

The interchangeable tips are very popular for beginners and those who want a variety of tips or to try them out with less cost. Where the fixed tip pens are popular for those who want the ease of switching pens or those who only want a select few options and know what tips they like.

Screen Shot 2020-04-27 at 2.47.15 PM.png


What are the three most popular nib options you have available? And how many nib options do you offer?

We have a 5 piece pyrography tip set that is very popular as it offers much of what people are looking for to start out.


You shared an exclusive with us, TWO NEW PRODUCTS that are in the works. What are they and when can we expect to be able to purchase them?

We previewed our new Standard Pen and the P88 - an advanced version of the P80, which features 8 customizable memory heat settings as well as some other new features.


How do you recommend that pyrographers clean your wood burning tools? Does it depend on the type of nib?

Sharp, straight or flat tips can be cleaned with ease (hot or cold) using the Razertip Tip Cleaner. Rounded, curved or ball tips are better cleaned with a dense brass brush. We suggest avoiding anything abrasive, which can cause wear on the tip.


What goals do you have for Razertip? 

To never sit still… We continue to look for ways to inspire our customers and meet their needs with our tools, offerings and customer service. 

Watch the recorded live interview: