If your burn lines are coming out blobby, uneven, or just not what you pictured, chances are it's one of these habits, not your burner. Below are the exact mistakes I see over and over, both when I'm teaching in-person and when people ask for help inside the Burn Club. Fix these seven and your burns can get noticeably cleaner, while the whole process becomes much more enjoyable.
1. Not preparing your wood properly
Your burn is only going to be as smooth as the surface underneath it, and so is your experience getting there. It’s not my favourite part of the process BUT it sets the tone for the rest of the project so it’s crucial not to skip this step.
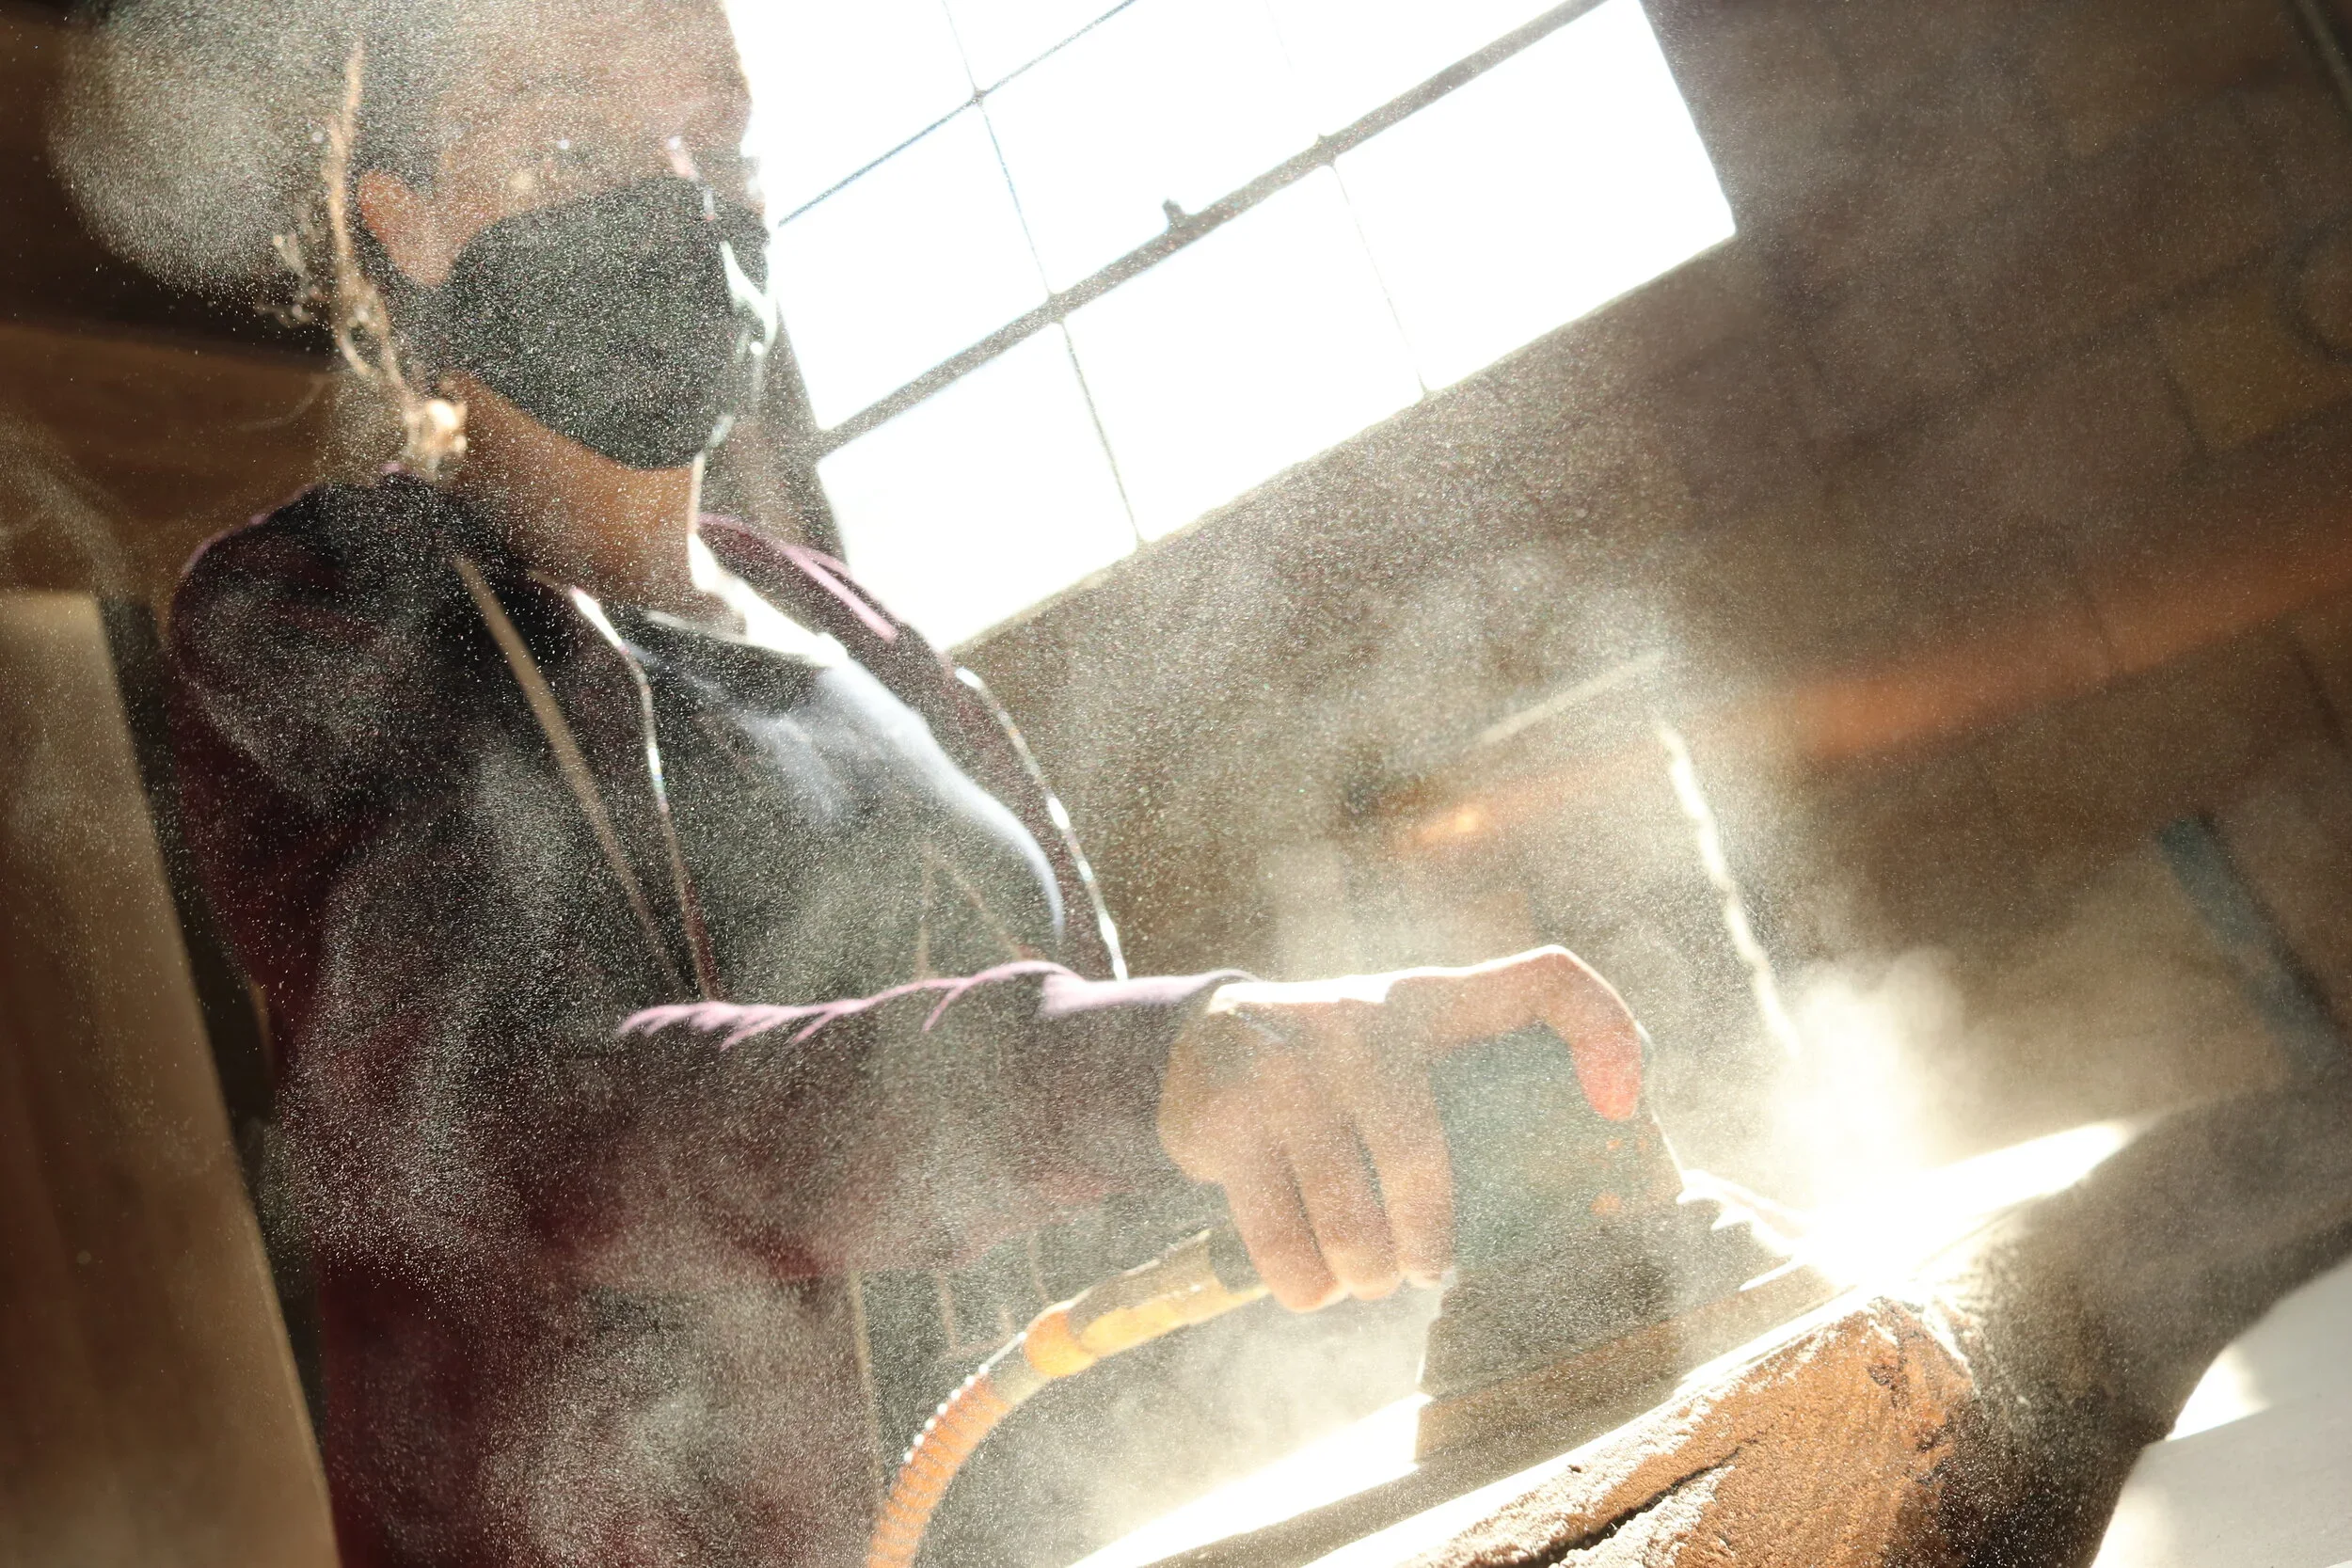
If your wood is rough, the tip has to travel over all those tiny bumps and fibres. That can make your lines look uneven and blobby, and make it much harder to control your speed and pressure.
Those uneven lines will stand out even more if you plan on adding colour, stain or a finish.
Sanding your wood properly before you start gives your burner a much smoother surface to glide across.
For a full breakdown, check out: Sanding Your Wood: Before and After You Burn + Prepping Wood Surfaces for Pyrography
2. Pressing too hard
This is probably one of the most common habits when learning pyrography because when a line isn’t getting dark enough, or maybe you’re a little impatient like I can be, it’s tempting to push harder.
But your burner isn’t a pencil —> the heat should be doing most of the work.
Too much pressure can make your tip dig into the wood, regardless of which nib you’re using. It can create grooves, make your lines thicker than intended and make it harder to move smoothly through the grain. It can also ruin your nib. Even if your nib just bends slightly, that bent point has become a tiny bit weaker. Bending it back and forth might not break it right away, but in time, it will break. Think of the tab on a soda can. Bend it back and forth a few times and eventually it breaks off.
Use only slight pressure to maintain control and adjust your speed or temperature instead.
3. Burning too hot
This one is a little ironic coming from me because I usually burn at a super high temperature, and I know a lot of other artists who do too. The common misconception, though, is that the hotter you go, the faster and easier burning becomes. There is some truth to that. BUT when your temperature is too high, your marks can become much harder to control, especially when you’re working with tiny details or varying tones.
You can end up with dark blobs where the tip first touches the wood if you do not start moving quickly right away. This is difficult to control. It took me several years to get the hang of it and still, there are times when I wish I’d turned it down, just a pinch.
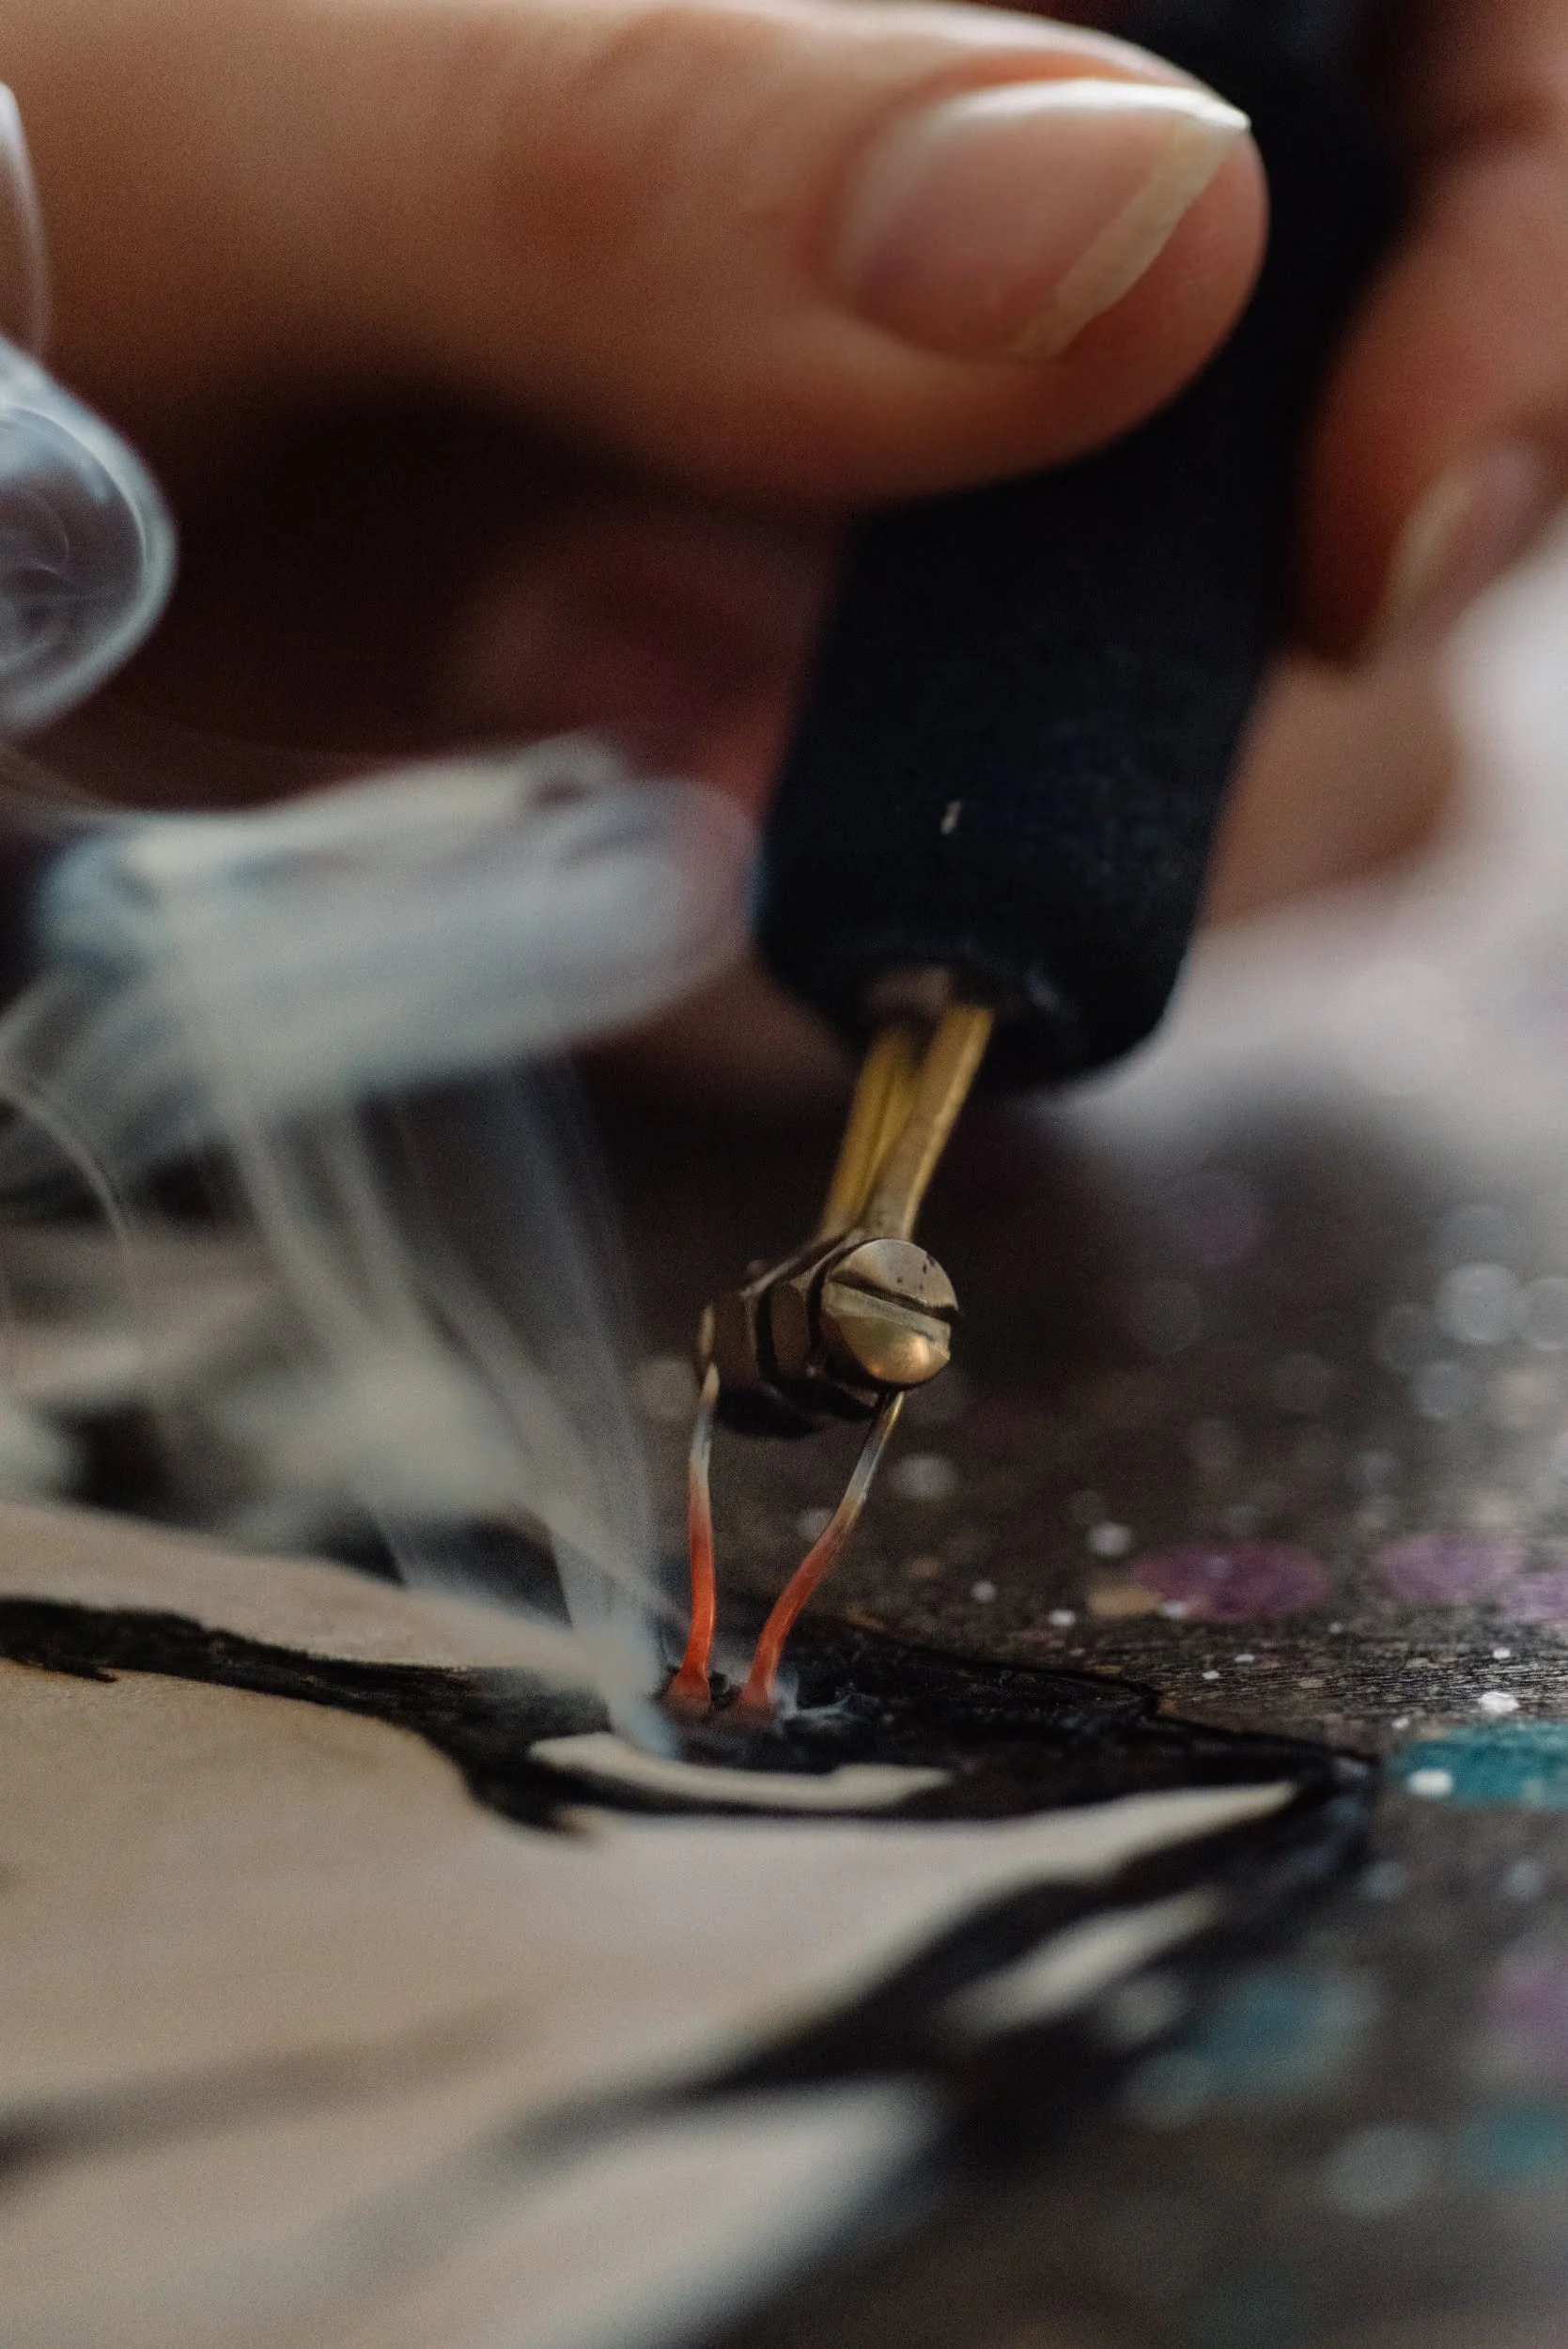
With a high heat setting, you will also end up with a glow around your lines. Some people like this effect. It could be their style, and that is totally fine. But if you are looking for nice crisp line work, you will have to either sand off those glow lines when you are done burning (check out Sanding Your Wood: Before and After You Burn + Prepping Wood Surfaces for Pyrography) or turn down your temperature.
Remember that temperature and speed work together. Sometimes the difference between a light line and a dark one is simply how quickly you move the tip across the wood.
If you are running into frustrations, instead of immediately turning the heat up, try slowing down with the heat you are already at.
4. Ignoring the grain and knots
Wood grain is one of the things that makes pyrography beautiful, but it can also make it frustrating. Knots can completely change how an area burns. Some artists use them as a visual focal point, while others camouflage them into the design. Regardless of your technique or style, getting to know your canvas can save you a lot of frustration.
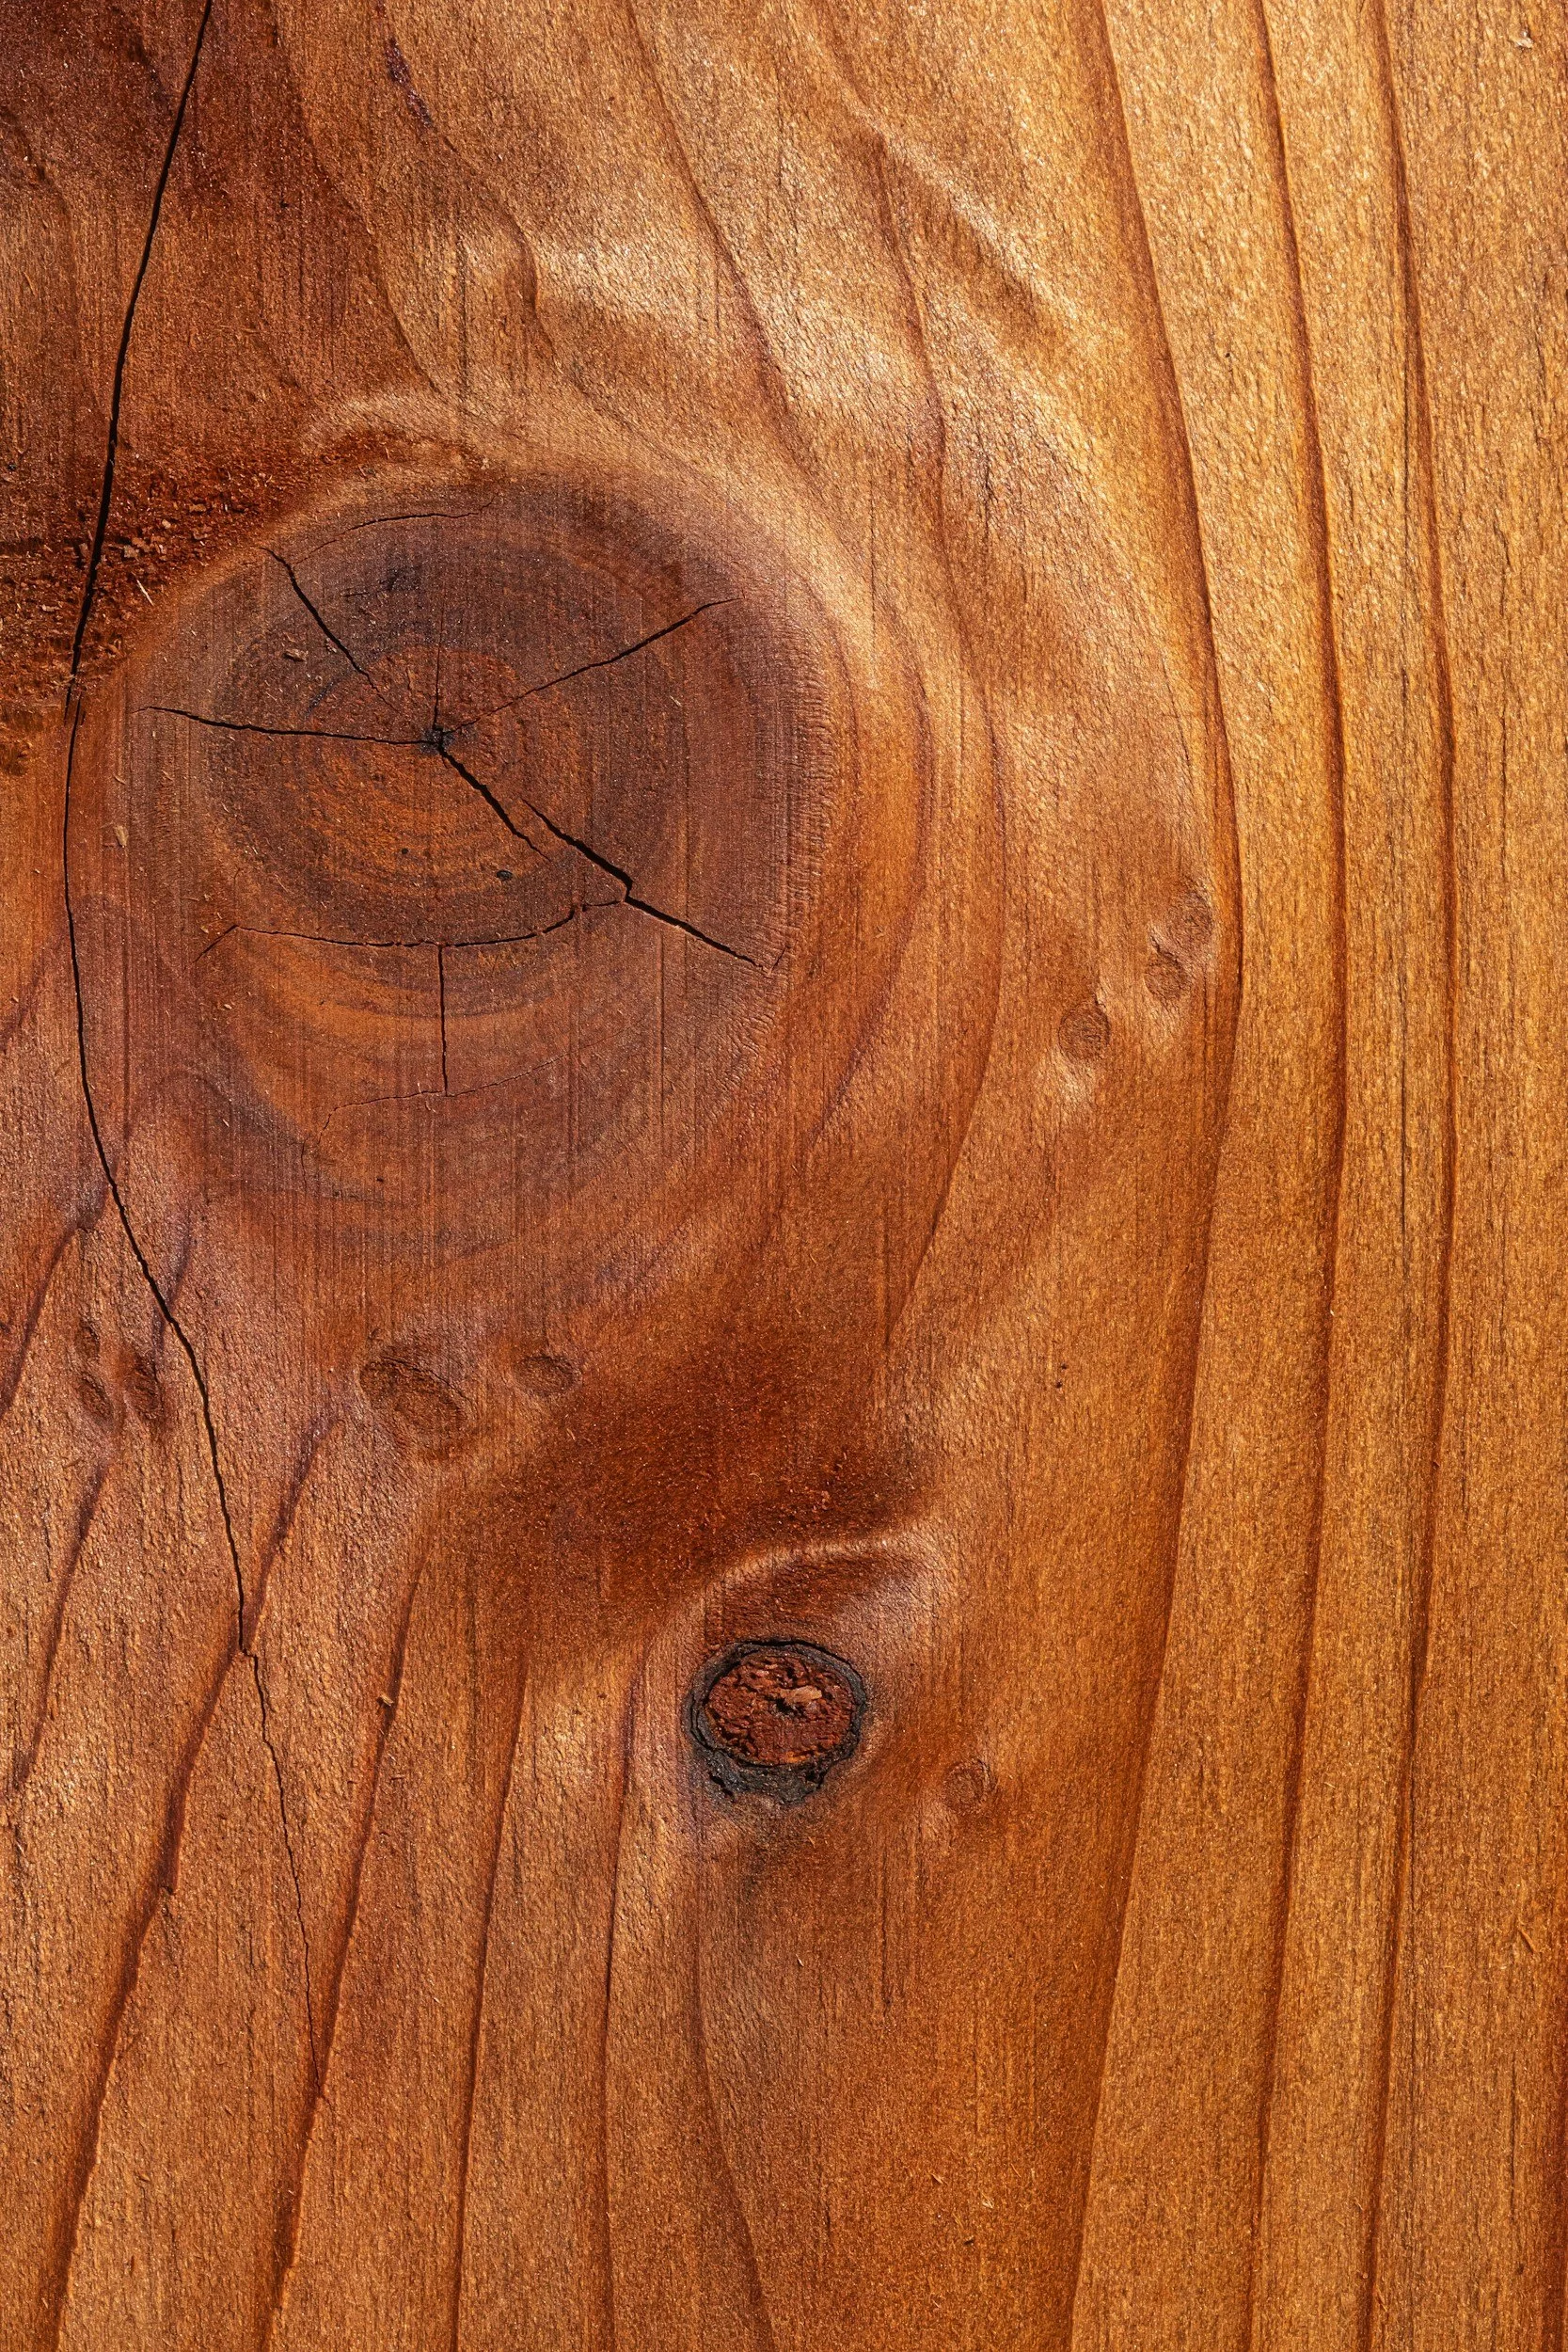
As you cross different parts of the wood, your nib reacts to changes in density, the direction of the grain, knots and even bark. It might suddenly slow down, sink in or start moving much more easily (sometimes too easily causing slipping around). Knots are generally denser and can resist the nib, while other areas can feel surprisingly soft. Going with the grain can feel like surfing, while going against it can feel like a bunch of speed bumps you never asked for.
Instead of fighting those changes, pay attention to what the wood is telling you. If you can, practice on a similar wood species or on the back of your piece first. Start with a lower temperature and move a little slower so you have time to notice where the wood resists you and where your nib starts to sink in. Once you get the hang of how ‘chatty’ that piece of wood is, a term Chuck introduced us to in The Burn Club and one I absolutely love, you can adjust your speed, pressure and temperature as you go.
5. Skipping the test burn
Even if you’ve burned on the same type of wood before, every piece can behave a little differently.
Some areas of the grain might be harder or denser, maybe there’s a knot or two, or the surface might be softer. Your burner might be running slightly hotter than it did the last time you used it.
Before starting your actual design, make a few test marks on the back. I like to put a little star on the back because it’s barely noticeable and it’s really cute if you do notice it! This lets me test the heat on that specific canvas and get a feel for where I want my temperature set.
If you don’t want to test on the back, turn it down and increase your heat from there. Or, you can also start in a less conspicuous spot. For example, if you are doing a pet portrait, don’t jump into the eye area right away, start with the fur. Or if you’re making a sign with lettering, start with a simpler or less prominent letter before jumping into the trickiest part.
6. Making your transfer lines too dark
If you don’t know how to transfer a design onto wood, check out this blog post —> How To Transfer Designs To Wood Without Using Heat.
If you do transfer a design onto your wood (or now you really want to try this method), it can be very tempting to press hard so you can see everything clearly.
The problem is that heavy transfer lines can be difficult to erase later. I give a few suggestions and tips here —> How to get rid of mistakes and graphite/pencil lines but in the end, if your transfer is too dark, you may not be able to remove it completely. Pressing too hard while transferring can also dent the wood.
Relying only on your transfer can also start influencing how you burn. You might find yourself following a graphite line simply because it’s there, even if it doesn’t make sense. The graphite paper can shift mid trace and leave parts of your design misaligned. Instead of looking at the design, you end up burning the mistake by accident (ask me how I know this one).
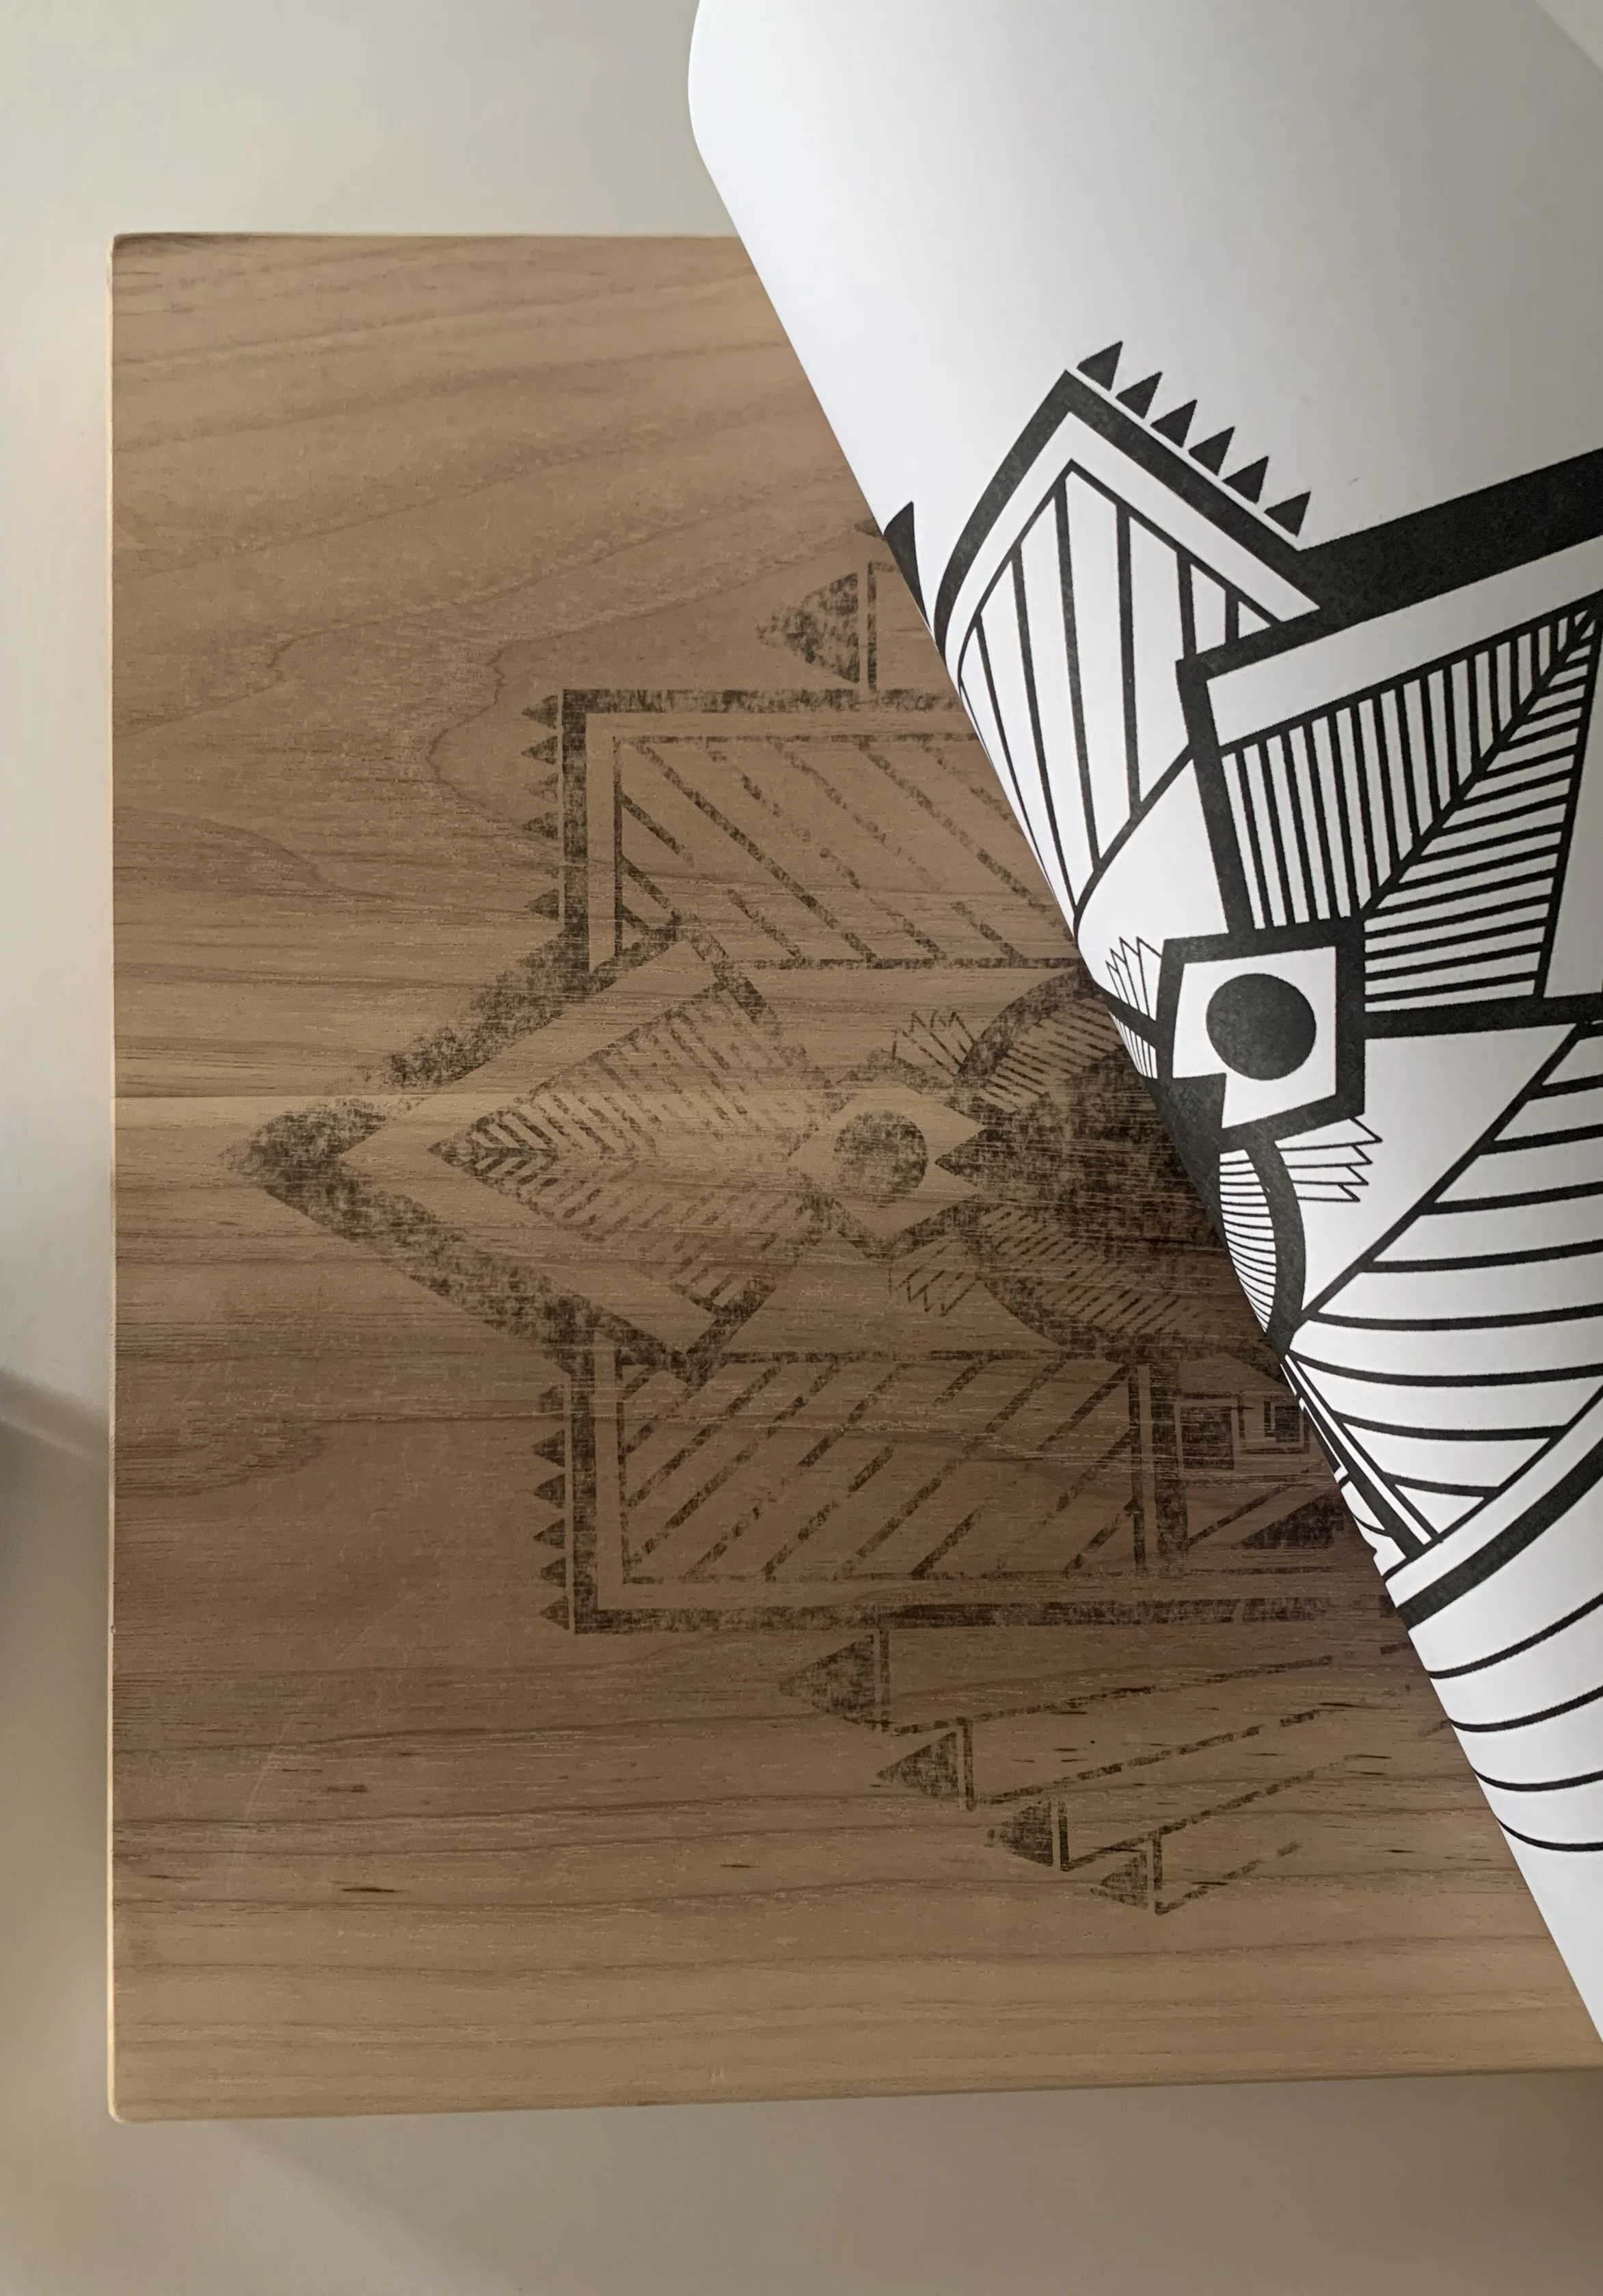
Keep your transfer lines as light as you can while still being able to see them. Think of them more as a guide instead of the final design.
I often transfer only about 80% of my design. I’ll transfer enough information to get going, but leave some details blank until the end so I can improvise a little with the final design. If I’m really unsure, I’ll burn the transferred portion first, then pause and pencil in the remaining marks. This really helps because drawing on paper (or digitally) is very different from burning that same design on wood. Sometimes it just helps to have that little bit of wiggle room without being influenced by an exact image.
7. Assuming a tip is only meant for what it’s advertised for
A tip called a shader does not have to only shade.
A writing tip does not have to only make lines.
And a tip marketed for one particular technique might become your favourite tool for something completely different.
The shape of the tip matters, sure. But what matters more is how you actually use it.
Try changing the angle you default to. Use only the edge, then try the flat side. Rotate it. Experiment with your speed and temperature. And really give each angle and rotation a chance. Don’t just make a line and move on. Choose an angle and try writing your name with that same angle. Then rotate it and try writing your name again.
Remember that names and descriptions manufacturers give their tips are useful starting points, but they are not rules.
The biggest mistake? Not experimenting.
Okay, technically that makes eight, but it’s more of a piggyback on number 7.
I really want to drive the point home that pyrography gets a lot easier once you stop looking for the one correct way to do everything.
Different artists use different temperatures, tips, movements and techniques. What feels awkward to one person might feel completely natural to another.
Learn the basics, understand what the heat and the wood are doing, and then experiment. See what happens when you play with one nib for a while. Give it a real chance and try every angle!
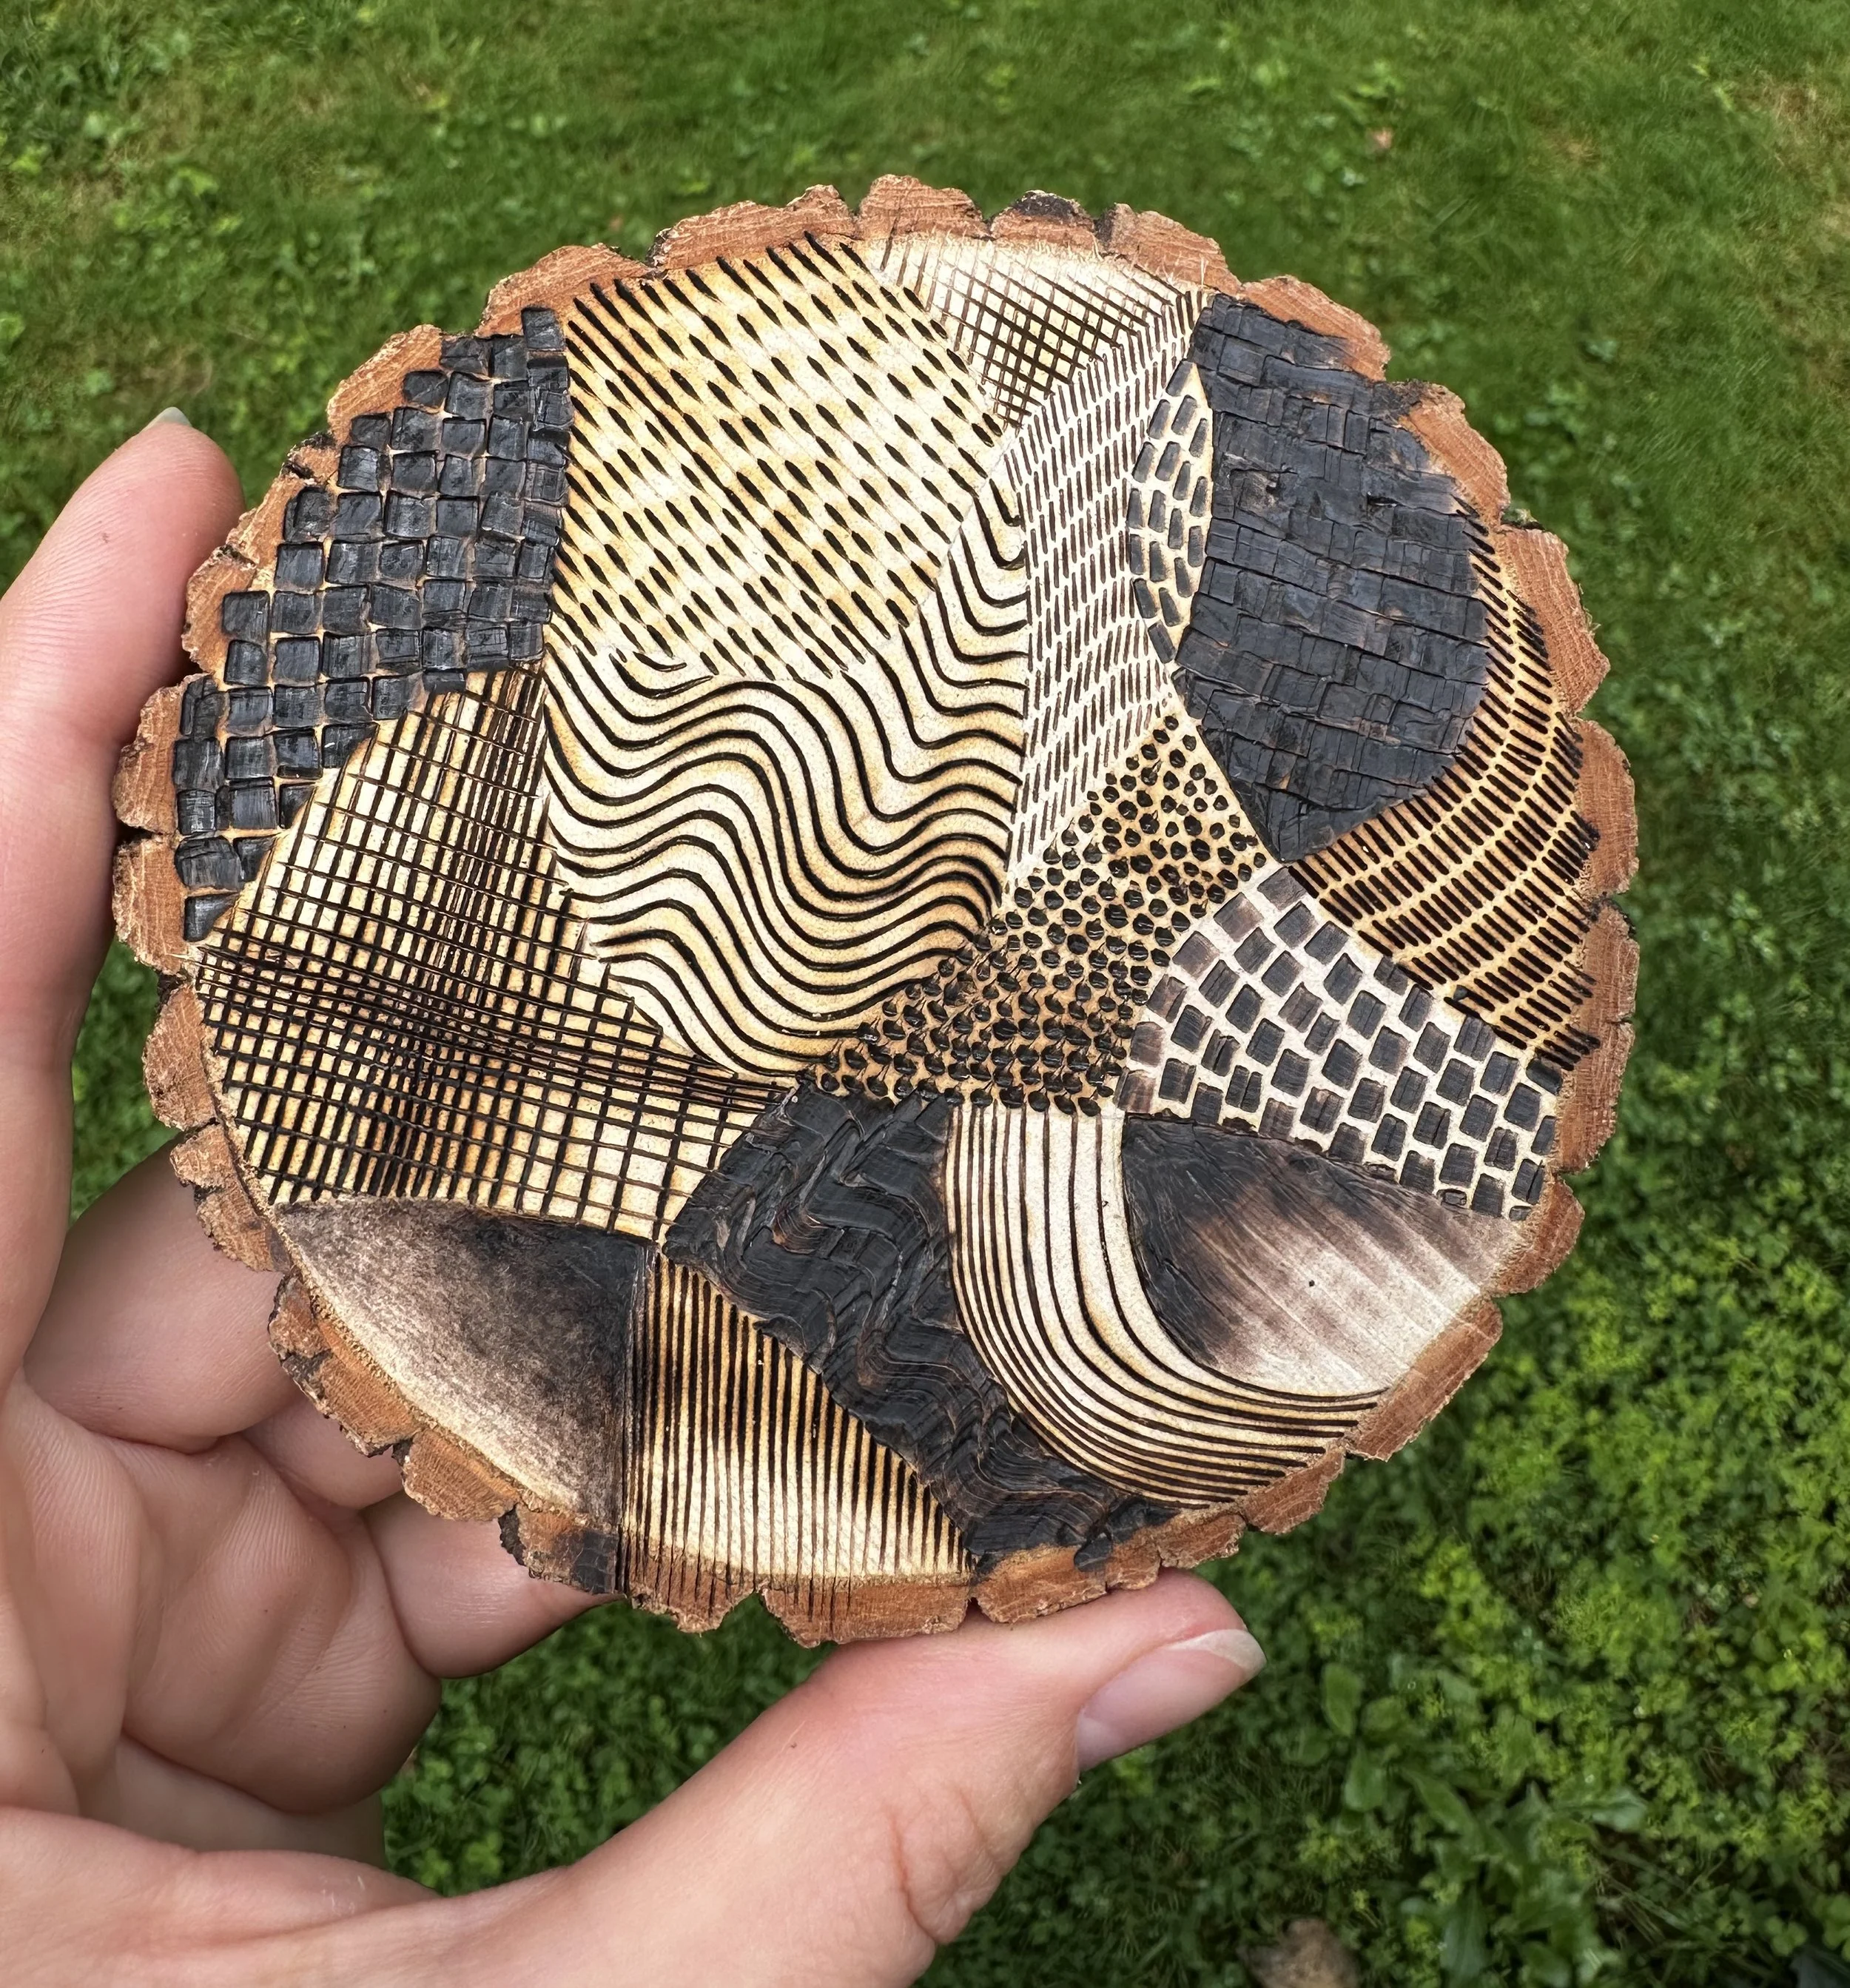
One thing I’ve been doing in Burn Club+ is creating focused texture boards. I take one wood slice and one nib and use it in as many ways as I can think of. Each one is documented with photos and written notes, and I also video record the full process so members can either watch me work through it or follow along at their own pace. These boards are by far my favourite way to learn and understand just how much your tool can actually do.
If you still haven’t found the answer to your frustrations, make sure to check out Pyrography Troubleshooting Guide.
Mistakes are part of learning this craft, but you don't have to work through them alone. Inside Burn Club+, there’s a growing library of Open Studio recordings, Burn Flow tutorials, recorded texture exercises with written notes, and plenty of real, step by step troubleshooting.. The first two weeks are free!