In the short video at the bottom, I cover some quick tips and tricks to make for cleaner lines with lettering when it comes to wood burning on wood.
Please ensure you always follow the safety precautions outlined by the wood burning tool company and read our blog post for more tips and tricks on staying safe while burning (including a free downloadable version that can serve as a great reminder): Safety in Wood Burning
How to Wood Burn Letters:
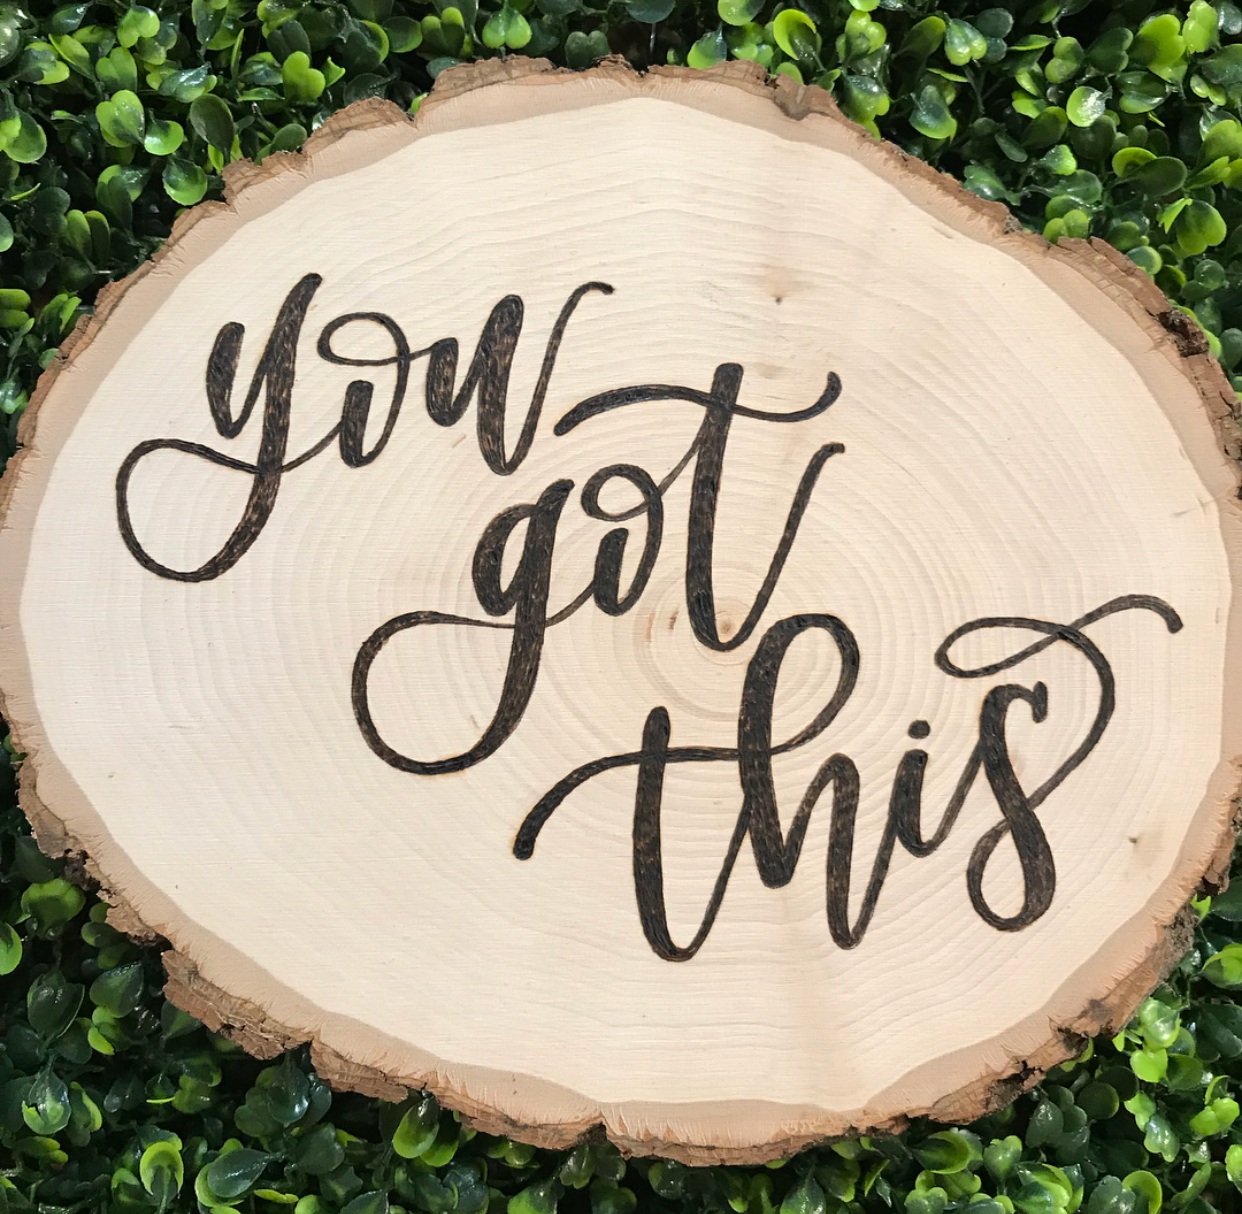
Start with a clean desk, and unfinished, dry, and sanded smooth wood. A smooth surface will make for a cleaner burn.
Make a clean transfer. I like to use the heat transfer technique for lettering, so that I have a perfect transfer. Be sure to flip your text or print in reverse first. If you are drawing directly on the surface, use a very light hand. Also check out how to transfer your image without using heat.
Prep your tool. Make sure your nib is nice and clean, and scrape it off throughout the burning process. Test your temp before you start. Check out the blog post on tool care and maintenance to see how I keep my tools clean and ready to burn.
Start in the middle of the word. Start with a lower temp adn increase from there. Starting in the middle ensures balance. That way if you are burning a little hot, it won’t show as much as if you are starting at the beginning of the word.
Start with your outlines. Get a clean outline of your words first, which then allows you to go back in and fill in without fear of going outside the lines or mistake.
Slow and steady, as usual. Pulling usually gives you more control than pushing. Let the burner glide on the surface. For more tips and tricks on burning, check out this blog post and scroll to the bottom to get some super helpful pieces of advice to help you burn smoother.
Fill in your letters. You can shade them using the classic shading technique: lower your heat and slowly, layer by layer, in a swiping motion (back and forth in straight lines) add depth. A flat surfaced nib makes this process easier! OR because shading is not everyone’s favourite technique, you can use a variety of textures to complete yoru lettering. Check out this blog post for 3 Easy Ways To Wood Burn Texture Onto Wood Without Shading
Looking for designs and templates to practice burning with?
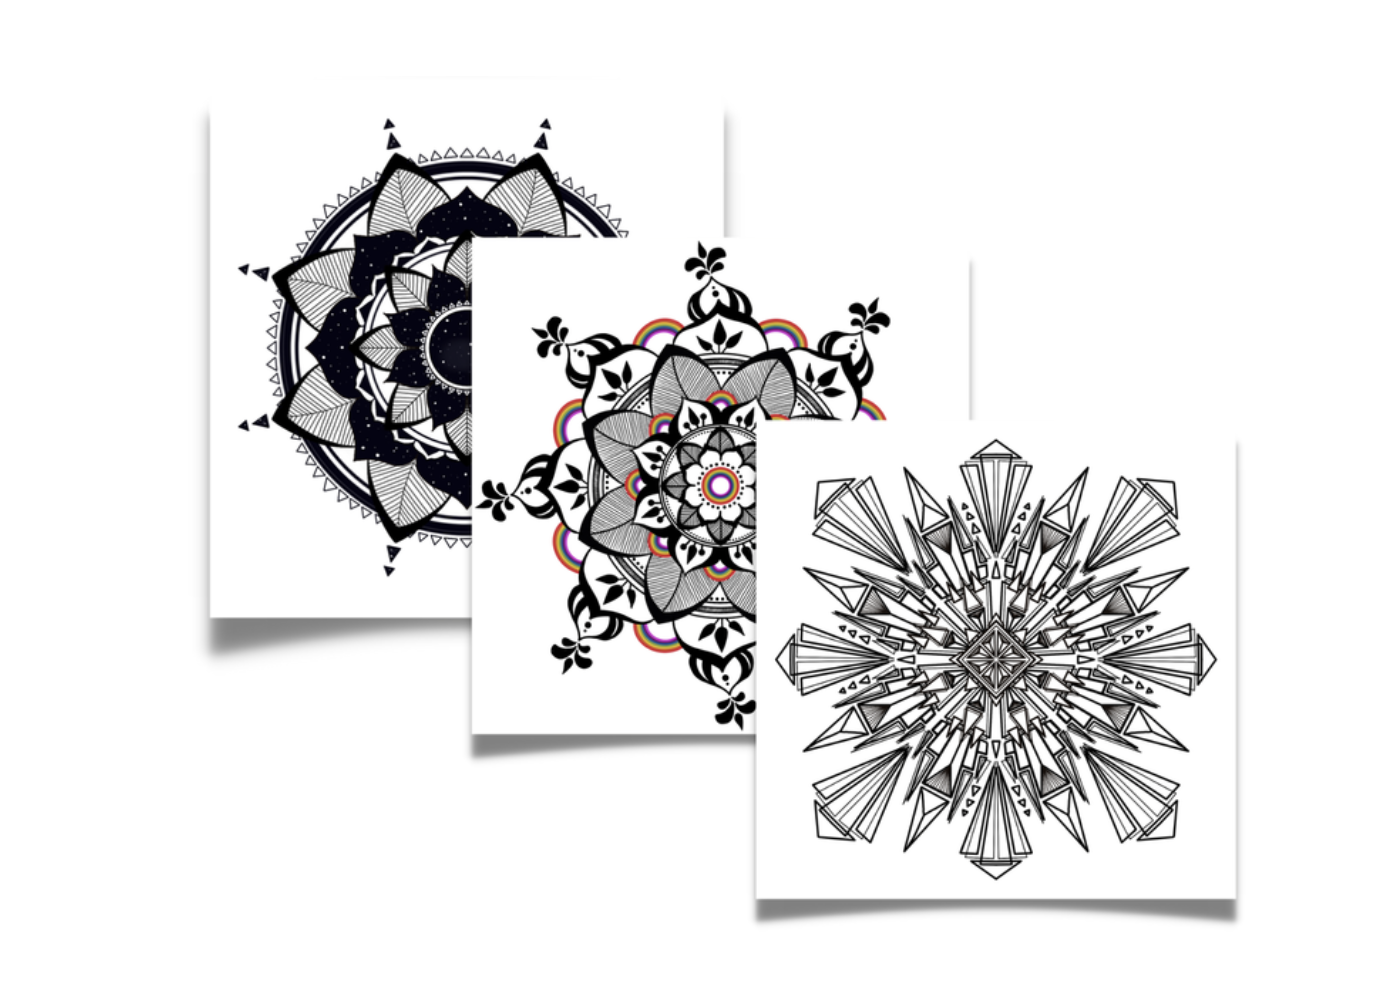
Check out our Community Template Books
or The Templates Shop where you can find individual designs and royalty free template patterns too!

What lettering tips do you have? What have you found helpful? Please share in the comments below, we’d love to hear from you!