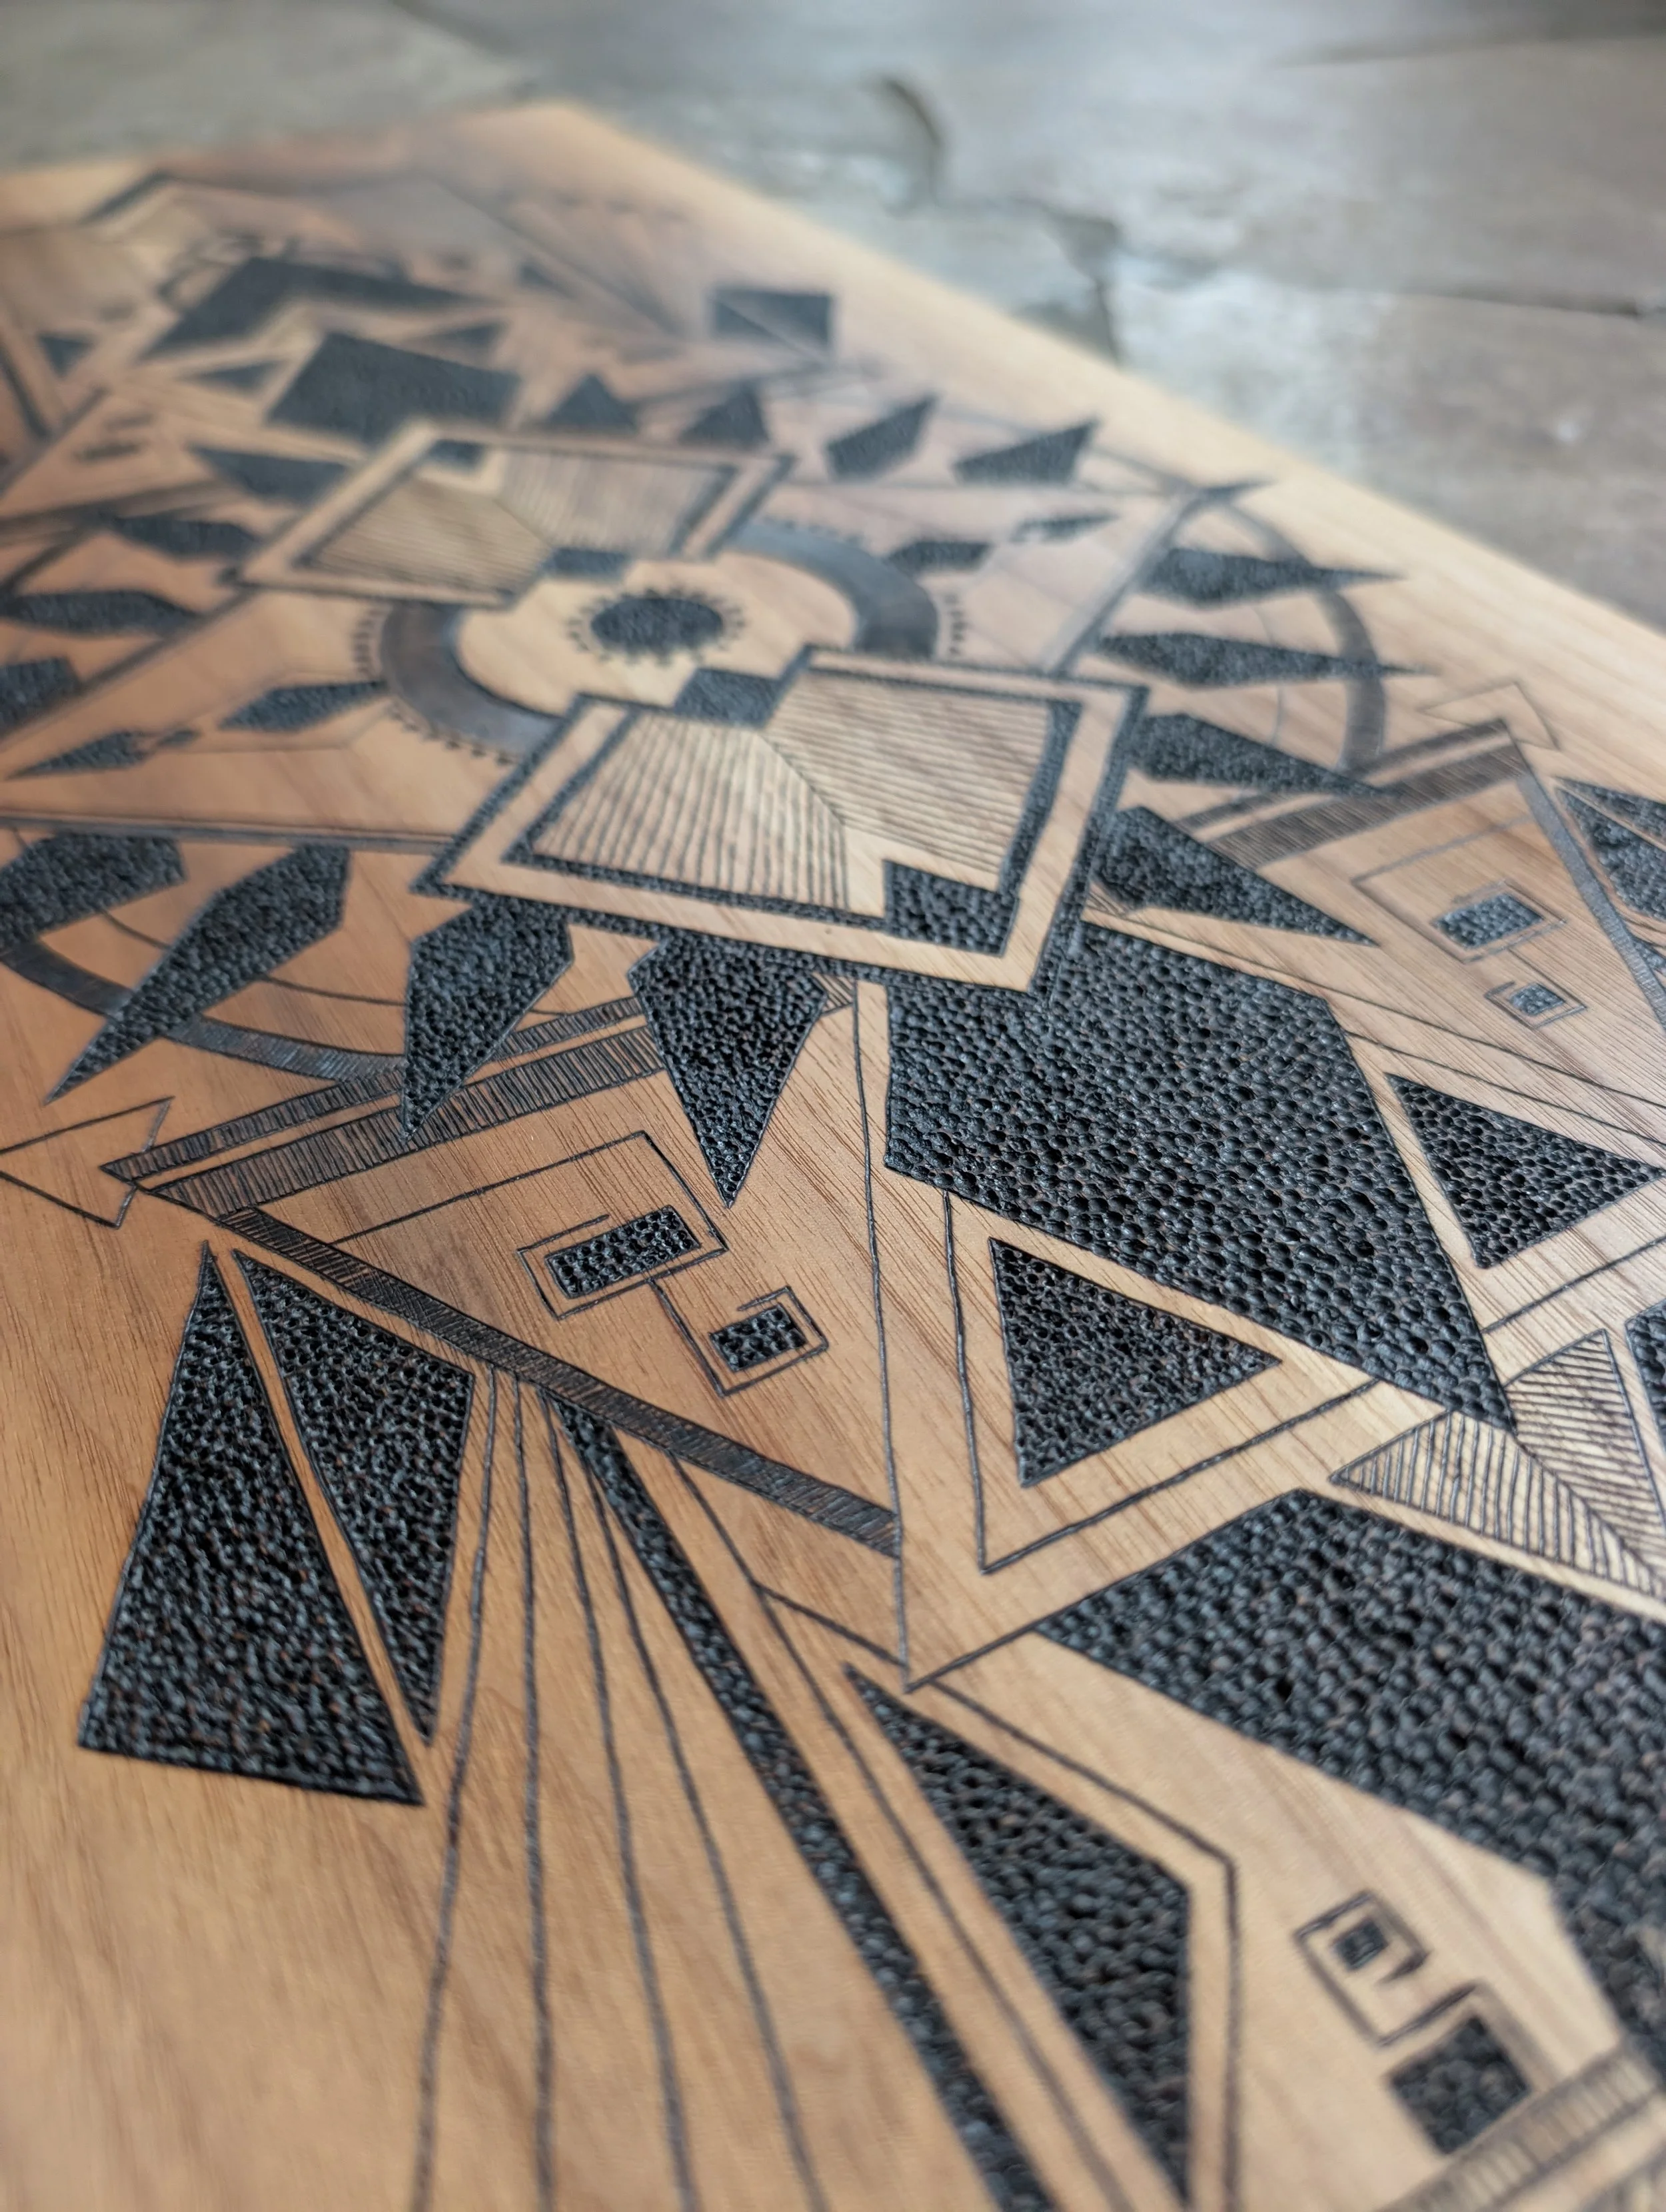
Shading is wonderful, but it isn’t the only way to add depth to your pyrography.
Sometimes smooth gradients are tricky, or you’re working on a tiny area where shading feels fussy and unforgiving, or maybe you want something more than a solid black background. That’s where texture comes in. Repeating shapes and marks can build up rich, dark values and create something visually interesting at the same time.
In this post I’ll show you three simple textured circles I burned, all using basic movement patterns. You can use them as stand-alone designs, or tuck them into larger pieces for backgrounds, fur, scales, flower centers, skies, abstract fills, and more. They are great for practice and are very simple and satisfying to achieve!
Texture 1: Bubbly Dots (or Stippling)
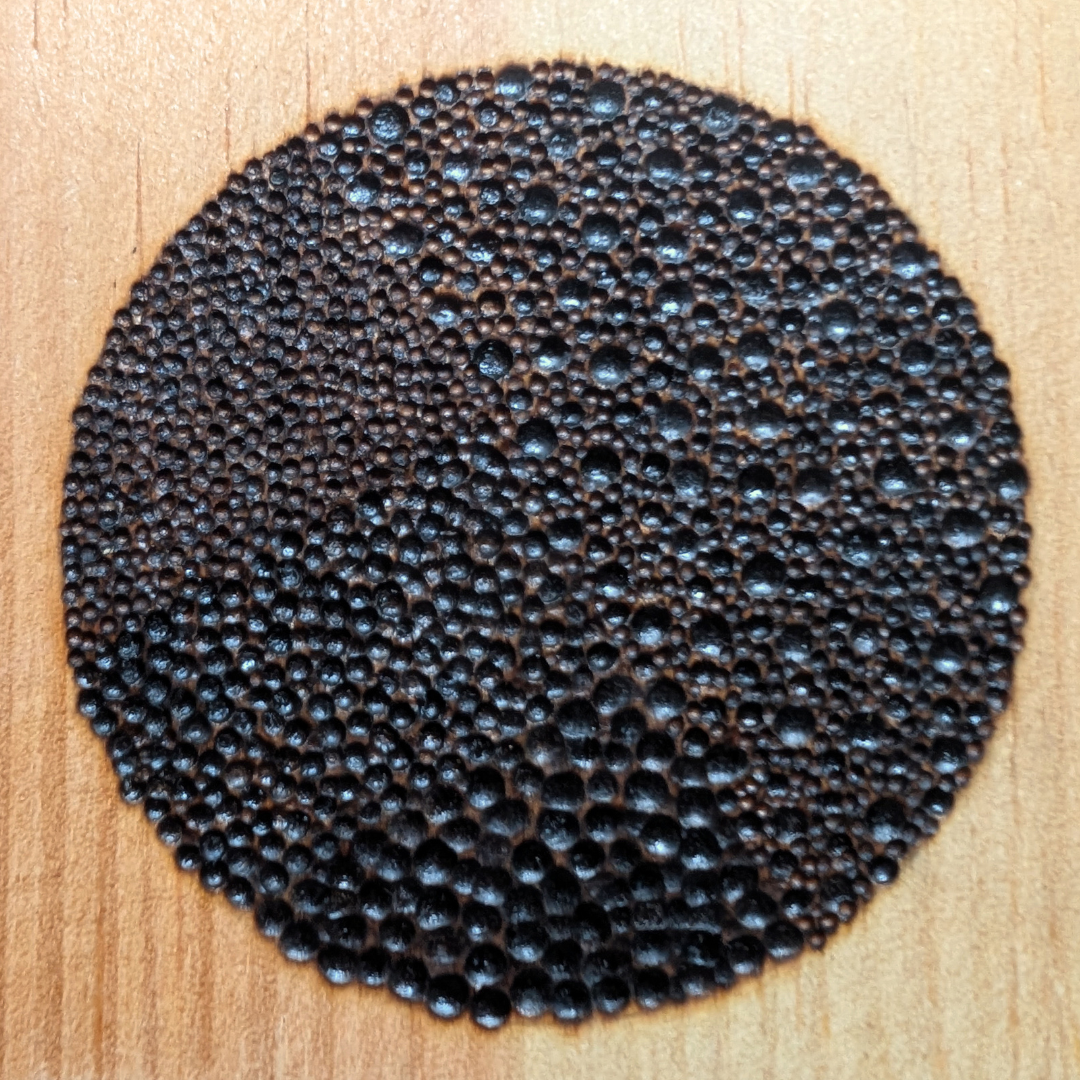
This circle is made entirely of dots, layered and overlapped until they form a dark, almost velvety surface. Up close, it looks like bubbles or droplets; from a distance, it reads as a rich, textured shadow.
In this example, I used 3 different sized ball nibs.
On the right side, all three sizes are scattered and randomly placed.
On the left side, I wanted to compare what using only the small ball nib looks like, then the medium, then the large. It’s wild how different the textures look like using the same technique and different sized nibs!
I used:
a small ball nib (0.8mm)
a medium ball nib (2mm)
a large ball nib (4.7mm)
with the Razertip SK
(use code BASIA at checkout for a discount: applicable on all Razertip products)
How I build it (for any size ball or a mixture of them):
Start with scattered dots. Simply tap the nib onto the wood, lifting straight up. Don’t press too hard and let the heat do the work! The key to having it look organic, is to lay down a loose spread of dots in random places first versus making an outline, or stippling row by row.
Fill the gaps. Keep placing more dots in between the first ones. Try to keep it random all the way till the end or you may see a pattern in the dots, which is fine if that is what you are going for!
Let them overlap or touch. This is where the texture starts to feel like pebbles or bubbles.
I personally enjoy this technique the most as it is super satisfying and really easy!
For a video guide and more information, check out this post in the Burn Club+ on Discord!
Texture 2: Tiny Spiral Rings
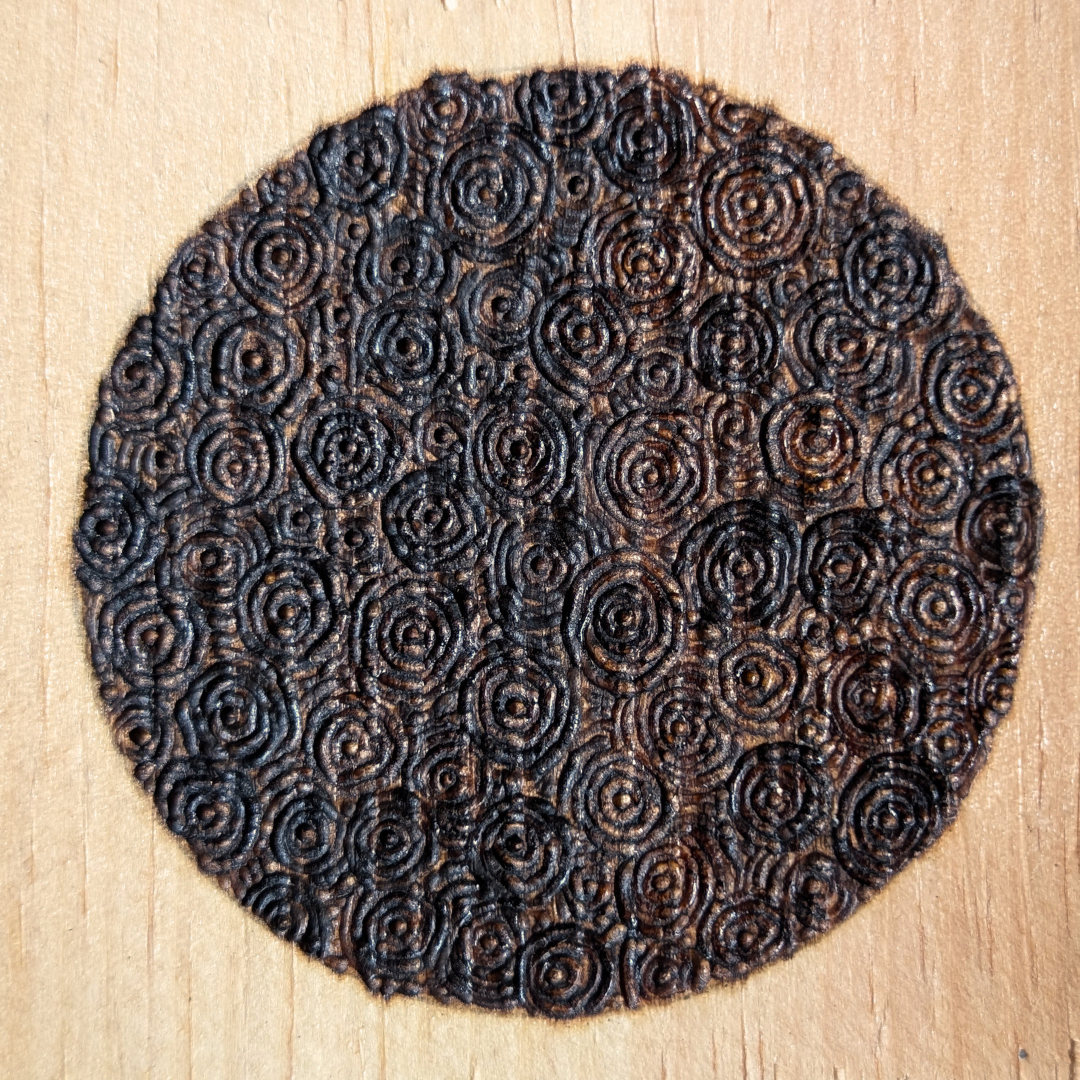
This one is built from little spirals, or tight circles all packed together. Think “tree rings” or “ripples in water.”
The repetition naturally creates a starry, Van Gogh–style effect that looks almost like energy radiating outward.
It gives your burn a very organic, hypnotic feel.
I used:
a medium ball nib (2mm)
with the Razertip SK
(use code BASIA at checkout for a discount - applicable on all Razertip products)
How I build it:
Place your ball nib pen down firmly in the centre to make your dot, then begin moving in small, controlled circles around it. I made about 4-5 circles until I moved to a new spot (in order to keep the organic look).
Keep your motion steady and light (pressing too hard will dig into the wood so let the heat do the work for you). Start with a lower temperature and move slower than you think you need to.
Same as with the stippling above, start in random spots to ensure you are not getting an organized pattern (unless you want that). Circle by circle, your texture will evolve and fill up the space. Once you dont have room, fill in the tiny spaces between the circles with short lines that match the flow of a close-by circle.
This texture works beautifully for backgrounds, tree bark, flower centers, or anything that wants a swirling, organic feel.
(Burn Club+ members can see a close-up demo here)
Texture 3: Overlapping Petals / Scales
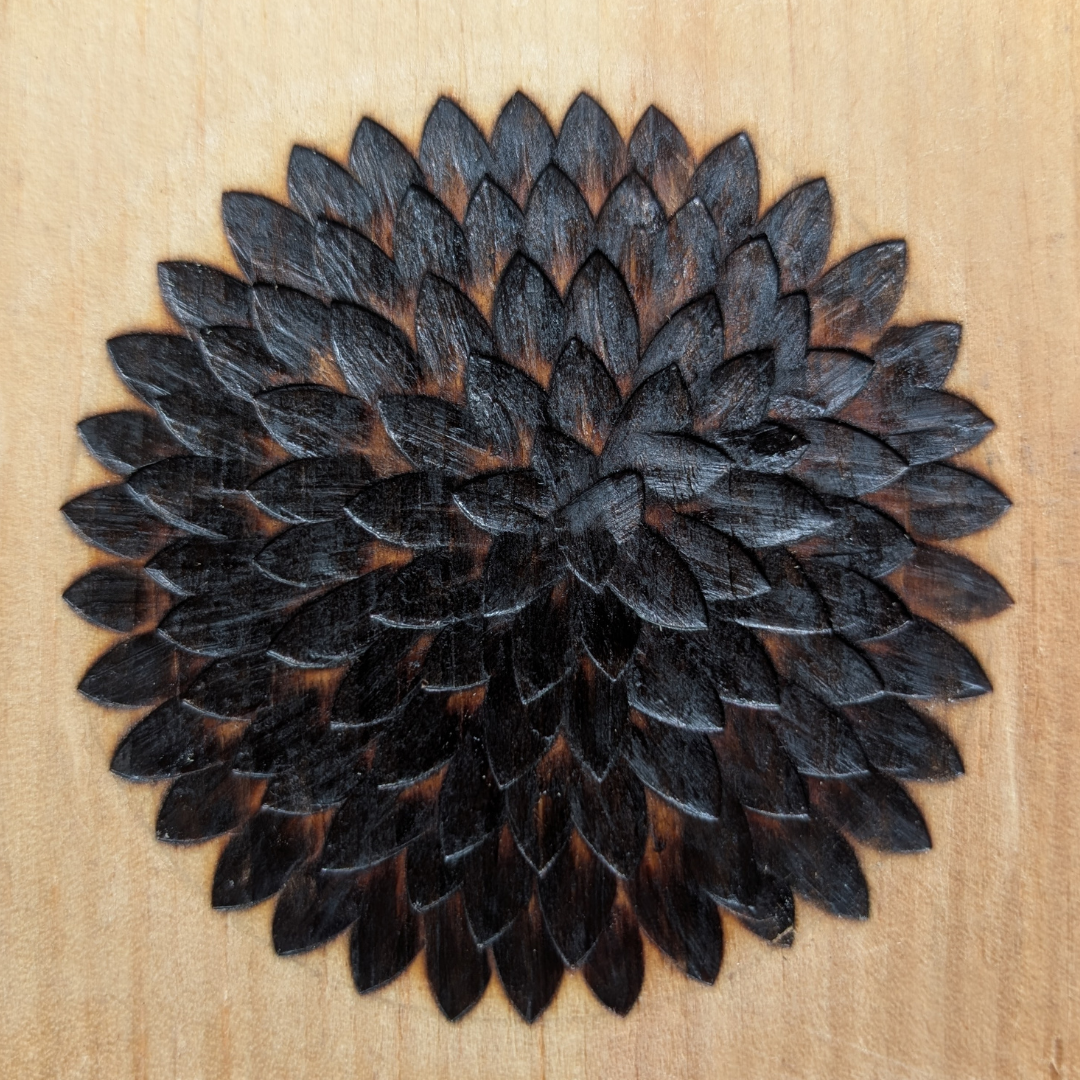
This circle is built from rows of overlapping petal or scale shapes. It looks like a flower, a pinecone, or even dragon scales depending on how you use it. Spreading out the petals will give a very different vibe than keeping them tight together. A different shape or angles of your stamping will also change the look!
It’s a great way to cover a larger area without relying on traditional shading.
I used:
with the Razertip SK
(use code BASIA at checkout for a discount - applicable on all Razertip products)
How I build it:
I started on the outside making a big ring, stamping your nib down, one next to the other.
All you have to do is stamp the tip down along the flat side with just a slight angle (sharp point downwards). In a fairly quick motion, flatten the nib out and then drag away from the point and lift off in that dragging motion.
Depending on your heat setting, you will need to adjust your speed. If you are burning hot, go faster. I recommend turning down the heat and going slow until you get the hang of a smooth gradient at the end. You will be covering it up in the next row, so don’t fuss too much about perfection.
Go row by row, inwards and keep stamping around the circle (of course you can make any shape you want)!
This texture is amazing for flowers, feathers, scales, and even armour or fabric if you stretch and reshape the petals.
(Inside Burn Club+ you can watch me doing it here)
Why Texture Is a Great Alternative to Shading
If shading stresses you out, you’re not alone. Smooth gradients take practice, control, and a lot of patience. These texture styles give you another path:
It hides small wobbles and inconsistencies.
It lets you create depth just by repeating simple shapes.
It keeps your piece visually interesting, even in large dark areas.
You don’t have to choose one or the other, either. You can shade the main subject and use texture for the background, or mix textures together inside one design.
Have fun practicing these textures and make sure to sign up for Burn Club+ for more!