Home Project: Laundry Room
Welcome to my latest home improvement project journey! Today, I'm excited to share how I turned my uninspiring laundry room into a functional and chic dog washing station. With a little creativity and some DIY magic, I was able to breathe new life into this space and create a haven for both me and my furry friends.
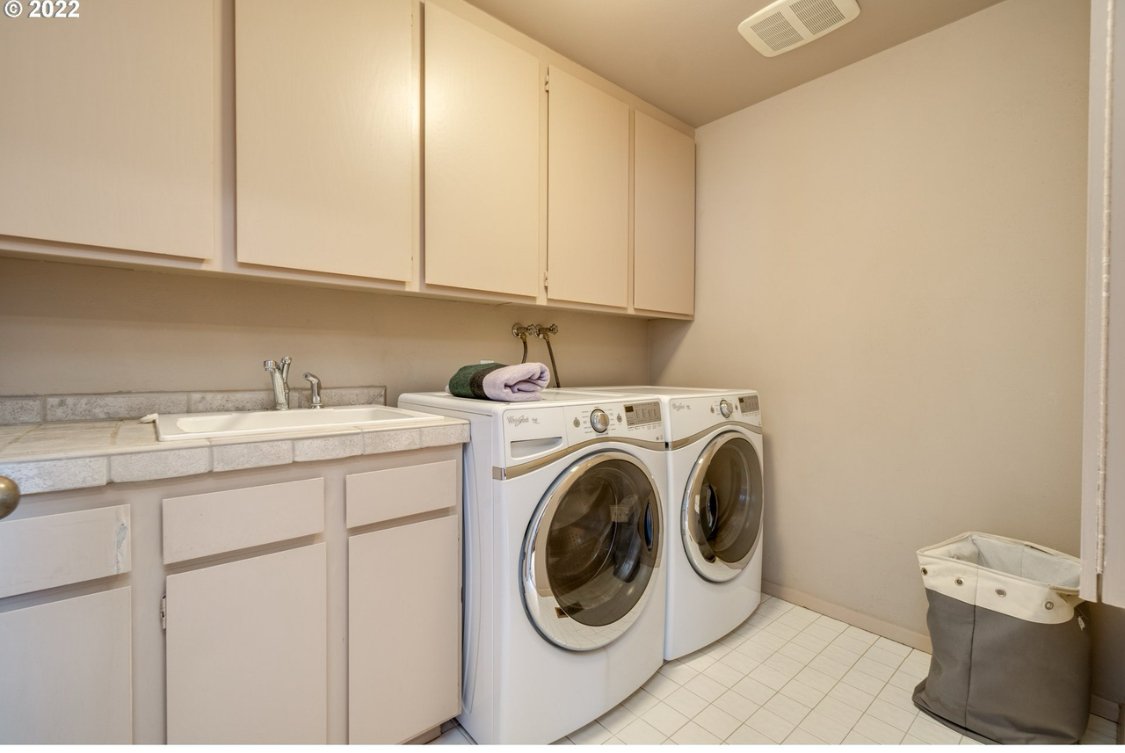
Before:
Let's start with the before photos. My laundry room was, to put it bluntly, lackluster. The walls were painted a dull boring tan shade, the sink was outdated and too small to wash my pups in, the laundry machines were old and never got the clothes clean, the paint was chipping in places, and the countertops were a gross outdated tile. It was a space that kind of served its purpose but lacked personality and charm. It wasn’t a space I wanted to spend any time in, and we wanted to make it serve multiple uses: Laundry, Storage, and a Dog Washing Station without breaking the bank.
Products Used:
Before diving into the transformation process, let me introduce you to the MVPs (Most Valuable Products) that helped bring my vision to life: (Please Note: These include some Amazon Associate Links for the products we used. WBC receives a tiny portion of sales from Amazon)

Wallpaper: I chose a vibrant and eye-catching floral peel and stick wallpaper to add a pop of color and pattern to the walls. It instantly brightened up the space and set the tone for the entire room. Bonus: it is super easy to install yourself.
Sink: Say goodbye to the old, dingy sink and hello to the sleek and modern dog washing station. I opted for a deep stainless steel sink. It is not easy finding a sink that is both long and super deep. This one is 12” deep and 30” wide, and is perfect for my pups.
Wood Countertops: To add warmth and texture to the room, I installed custom faux wood countertops from IKEA. Not only are they beautiful to look at, but they also provide a durable surface for all my laundry and dog grooming needs.
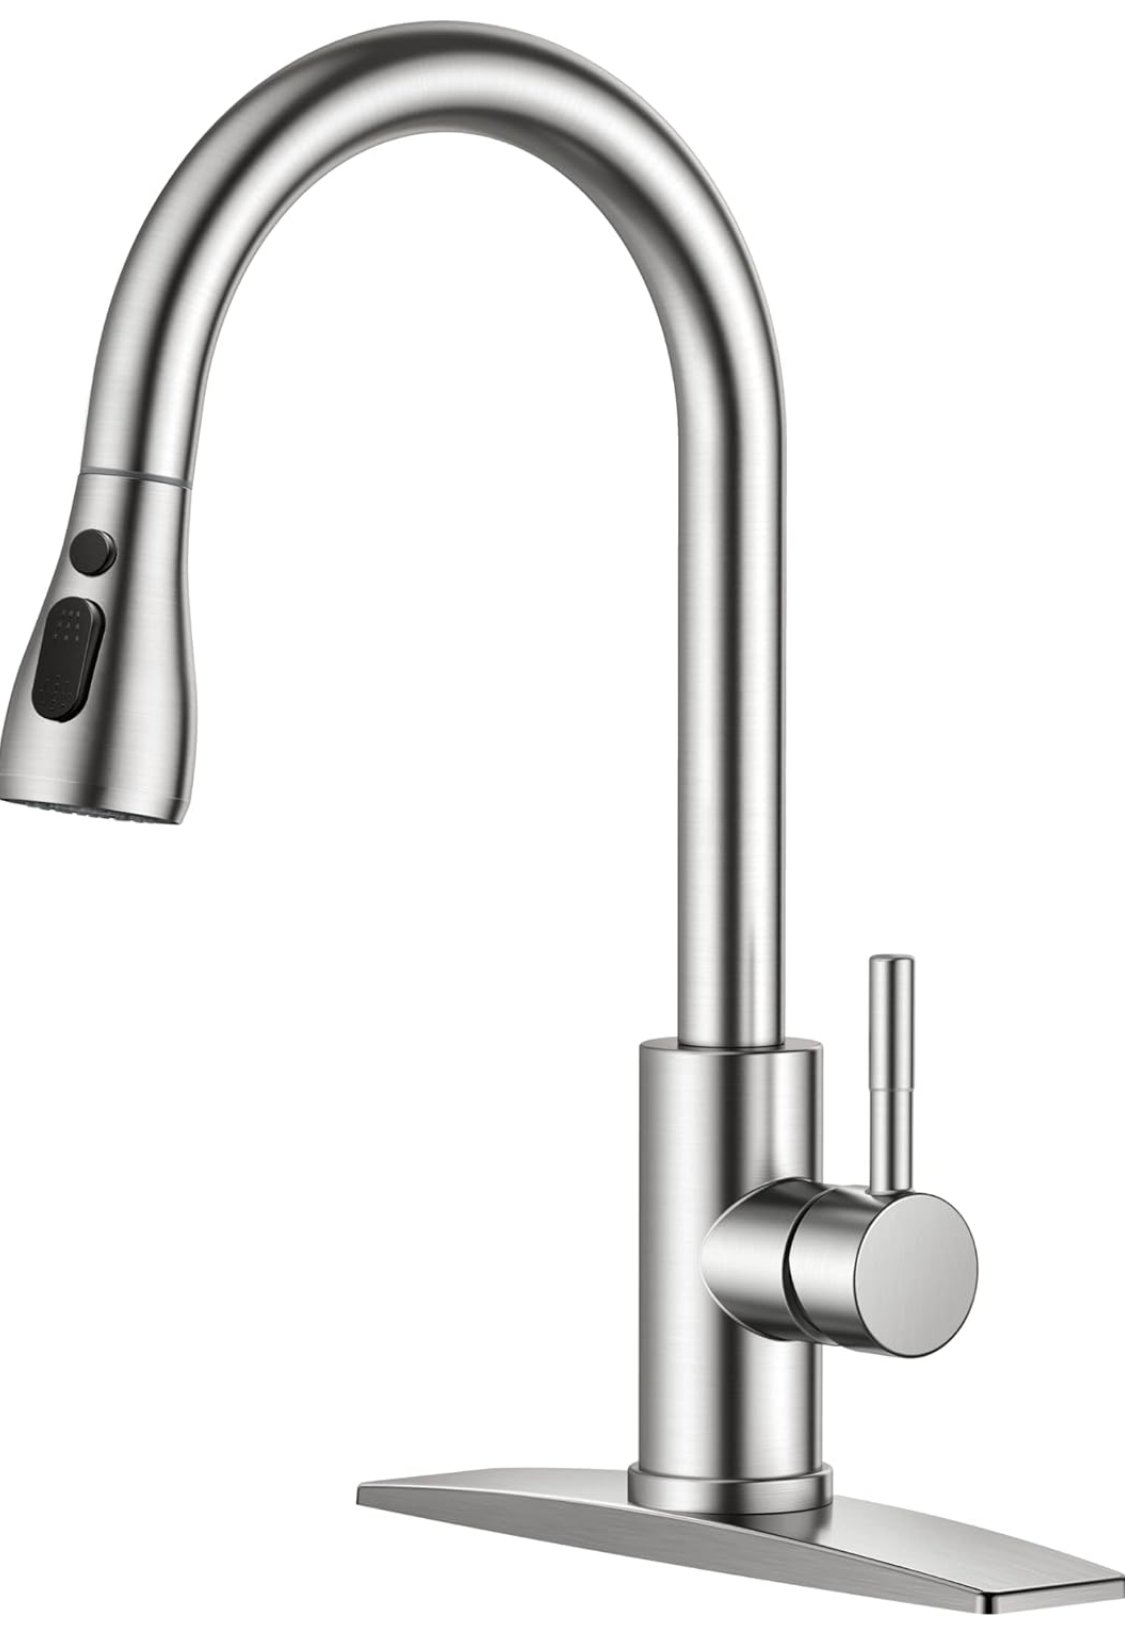
Faucet: We wanted a simple faucet with the retractable nozzle for easy dog washing, but it was also important to have the handheld off button for easy pausing. This $79 faucet was on sale for $39 on Amazon, and is perfect!
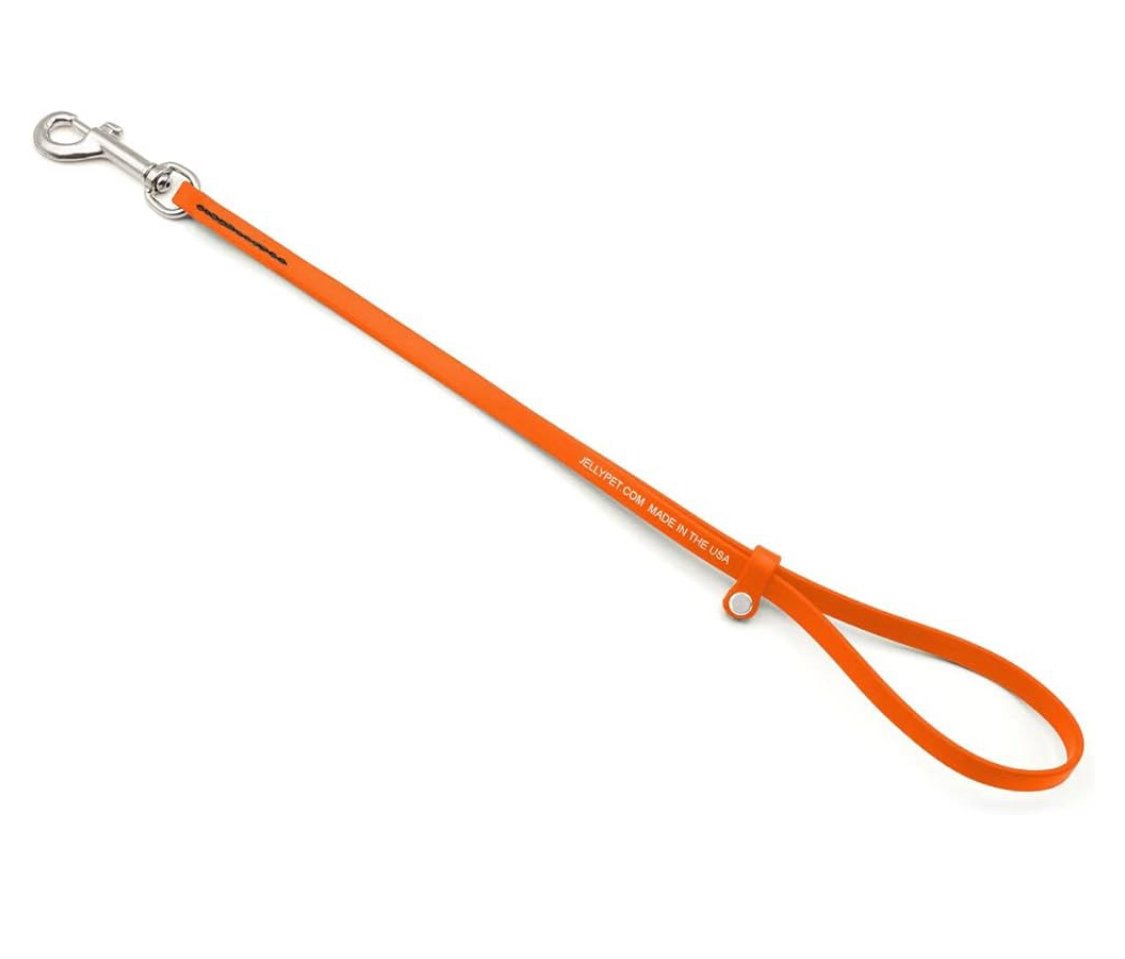
Dog Grooming Loop: This is key for a successful wash in our house. These dog grooming loops make it super simple to keep your dog in the sink while they are getting clean. We secured it to the wall using an eye hook, and now we are ready to clean our dirty pups, without breaking our backs!
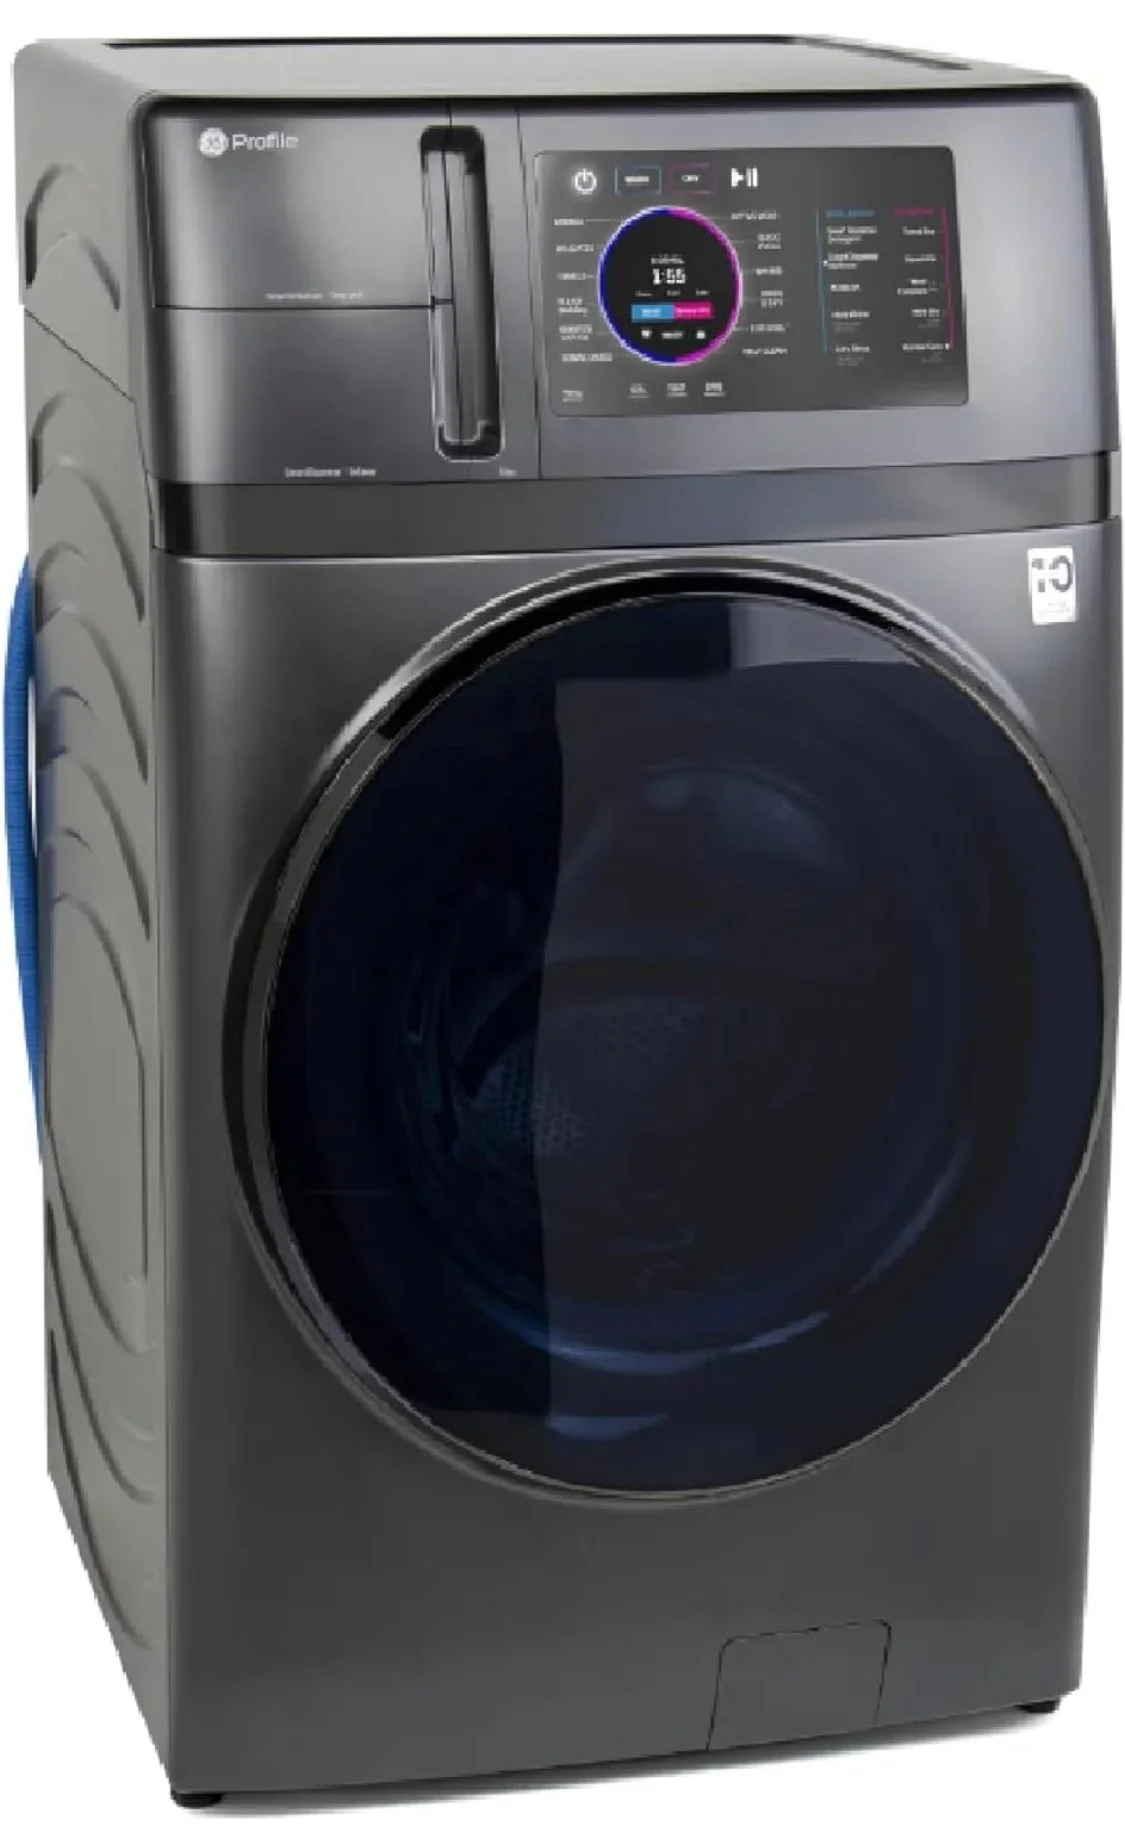
Washer/Dryer Combos: This has been an absolute game changer! Two large capacity washer/dryer combos from GE. I put the clothes in and come back to washed and dried clothes! No more needing to rewash or re-dry clothes. No more forgetting clothes in the washing machine. This has been a huge time saver. And, it has the amazing feature of automatically dispensing detergent and softener. Laundry has become considerably more tolerable with these machines.
Transformation Process:


Now, let's talk about the fun part – the transformation process! With the help of some handy tools and a lot of elbow grease, I was able to turn my laundry room into a space that I'm proud to show off.
Prep Work: The first step was to clear out the room and remove the old countertop and sink. Once the space was empty, I prepped the walls for wallpaper installation by filling in any cracks and sanding down rough surfaces. (Spackling Compound, Sanding Sponge)
Wallpaper Installation: With the walls prepped and ready to go, it was time to apply the wallpaper. This step required careful measurements and precise cutting to ensure a seamless finish. After a few hours of work, the wallpaper was up, and the transformation was already taking shape. (Razor Blade Pen)
Time to paint those drab lower cabinets. I wanted it to be a color in both the laundry machines themselves and in the wallpaper, and this dark grey is it! (I used a paint we already had on hand from my stairwell trim, it was the perfect color and helps tie the house together).
Sink, Faucet, and Countertop Installation: Next up was installing the new sink and countertops. This involved some plumbing work and carpentry skills, but with the help of my handy hubby, measuring multiple times, some liquid nails, and a bit of trial and error, we were able to get everything installed correctly. (Liquid Nails, Quick Clamps)
After:
And now, the moment you've all been waiting for – the after photos! Drumroll, please... Ta-da! The once-dull laundry room has been completely transformed into a stylish and functional dog washing station. The vibrant wallpaper adds personality to the space, while the sleek sink and wood countertops provide both beauty and practicality.


Final Thoughts:
In conclusion, I couldn't be happier with how my laundry room makeover turned out. By investing a little time and effort, I was able to create a space that not only serves a practical purpose but also brings a bit of joy to my not so joyful chores. Whether I'm doing laundry or giving my furry friends a bath, this room now feels a whole lot better.
Thank you for joining me on this journey, and I hope you feel inspired to tackle your own home improvement projects. Stay tuned for more adventures in DIY!